

Estimated reading time: 26 minutes
All it Takes is Paper and Water to Put Another Log on the Fire
You can do a lot of things with old newspapers and other paper scraps. In another article, I explained how to make papercrete out of paper pulp and cement to make building bricks. But you can also make firewood or fire logs that you can burn in your fireplace, woodstove, or outdoors.
They’re easy to make and, once you have a basic setup, you can go into mass-production or at least make the stuff on a regular basis whenever the paper piles up.
Want to save this post for later? Click Here to Pin It on Pinterest!
It’s Not Rolled Up Newspaper
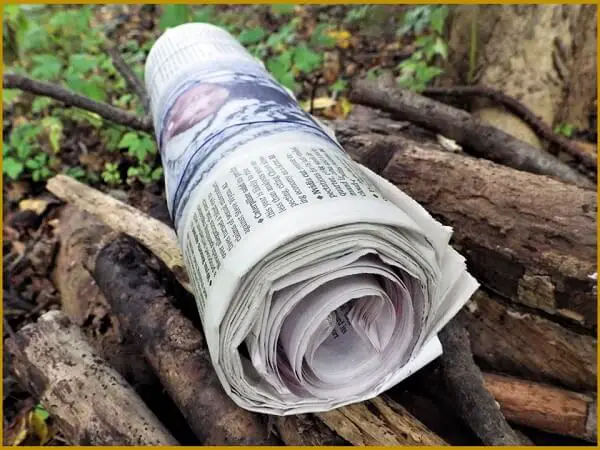
When you mention burning paper in a fire in place of logs, most people assume you’re talking about rolled-up newspapers bound together with wire.
Those work… sort of, but they don’t burn as hot nor as long as fire logs made from paper pulp. In a pinch, you can always whip a few of these together, but fire logs burn much longer and hotter than rolled newspaper.
Who Needs Firewood Made From Paper?
If you have easy access to a good supply of firewood, you’re lucky. Some of us don’t, so we have to buy it, collect it from the end of driveways (from people trimming the trees in their yards), or volunteer to cut up a fallen tree in a neighbor’s yard and haul it away.
Another alternative is to make bricks or logs out of paper to supplement a wood supply.
What is a fire log?
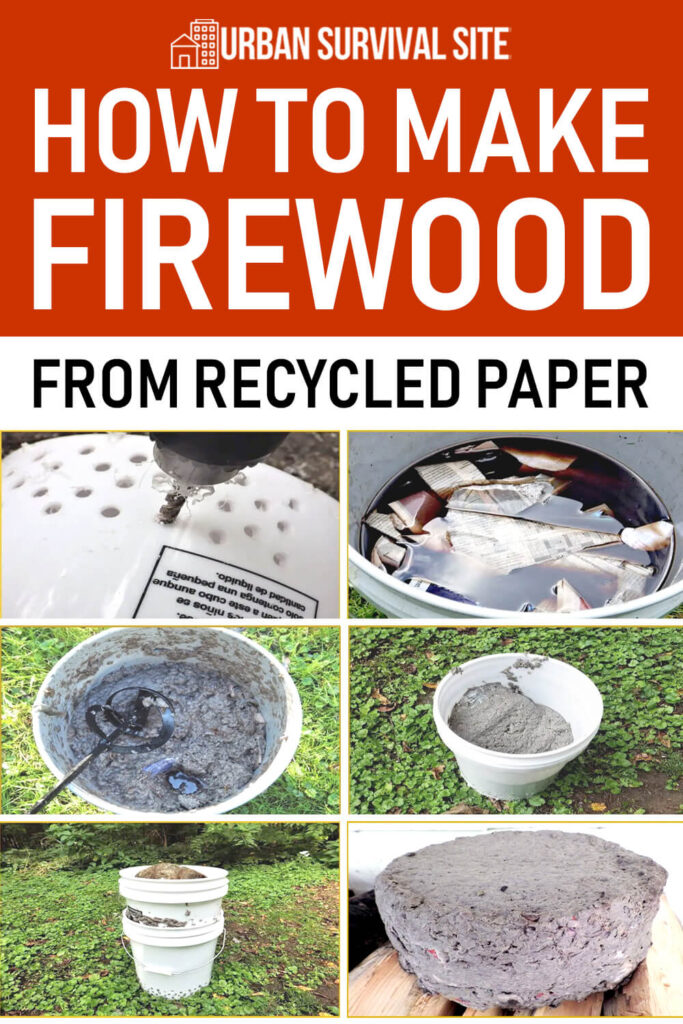
A fire log consists of paper (usually newspapers) mixed with water in a bucket and shredded with a paint mixer attached to a drill. The shredded paper pulp is then put into a form with generous holes for drainage and compressed under pressure to drive out the moisture.
The logs are then removed from the form and allowed to continue drying. When done, they are stacked up and eventually burned.
What’s the Catch?
You need a lot of paper if you want to make a lot of fire logs. It also takes time for the bricks to dry. Sometimes a lot of time depending on the weather. Figure at least two weeks or more. The hotter and drier the weather, the better. One thing you should always do is cut or break your paper logs apart to make sure the inside is thoroughly dry.
Firelogs also need help to burn. You can try using only wood pulp logs in a fire, but they often don’t burn as robustly as seasoned firewood. They need the company of hot coals and wood to contribute to the fire and combust. Once they get going, they burn fine, but they need a head start.
Firewood from Pulp Variations
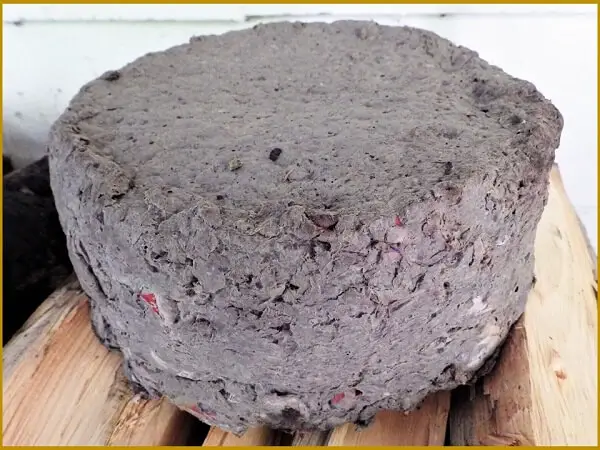
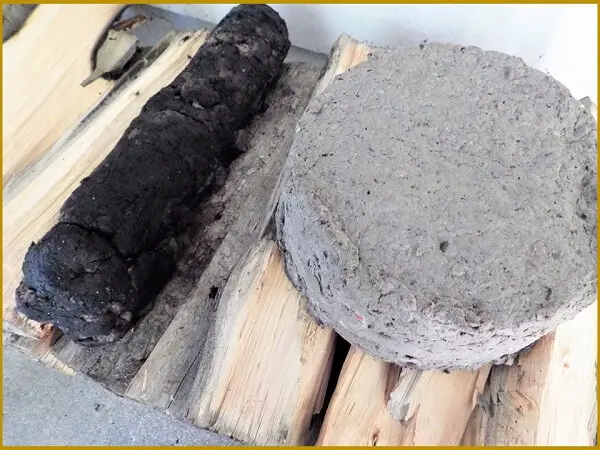
We’re going to start by making what’s sometimes referred to as a firebrick in a 5-gallon bucket. The result will be more of a large cake than a brick or log, but you can easily break it in half to fit the fire.
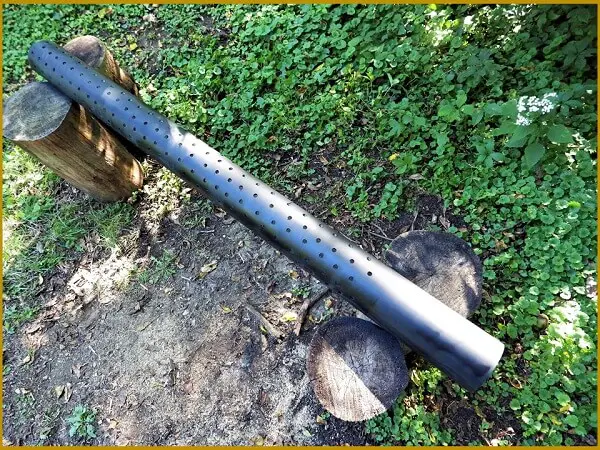
We’re also going to use a long tube of PVC pipe as a form to make fire logs in the shape of a traditional log. You can use plastic pipe of varying diameters to make logs that fit your fireplace or woodstove, and they can easily be sawed to the length you want.
Basic Firewood from Paper Pulp
Before we get started, keep in mind that making firewood from paper pulp can get a bit messy. You definitely want to do this outdoors in an area of the yard where you can easily clean up with a little raking and a rinse with the hose.
You’ll also want to wear old clothes, although any splatter from the paper pulp comes off in the wash. Here’s what you’ll need:
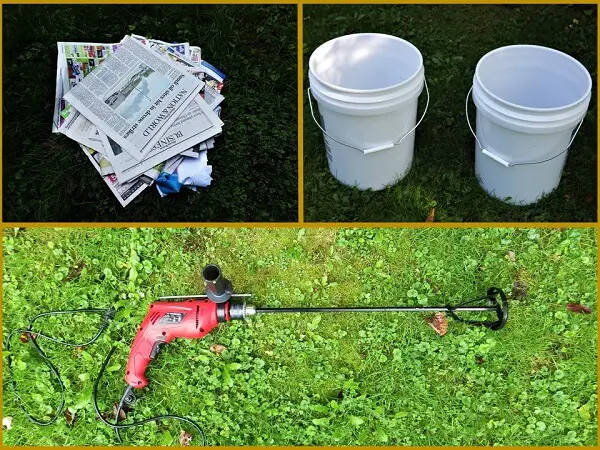
- Paper. Old newspaper is best but any paper from magazines, junk mail, old books, cardboard; if it’s paper, it’ll work.
- Water. Any kind of water but you’ll need to add more as you go.
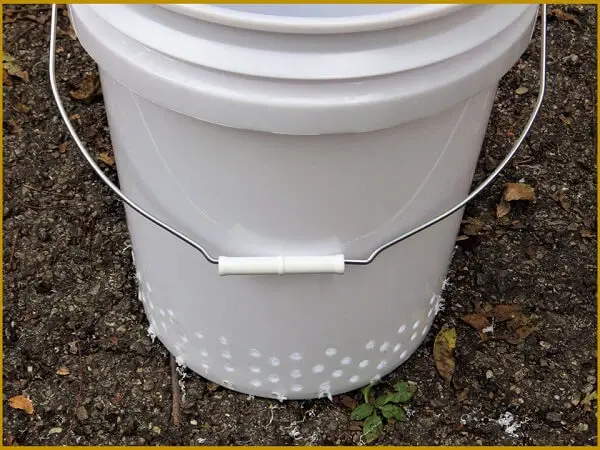
- Two 5-gallon buckets. You’re going to drill holes in one of them and the other will act as a container for weight to compress the paper pulp.
- Weight. This could be rocks, sand, anything that can fit into a 5-gallon bucket to compress the pulp in the other bucket.
- A drill with a ½ inch chuck that can hold a paint mixer
- A paint mixer or concrete mixer
- A ¼ inch drill bit for drilling holes in one of the buckets
Steps:
- Using a ¼ inch bit, drill a hole at a 45-degree angle into the seam at the bottom of the bucket where the wall of the bucket meets the bottom.
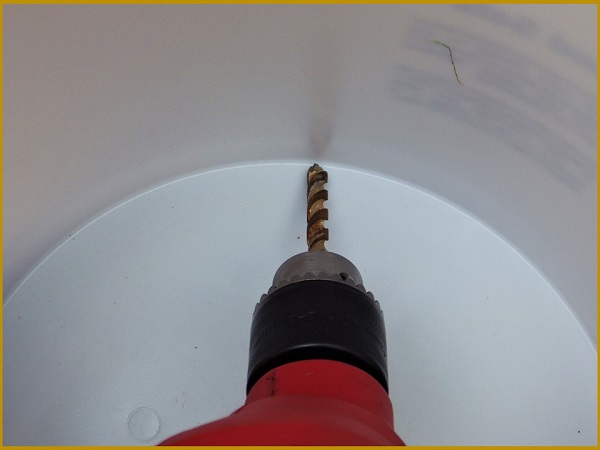
- Continue drilling around the bottom of the bucket on the seam every 1 to 2 inches.
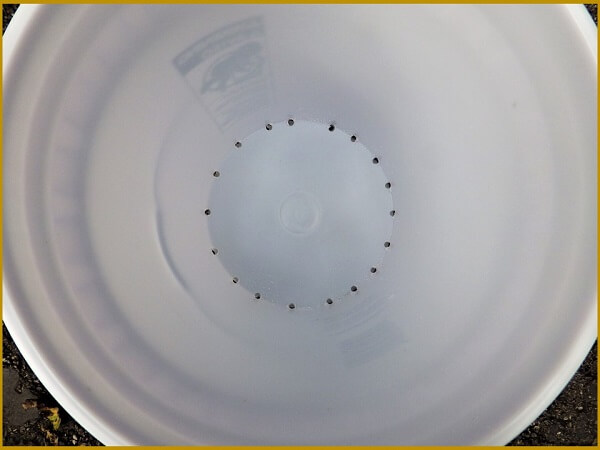
- Flip the bucket on its side and start drilling holes from the bottom up 3 to 4 inches on the side. Alternate the holes as you go. Space them about ½ to 1 inch apart.

- Continue to drill the holes around the bottom circumference of the bucket until you have holes around the entire base.
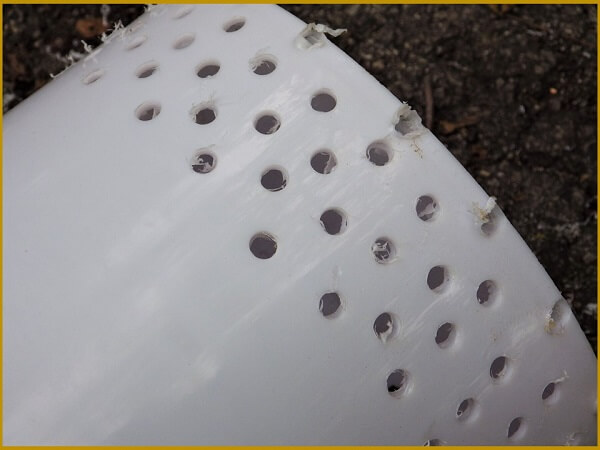
- The bucket is now ready to hold and drain your paper pulp.
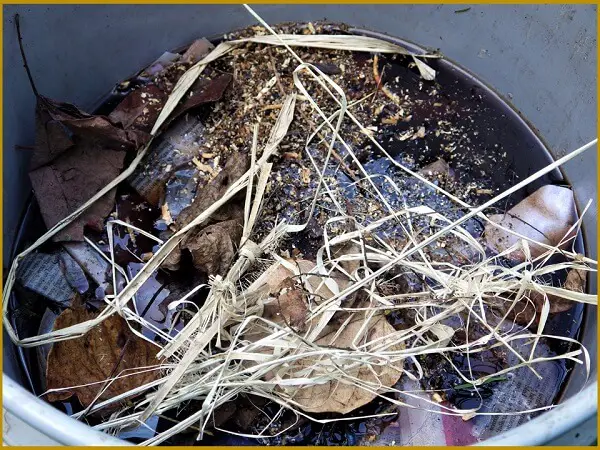
- Tear the paper into large pieces and drop them and some water into the second bucket. Fill the bucket until it's about half full of water.
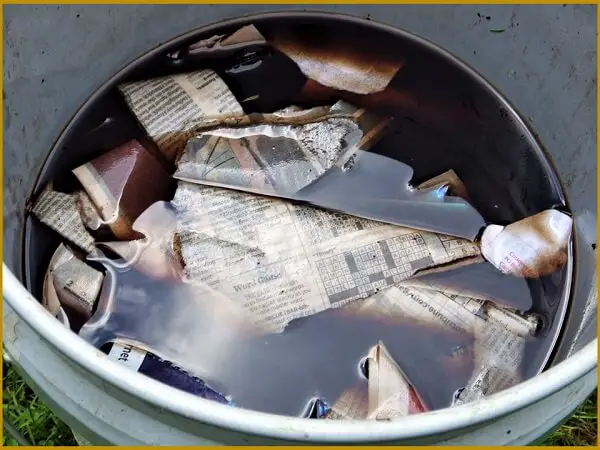
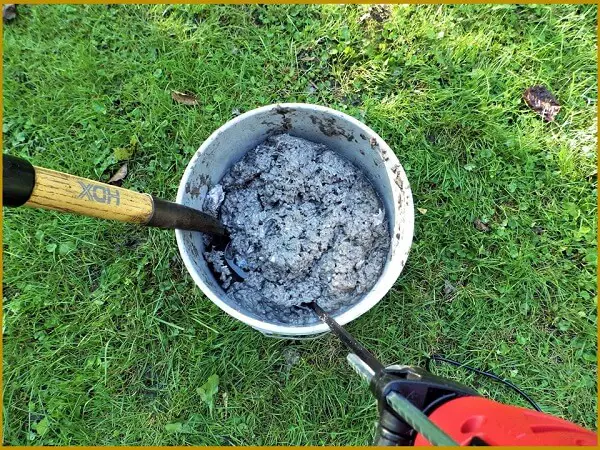
- Use your paint mixer on your drill to pulverize the paper into pulp. Work it around, pull it up and down and watch for splashes. This is a mess. If it gets too thick or your drill starts to struggle, add more water. Be generous with the water, it will all eventually drain away.
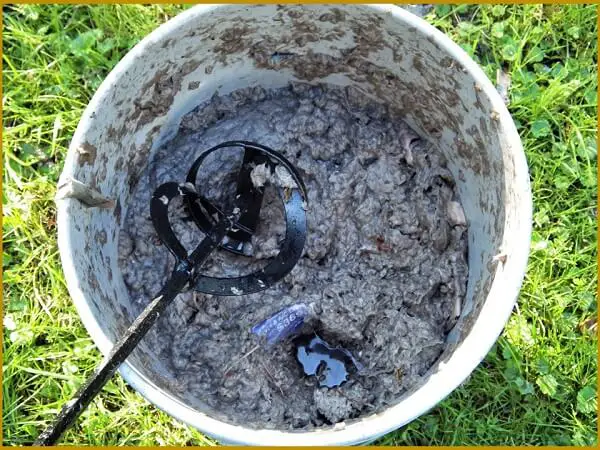
- Keep pulverizing the pulp. Every now and then you’ll have to stop pulping and use a shovel to bring up pieces of paper from the bottom that have avoided the mixer.
- When your pulp has the consistency of oatmeal, you’re done.
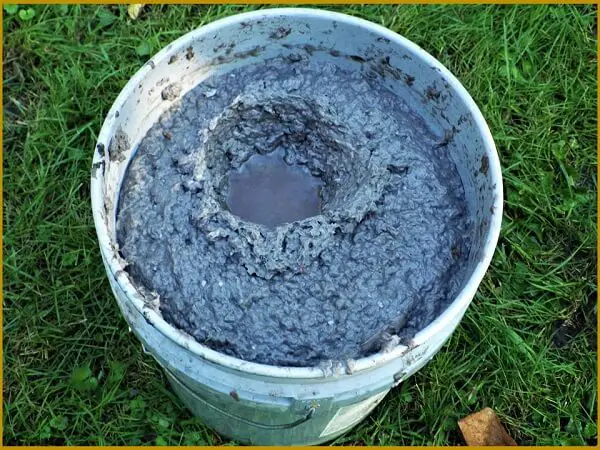
- Dump your pulp into the bucket with the holes drilled at the bottom.
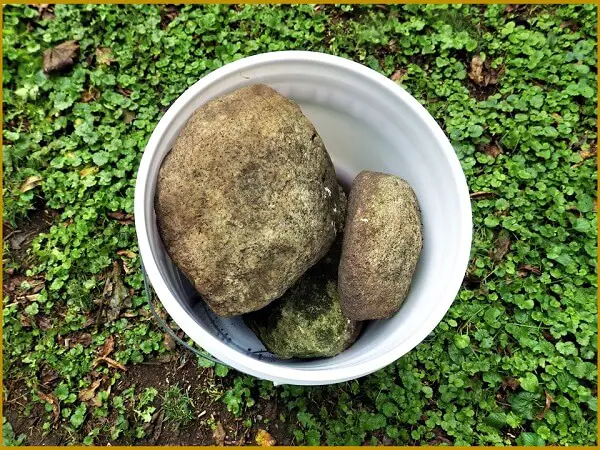
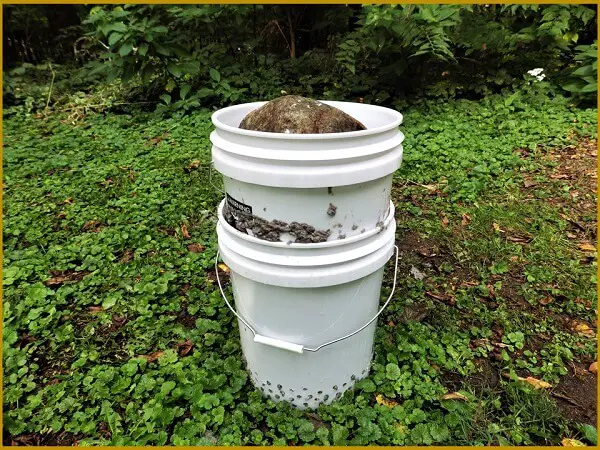
- Put the empty second bucket into the bottom bucket and fill it with large stones or other heavy objects. The heavier the better.
- And now, we wait. Gravity will take over and the weight will slowly drive out the water through the hole; compress the pulp and with time, the pulp will dry.
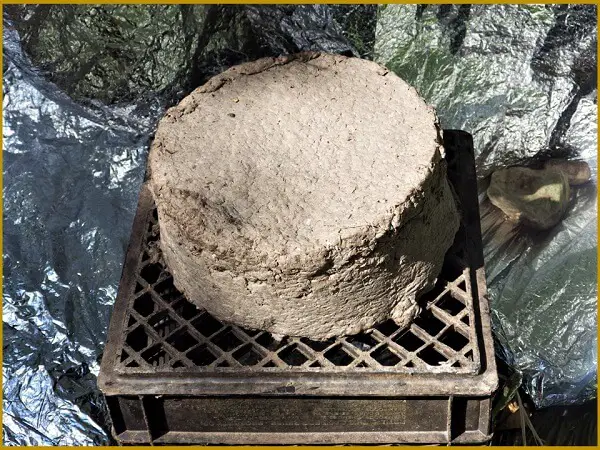
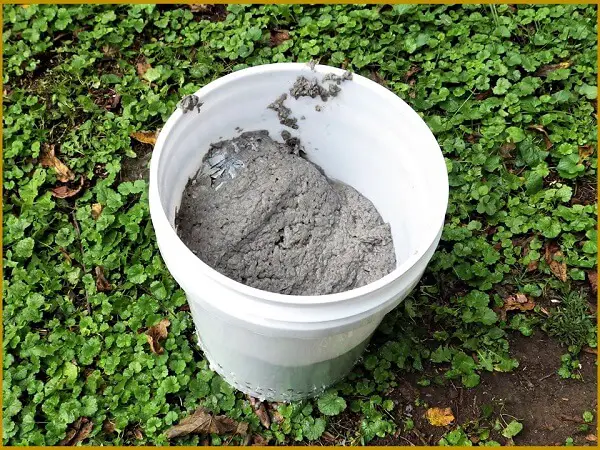
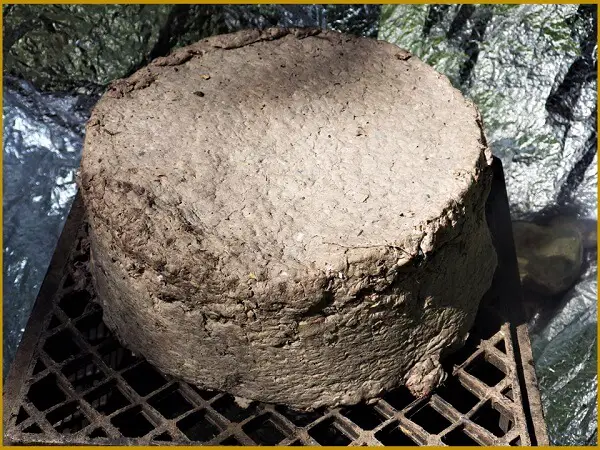
- When the pulp is somewhat dry (usually after 2 to 3 days), remove it from the bucket by flipping the bucket upside down. It should have shrunk a bit so it should fall right out but it will still be wet.
- Let the pulp sit in the sun and continue to dry. Placing it on an overturned milk crate will allow it to get circulation over and under. If there’s a threat of rain, take it indoors or cover it. You can also make a mini lean-to with a mylar blanket to protect it from rain.
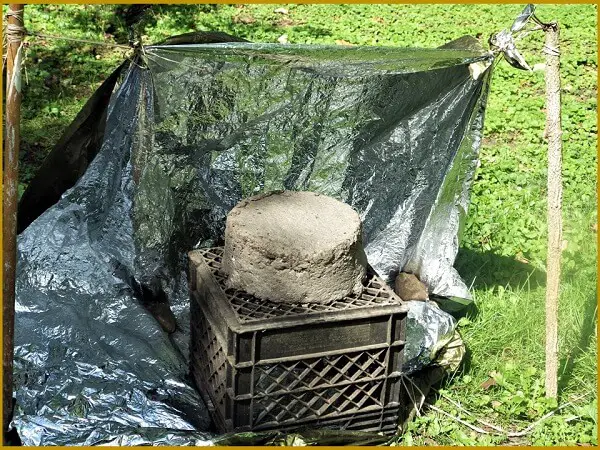
One of the benefits of using mylar blankets is that you can angle it towards the sun and create the dynamics of a solar reflector oven. This can further accelerate drying. It can take up to a week or more to fully dry.
- Test your pulp for dryness by breaking it in half. The center should be dry. If not, let it dry some more.
Traditional Firelogs
Firewood made from pulp in a 5-gallon bucket will burn. But they look like dried paper pulp compressed and formed in a 5-gallon bucket. If you make more than one, they look kind of crummy on a woodpile and you have to bust it apart to get it into most wood-burning stoves. But there is a solution: make logs out of paper pulp.
To do this, you need to make a rig. It looks a little complicated and it is to some degree, but once it’s made, it keeps on going and going. Here’s how to put it to work to make your fire logs.
Equipment needed
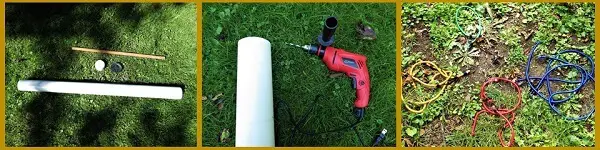
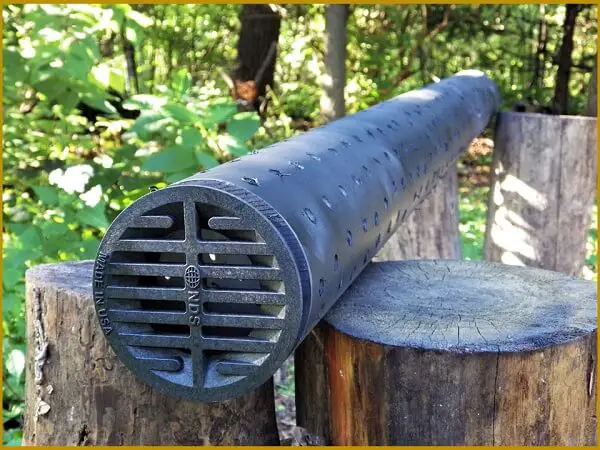
- A 5-foot length of 4 ½ inch diameter PVC plastic pipe. Get the inexpensive PVC, you don’t need the high-water-pressure PVC. Most hardware stores and home-centers sell 5-foot lengths.
- A PVC cap for a 4-inch PVC pipe. This will fit into your 4 ½ inch PVC and act as a plunger to compress your pulp.
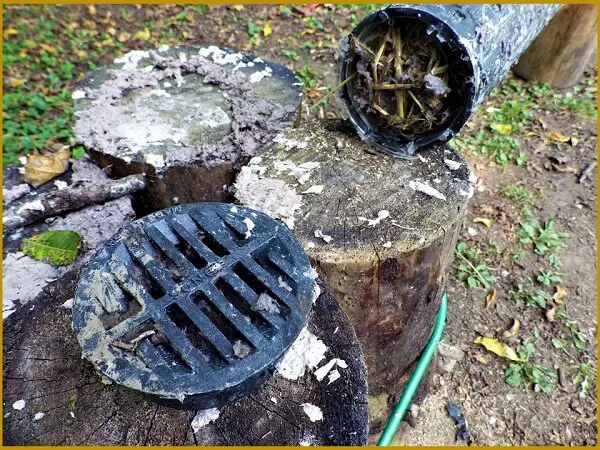
- A 4-inch drain that can fit into the bottom of your 4 ½ inch PVC.
- A 4-foot x 1-inch wooden dowel that can be screwed to the 4-inch PVC cap for your plunger
- 9 2-inch wood screws
- An assortment of bungee cords
- A ½ inch drill bit
- A drill
- A jigsaw
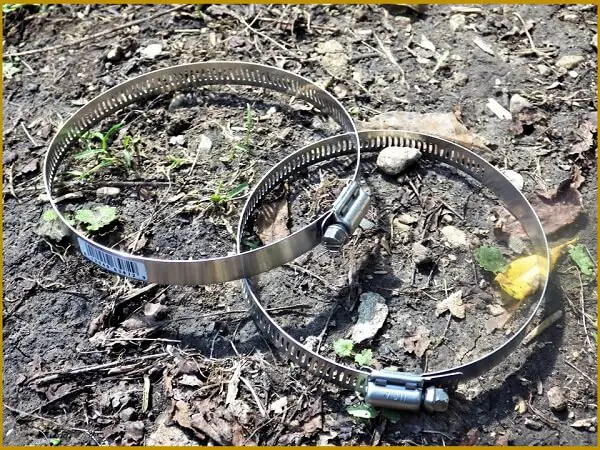
- 2 adjustable metal bands for 5” diameter
Putting it all together
- Measure 1-foot from one end of the PVC and drill your first hole.
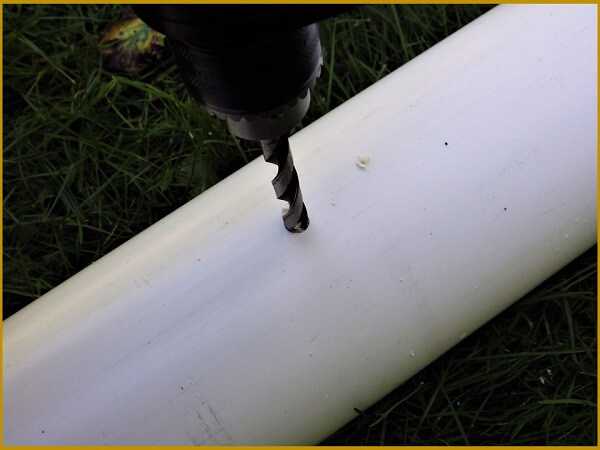
- Continue to drill holes down the entire length of the PVC pipe, leaving the top 1-foot solid. Alternate the holes as you drill down each row. Space them about 1 inch apart.
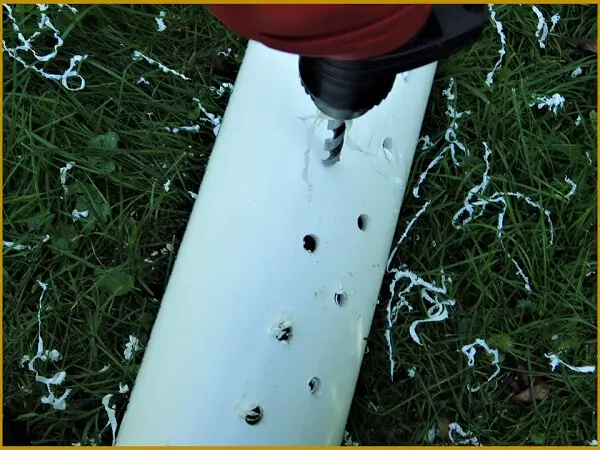
- You now have your mold for your fire logs with holes drilled around the length of the pipe except for the top 12 inches.
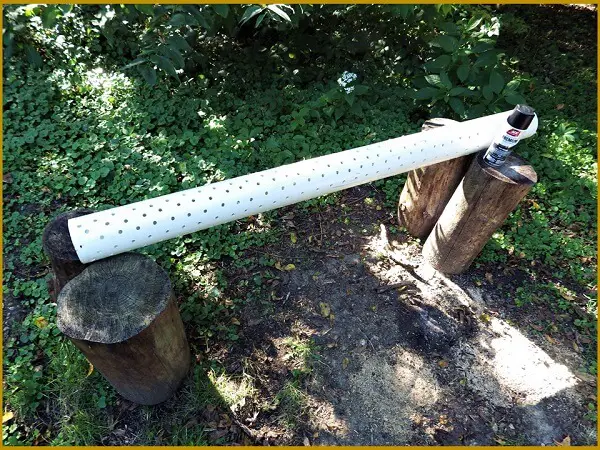
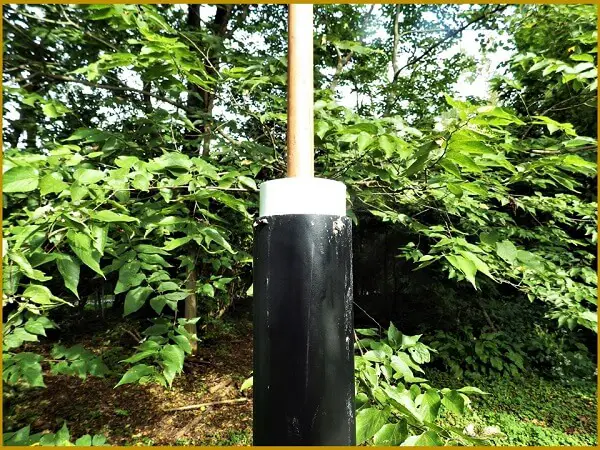
- Spraypaint the entire pipe black. This will help it to absorb heat in the sun to evaporate the water in the pulp faster.
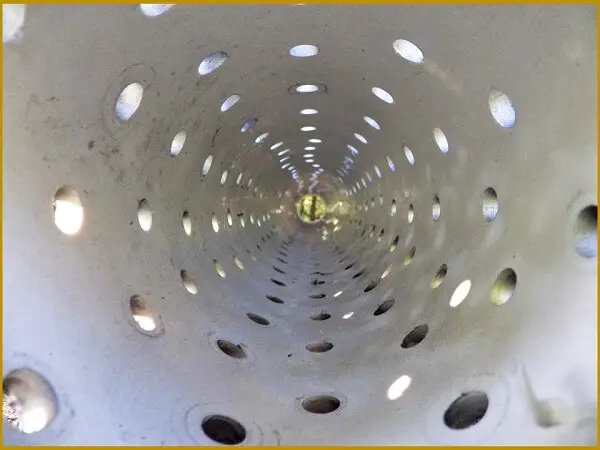
- Your pipe should look like this in the interior.
- Use your jigsaw to cut down the entire length of the pipe on opposite sides.
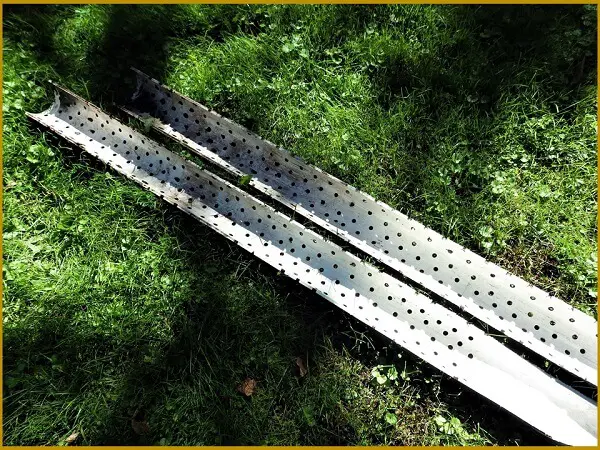
- Put the pipe back together and tighten the 2 adjustable metal bands around the pipe to hold it together.
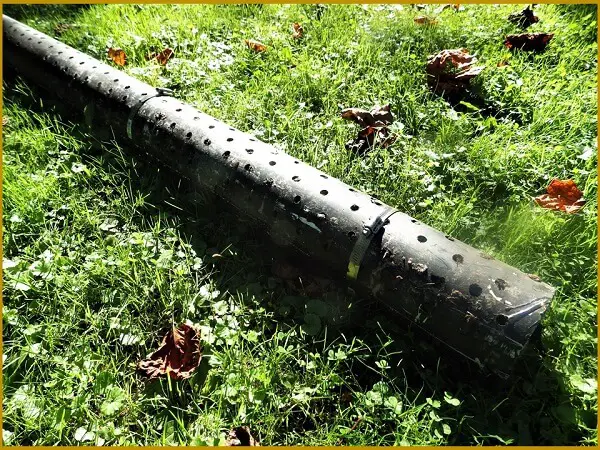
- You now need to install your end cap. The end cap will allow the most water to drain from your pulp and the drain will help to hold the pulp in the pipe. Without a bottom end cap, the pulp slurry will simply run out.
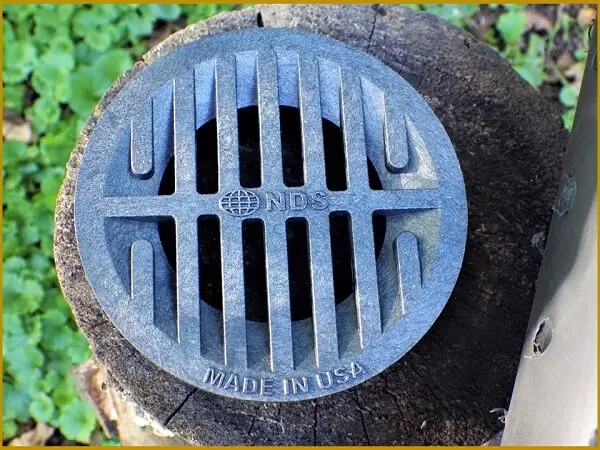
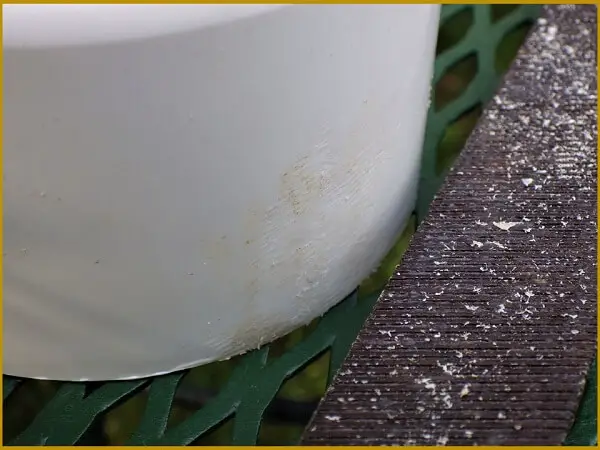
- Gently pound the end cap onto the end of the PVC. If there are any ridges on the interior sides of the cap, trim or file them off so the cap fits snugly but can be removed.
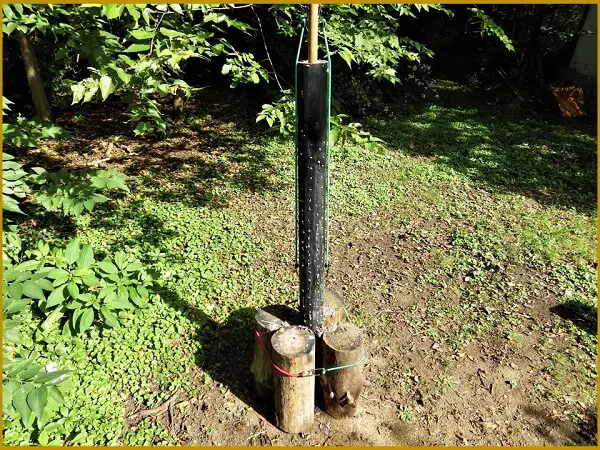
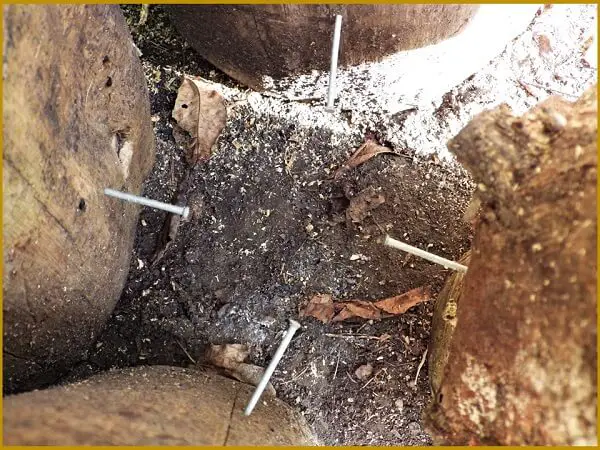
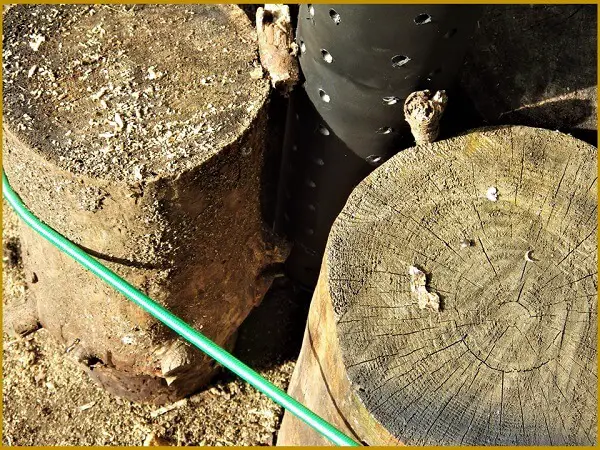
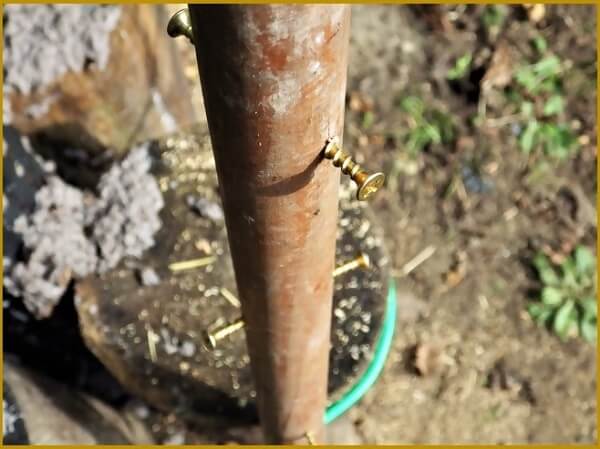
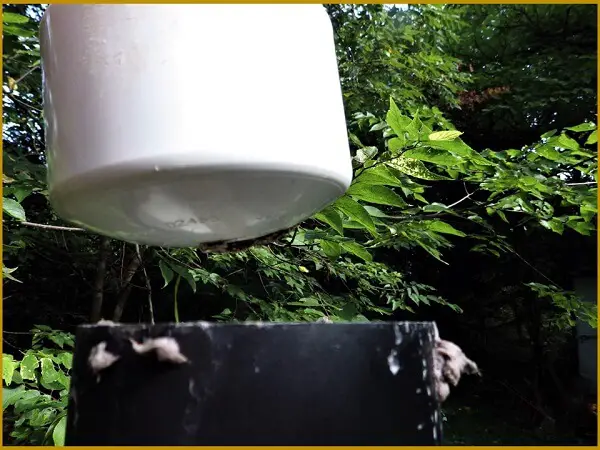
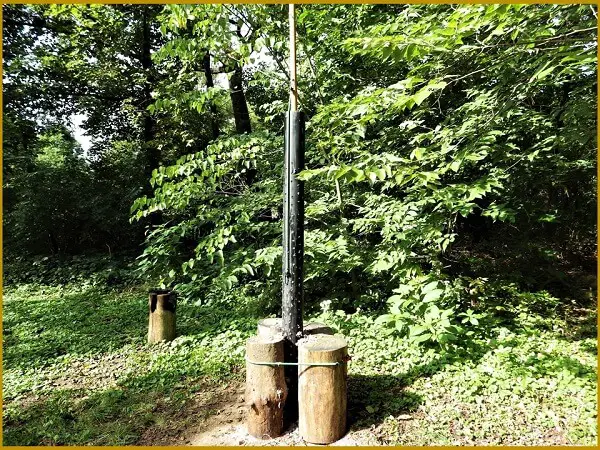
- You need to support your pipe and keep it off the ground. One way to do this is to pound 4 nails into 4 large logs. The nails will keep the pipe off the ground so the water can drain, and the logs will support it vertically. You can also use small rocks of a similar size to support the drain off the ground.
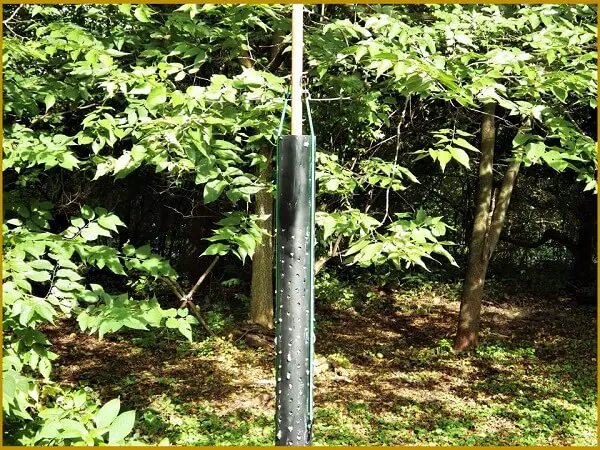
- Position your log form in a sunny location and bind the logs with bungee cords.
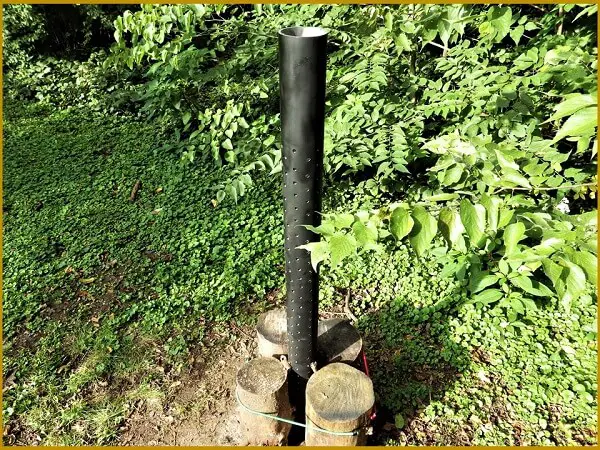
- To keep the logs from snugging up against the pipe and blocking the drain holes, put some small sticks or stones between the log and pipe. The tension on the bungee cords will keep them in place.
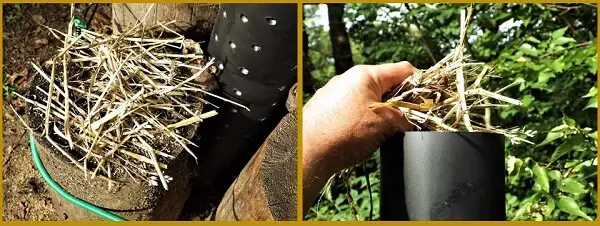
- Before you fill your pipe with pulp, find some straw and drop it into the pipe first. This will allow the water to drain but will prevent the pulp slurry from squeezing through the bottom drain while it’s still very wet.
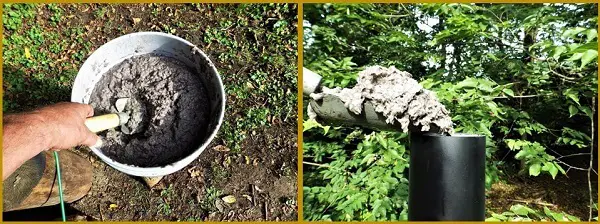
- With a small shovel, scoop up some of the pulp and pour it into the vertical pipe until it reaches the top holes on the pipe before the section that has not been drilled.
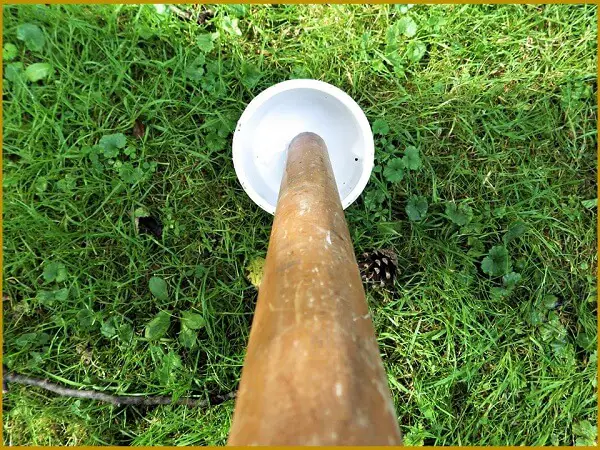
- To make your plunger for the pipe, start by cutting off any protruding nubs or nibs on the 4-inch end cap.
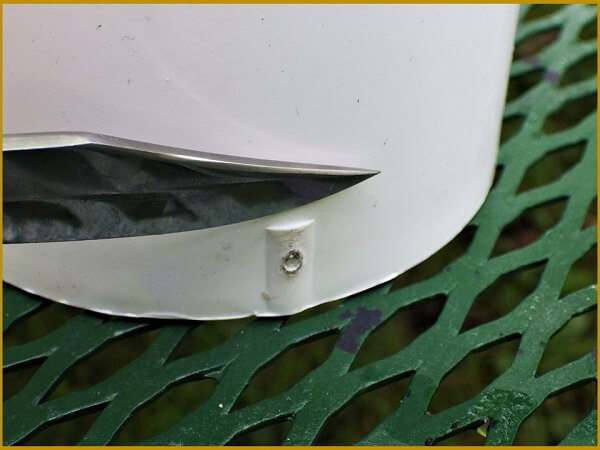
- You can also use a file to remove any protrusions. File or sand the entire circumference of the cap including the edges. You want the plunger to slide smoothly but snugly into the main pipe.
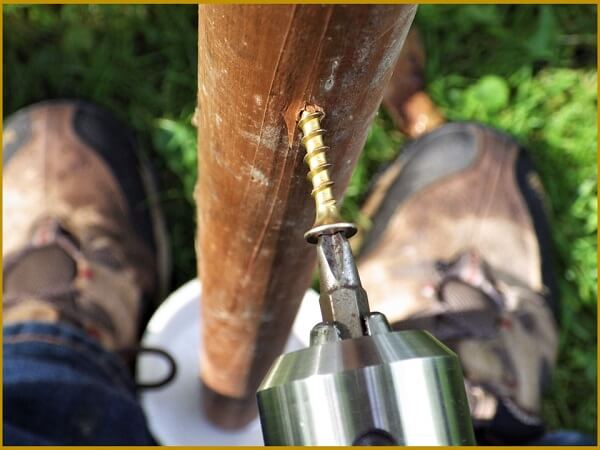
- Drill one of your screws into the top of the cap.

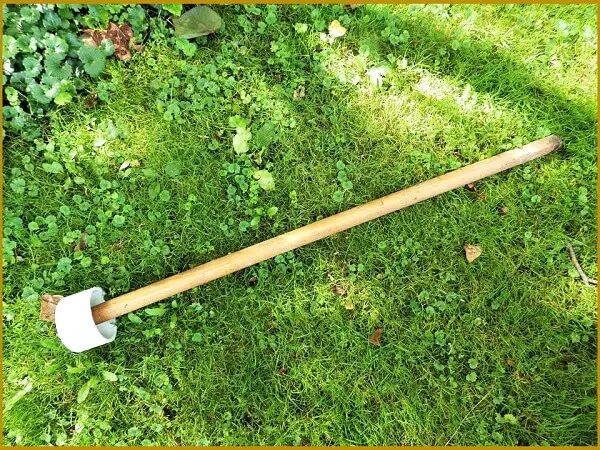
- Attach the cap to your 4-foot dowel with the screw.
- The plunger is complete and is a critical component to keep pressure on the pulp to drive out the water and form the logs.
- Drill screws onto the dowel about 1 foot apart on the length of the dowel.
- Drill another screw into the dowel opposite each screw. These will be used to attach your bungee cords to create pressure on the pulp.
- Insert the plunger into the top of the pipe.
- Align the plunger and make sure it slides in freely but snuggly. If it’s too tight, sand the circumference some more.
- Your log form is ready and all that’s left is to attach the bungees.
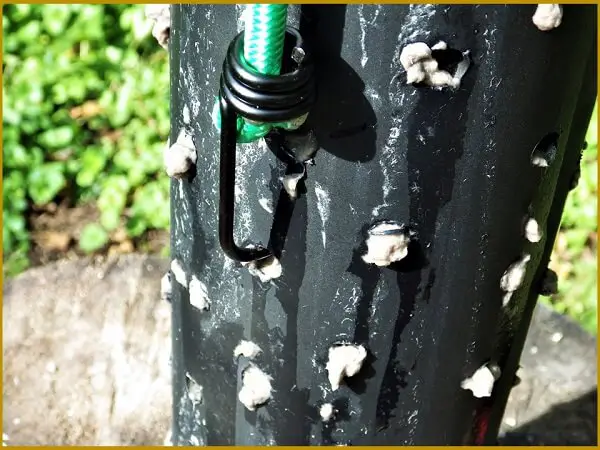
- Insert one of the bungee cords into one of the drain holes. You may have to use some pliers to widen the bend to get it into the hole.

- Attach another bungee cord through a hole opposite the first cord.

- Pull the bungee cords up and attach to the screws at the limit of the stretch for the bungee cords.
- You now have pressure on your pulp. Push down on the plunger to make sure it has compressed the pulp tightly. Readjust the cords to a higher set of screws if necessary.
- With our log form set up in the sun, all you need is a day to have your first compression of the log. Underneath your pipe, you’ll see the water slowly draining.
- If you have any doubts about painting your tube black, this thermometer shows the value of creating an environment to generate heat. The pulp is measuring an internal temperature of 150 degrees F. in full sun.

- After a day in the vertical position, lay the tube horizontally but supported above the ground. This will accelerate the drainage and evaporation. Do this for one day.
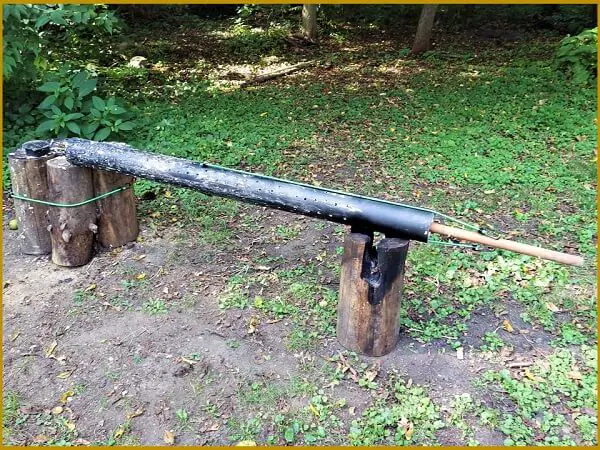
- Remove the drain cap to further aid drainage and evaporation.
- After two days of drying, use a sledgehammer and drive the plunger into the tube to jar the log loose.
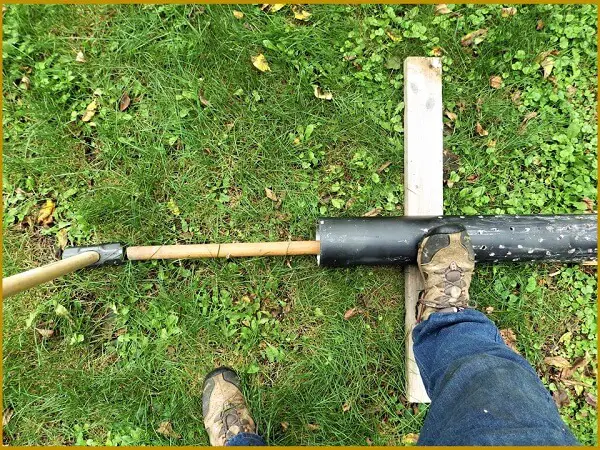
- After you have jarred the pulp loose, removed the two metal bands and lift off one side.
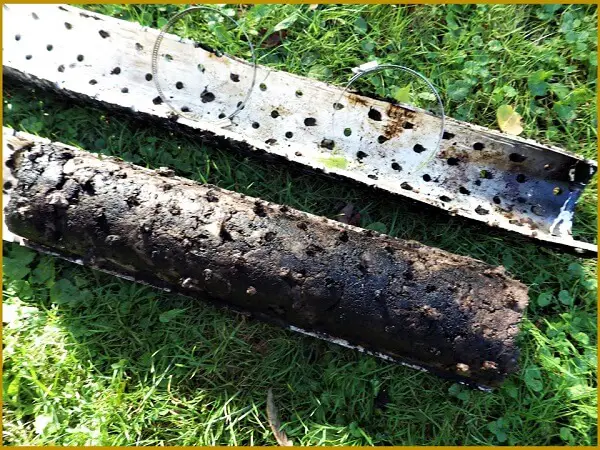
- Place the other half of the pipe with the pulp still inside in the sun to continue to dry.
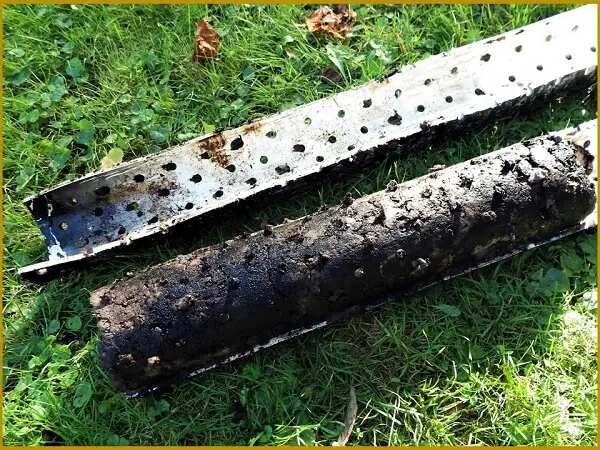
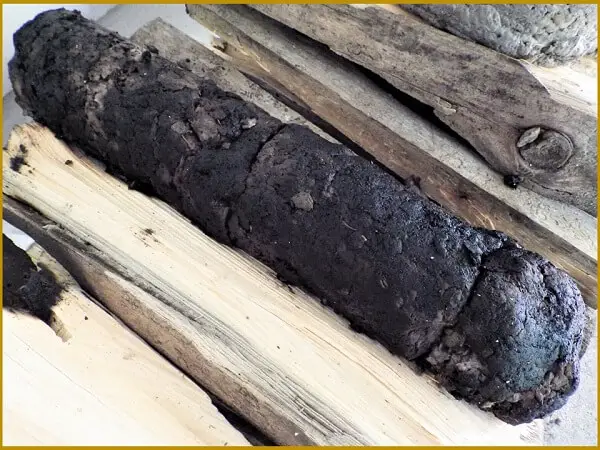
- Remove the dried wood pulp.
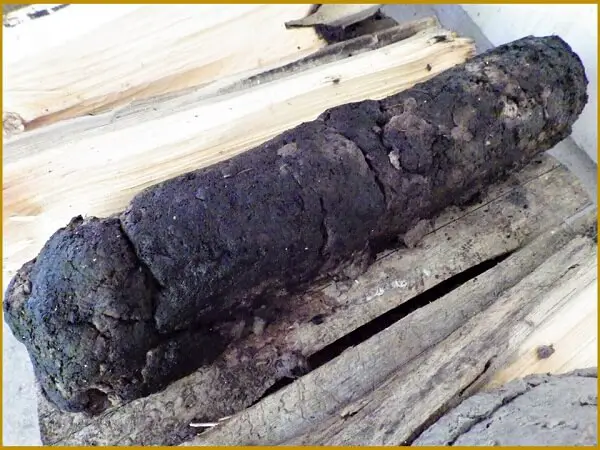
- Cut off a log to fit your fireplace or stove. Check the interior. It may still be moist. Stack it and let it season some more until it’s thoroughly dry.
Fire Log Options to Consider
So far we’ve isolated the formula for fire logs to paper and water, but there are other materials in nature that can easily be added to paper to make your logs and make them better in a couple of ways.
Alternative Materials
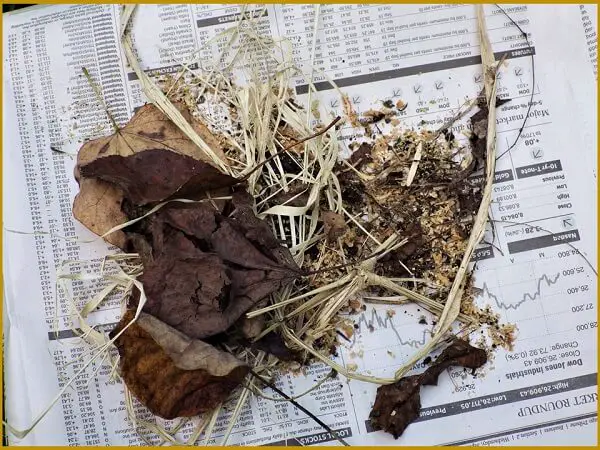
If it’s dry and it’ll burn, you can consider adding it to your paper pulp to make your logs. The pulp acts as a binder and other materials will actually act to reinforce the bricks or logs and burn better. Here are some possibilities:
- Sawdust
- Wood chips
- Wood shavings
- Pine needles
- Crushed pinecones
- Straw
- Leaves
- Resinous bark pieces from birch, beech and aspen trees
What’s important is to make them part of the paper pulp.
On their own, they don’t have the binding ability of paper pulp and will crumble and fall apart when dry unless put under industrial-strength pressure.
A Touch of Martha
Logs made from paper pulp dry to a color that can best be described as battleship grey. It’s not particularly attractive when stacked on the woodpile next to the fireplace or woodstove in the living room. Fortunately, there’s an easy and natural way to correct that, particularly in the Fall.
Black Walnut Time
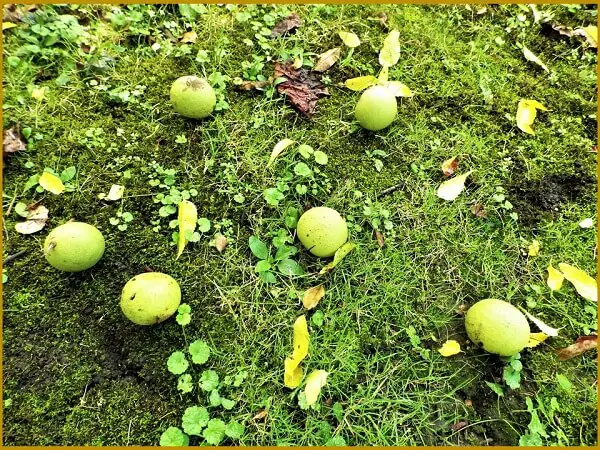
If you’ve never found the time to harvest and eat black walnuts, you’re missing out. They’re good to eat and good for you. But anyone who’s ever handled black walnuts know they come with a price. They dye everything they touch black. That’s why they’re called black walnuts.
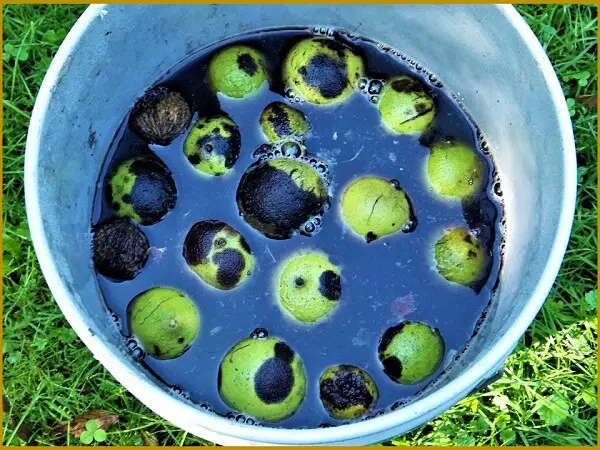
You don’t have to go through all the effort of shelling, rinsing, drying and roasting black walnuts but if you throw a bunch in your 5-gallon bucket of water they’ll quickly dye the water black.
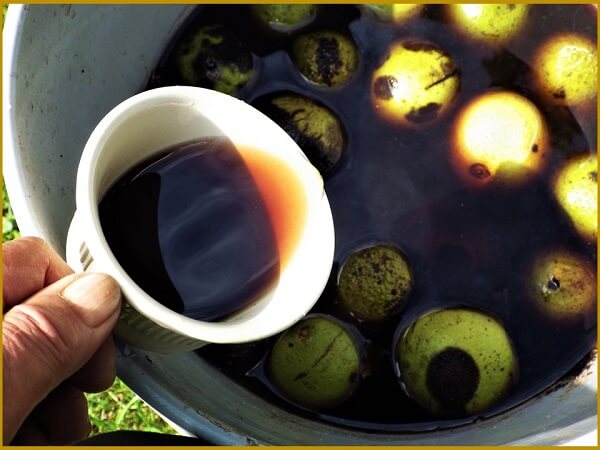
All you have to do is scoop the walnuts out of the water, add your paper and other materials and pulp it up with your drill mixer. The result will be a firebrick with a darker color that resembles wood rather than a hunk of metal from a battleship.
This is a totally unnecessary step from a functional standpoint, but the logs will look better on your woodpile.
Keep on Paper Logging
Once you get the hang of this and have the tools and equipment around, you’ll probably make fire logs more often. Then again, maybe you won’t. Either way, it’s a good skill to know and a great way to recycle; put all of your paper trash to good use and best of all, save some money.
Like this post? Don't Forget to Pin It on Pinterest!
You May Also Like: