Estimated reading time: 10 minutes
Mylar bags are an effective way to store dry foods like beans, lentils, rice, grains, and flour. After walking through a pandemic, it’s clear that most of us now see the benefit of having some basic food storage, and the method of using Mylar bags is simple and effective for up to 25 years, depending on what is inside.
Why Mylar Bags?
Mylar bags are an easy to way to protect your bulk dry goods from light, moisture, insects, and oxygen. Removing oxygen from dry food acts as a natural preserver in boosting shelf-life. Oxygen within food can speed up the growth of mold and bacteria, so this process acts as a natural preservative.
The bag itself is aluminum foil and food-grade plastic. Mylar was produced in the 1950’s for many other products, but when utilized for food storage it was accompanied by the important layer of food-safe plastic. Make sure when purchasing your Mylar bags that they are labeled for food storage.
Once the food is properly stored, the bag protects from gases, light, punctures, and moisture. It is not rodent proof, so depending on where you are storing your bags, you may want to keep this in mind.
Mylar bags are not easy to stack, so condensing storage takes a second step like a separate container to hold your bags. Despite these minor downsides to the bags, this method is cost-efficient, simple, and easy to do in bulk.
However, for safety, make sure that you are choosing foods with less than 10% of moisture. Things like dried fruit, popcorn seeds, or high-fat foods are not the best options because the moisture inside of these foods alters the food safety standards and puts you at risk for things like botulism.
Want to save this post for later? Click Here to Pin It On Pinterest!
Supplies Needed:
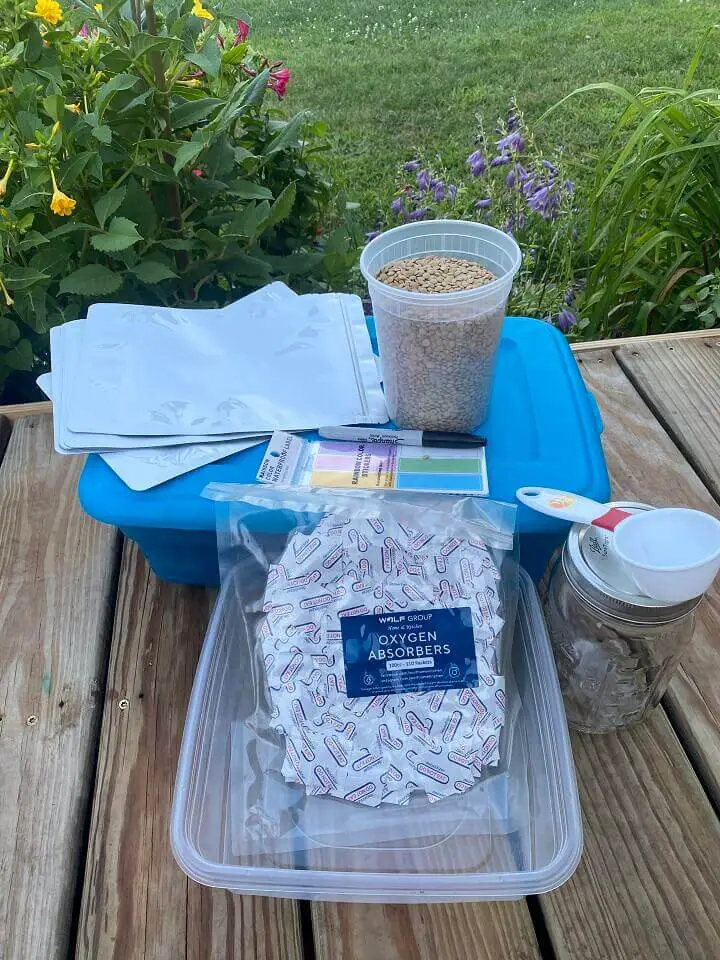
- Mylar Bags. I prefer storing in smaller size bags so I can open what I want to use slowly and keep the bulk fresh.
- Funnel or scoop, depending on what you are storing.
- Oxygen absorbers.
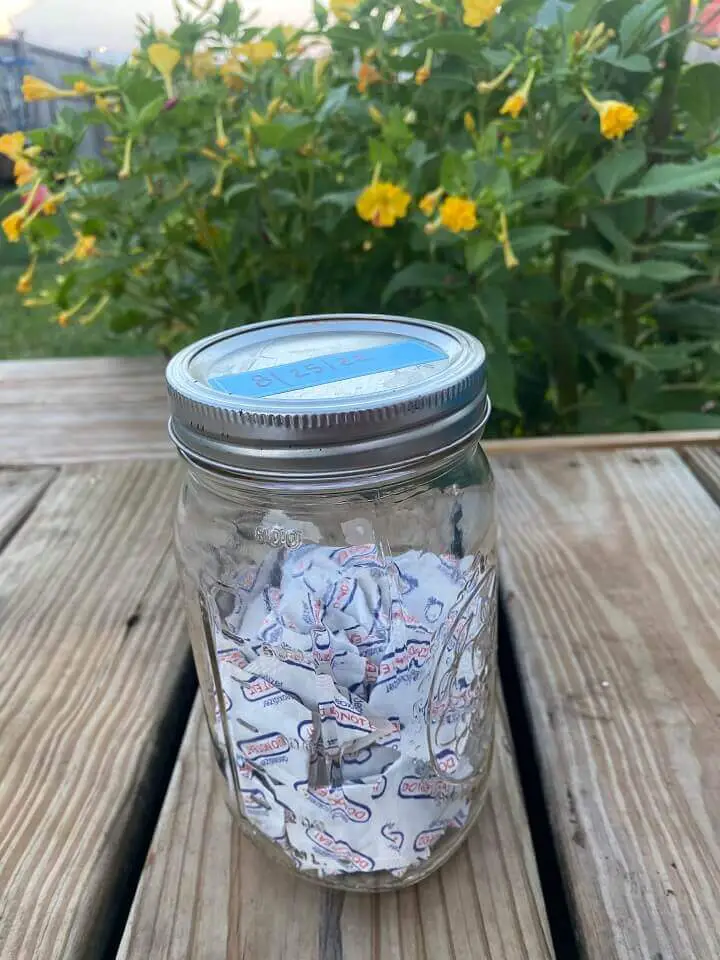
- Jar or other air-tight container to store leftover oxygen absorbers. If the oxygen absorbers just sit out, they will quickly be spent from absorbing too much oxygen in the air. If you want to use any another day, they will need an airtight container for storage.
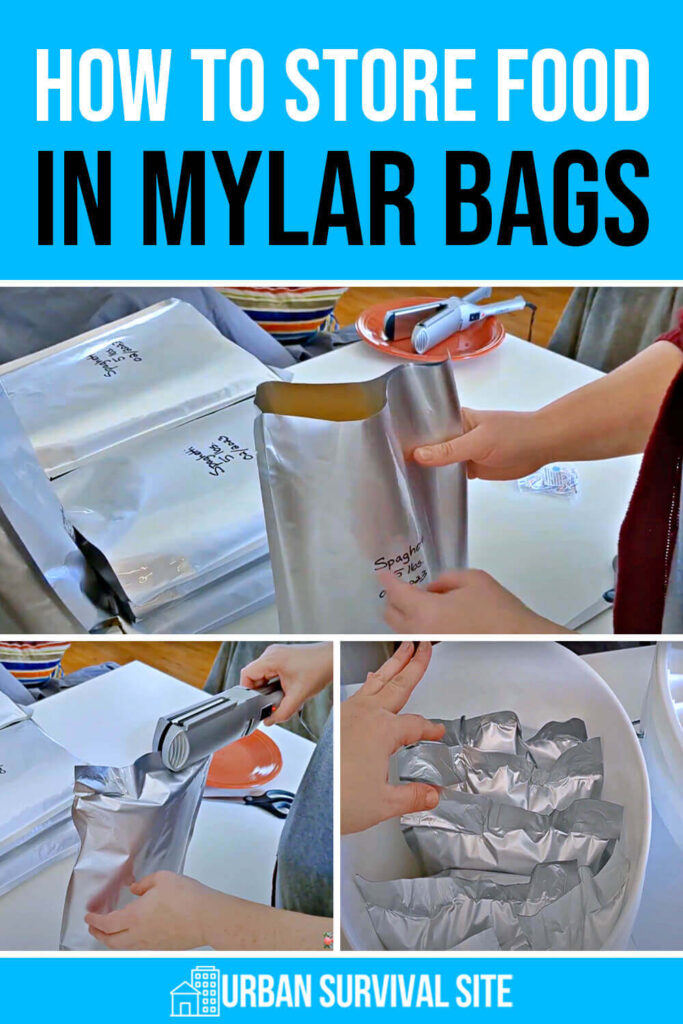
- Heat source like a hair straightener or iron.
- Box storage for your packed Mylar bags.
- Labels and permanent marker.
Set-up
Taking a little time to set up your assembly before you start helps this to be a smooth process. I like to have bags open, in a row, standing in something like a storage box or Tupperware.
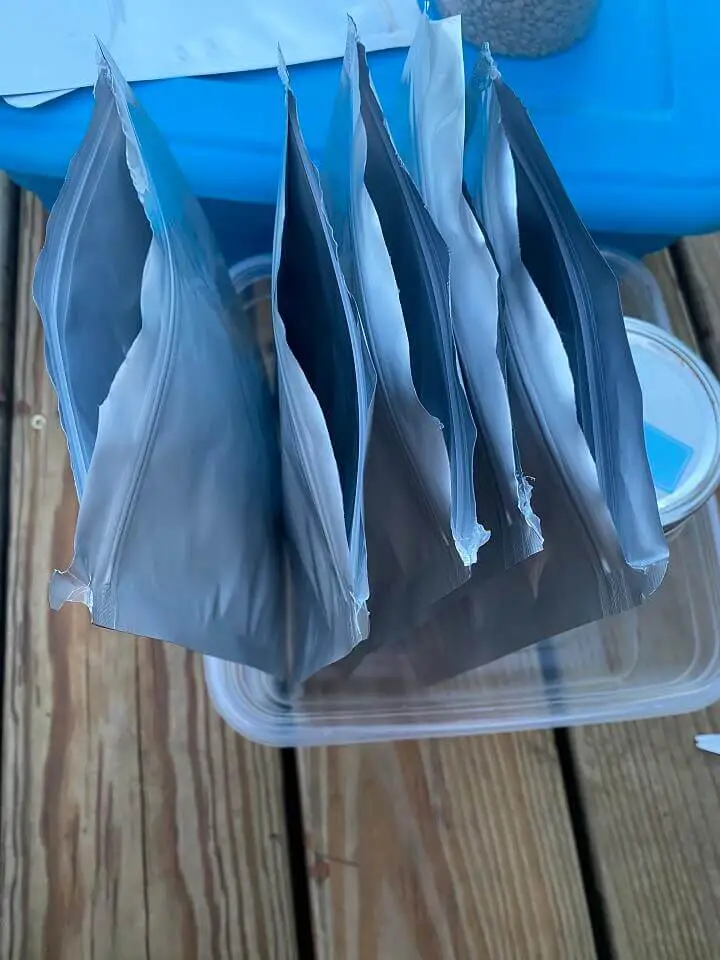
While storing things like beans, it’s easy to just fill several bags at a time. This also helps me be quick adding oxygen absorbers and sealing the bags successionally.
Fill
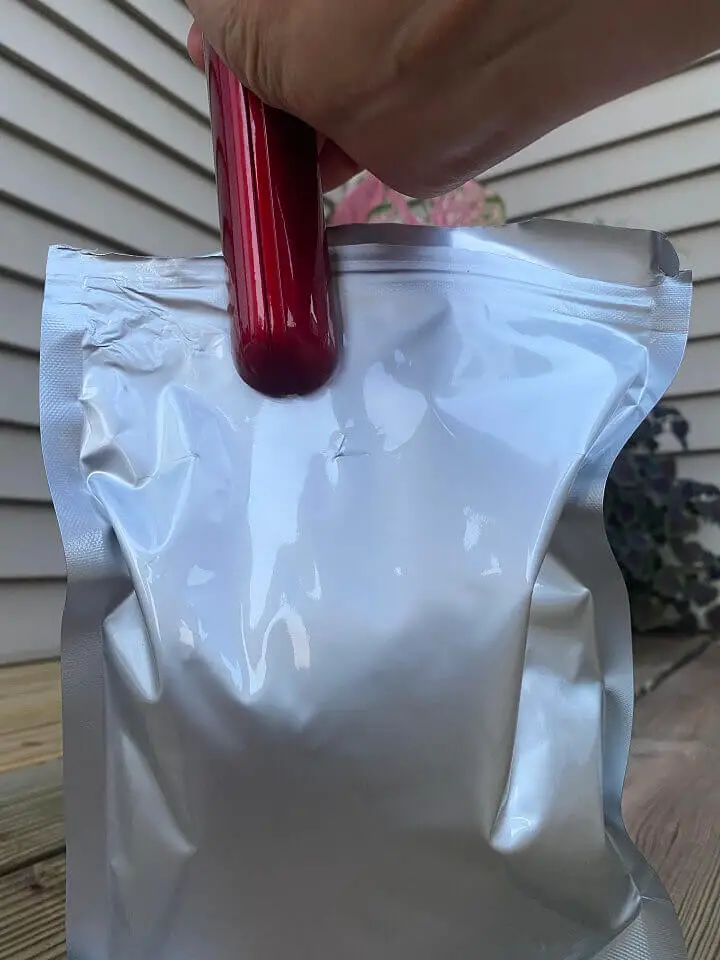
Once you have your bags open and in a row, it is simple to use a scoop and go through and fill your bags. I fill my bags just past ¾ full.
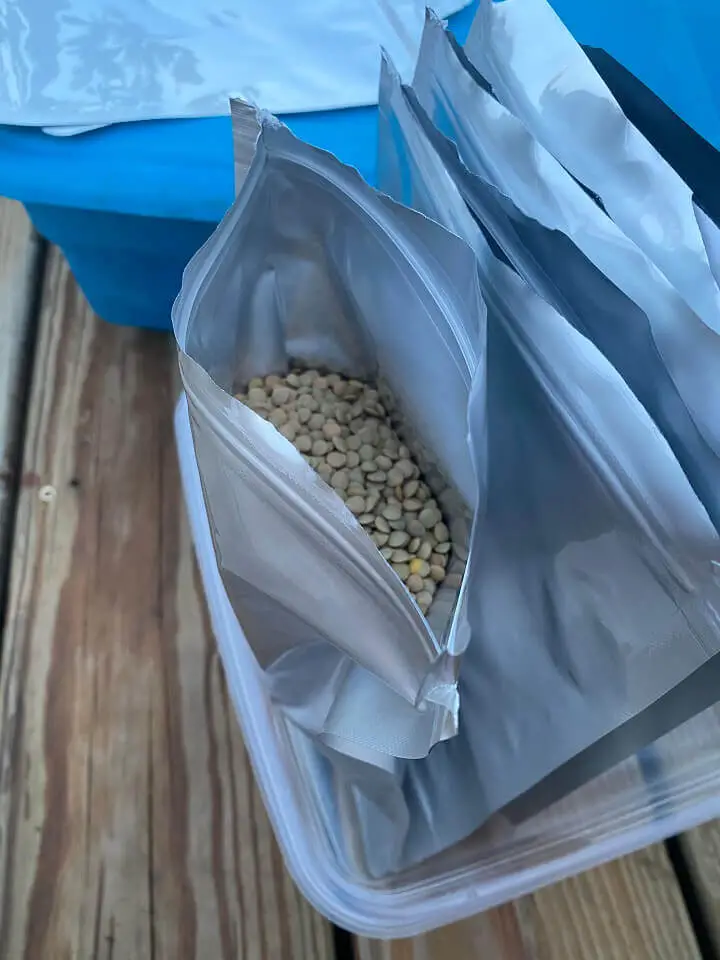
Having some room in the top makes it easy to seal. Once the bags are full, I gently shake the whole box to help the food settle toward the bottom and fill out any loose air pockets.
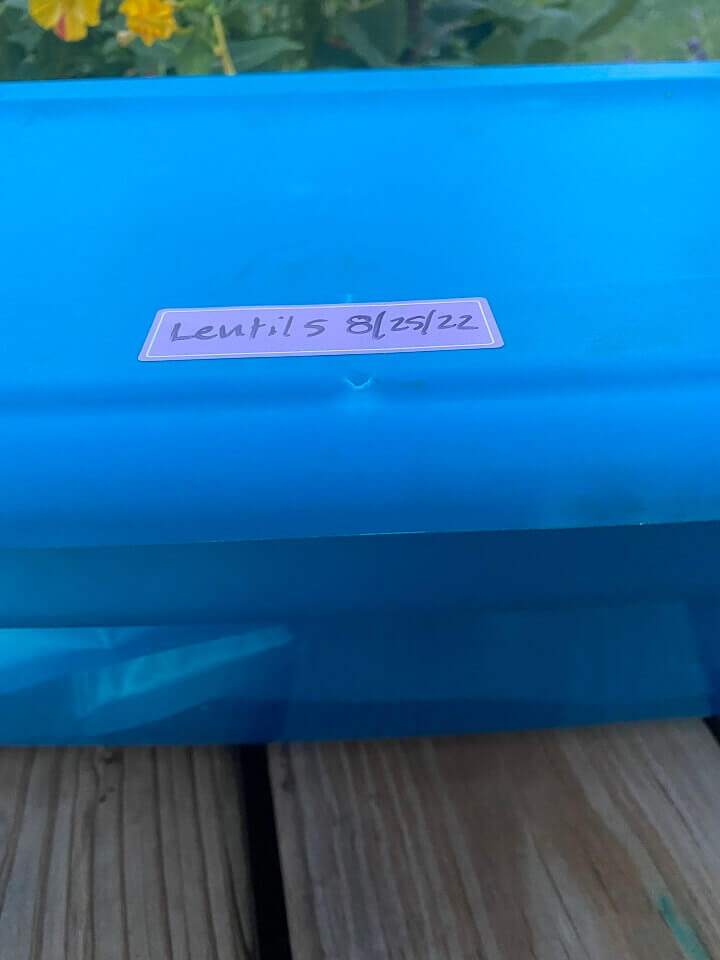
I label my food in two places. The first place is now on the bag as soon as it’s filled, while I can still see what is inside. I write the food type and date.
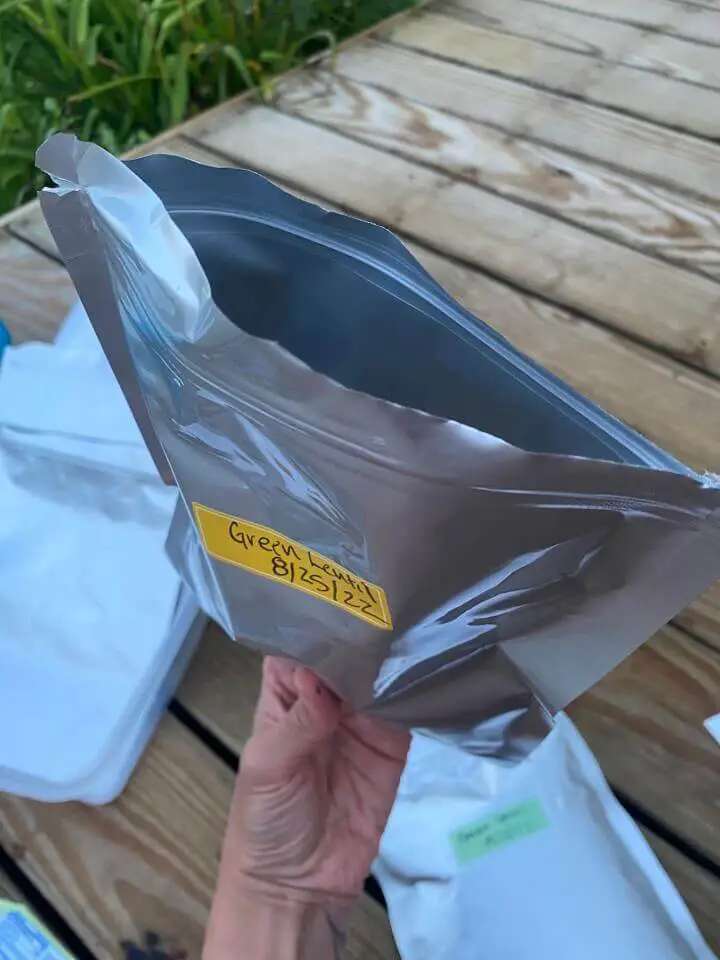
This may seem obvious, but once you’ve waited to label after sealing because you thought you could remember, but you forgot… you don’t make that mistake again. Save yourself the trouble and label now.
Sealing the Bag
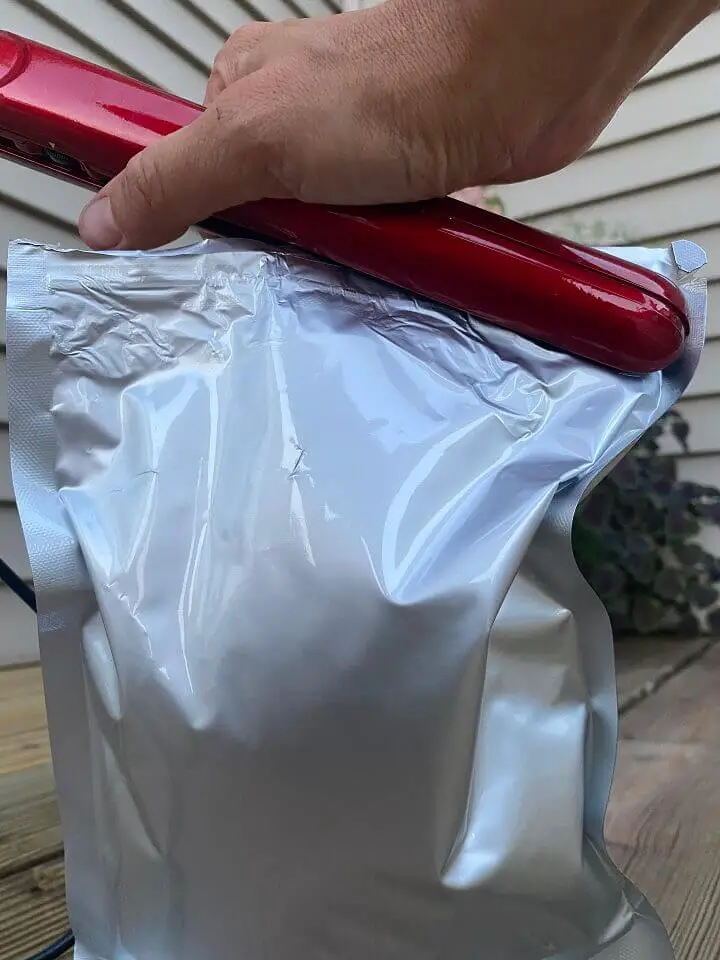
I like to use a hair straightener to seal my bags. I think it’s easier to do several bags quickly without having to move the bag into compromised positions. If you only have an iron, it’s doable, but it may take you more time.
You do not want food anywhere near the seal, so shake down any loose particles again. I use my straightener on the highest setting and run it over the top of the bag to seal, except the last couple of inches.
This opening is where I will add my oxygen absorber later, but I want all my bags prepped so this part can move quickly.
Some mylar bags come with a zip lock seal.
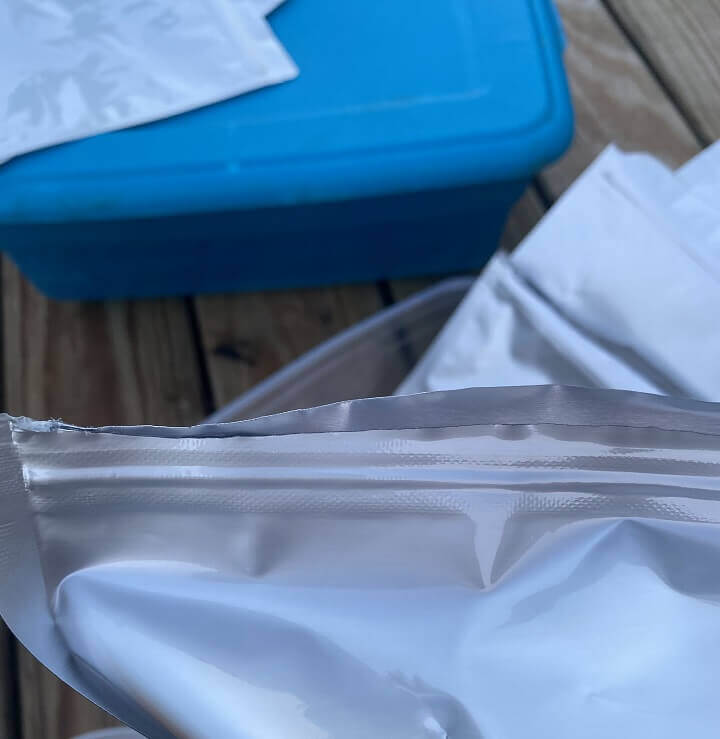
This seal does not replace the heated seal, though it does help you as you want to start a seal with minimal air and no food in the way.
Placing Oxygen Absorbers
Before you do this step, find out how many absorbers you will need per bag. You can use this site as a tool. I like to mark the bags with how many I need if I’m using multiple sizes of bags.
Also, a few foods can’t be used with oxygen absorbers. Both sugar and salt will condense into a solid mass if an oxygen absorber is added. You can check here for other foods to skip the oxygen absorber.
Once I’m ready, I quickly add the oxygen absorbers.

I want to be able to seal each bag within minutes of adding the oxygen absorber, so having prepped each bag helps this process be fast. Excess oxygen absorbers should be stored immediately in an airtight container.
Sealing the Bag With Heat
Once the oxygen absorber is inside the bag, I carefully press air upward and out. Then I seal the rest of the opening with the heat source.
I go over the whole seal with the straightener again to ensure the seal. It will take a few hours for the oxygen to be absorbed. For most bags this will look like it was vacuumed sealed.
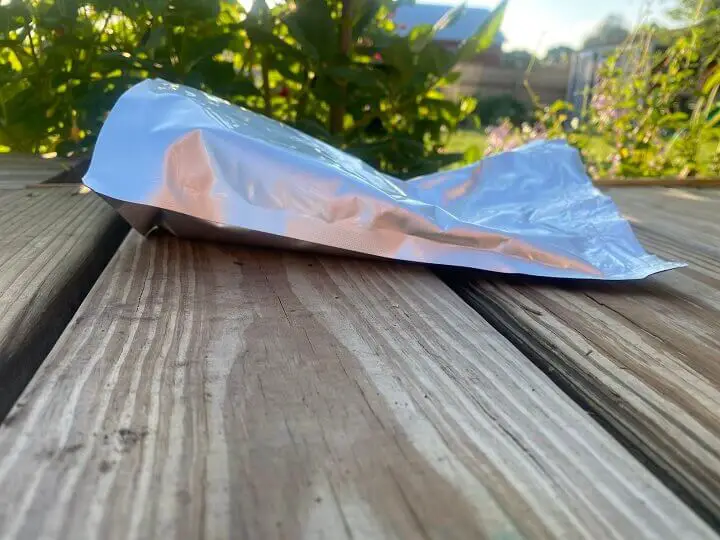
If it doesn’t, you may have a leak, but it may be fine. I like to give it a full day before I determine for sure. I do so by gently pressing on the bag and feeling if any air is able to escape the top.
If air escapes, I slightly re-open to add new oxygen absorbers and re-seal.
Storage
This is when I add my second label.
I like to store my mylar bags in a separate container to prevent rodents and to stay organized.
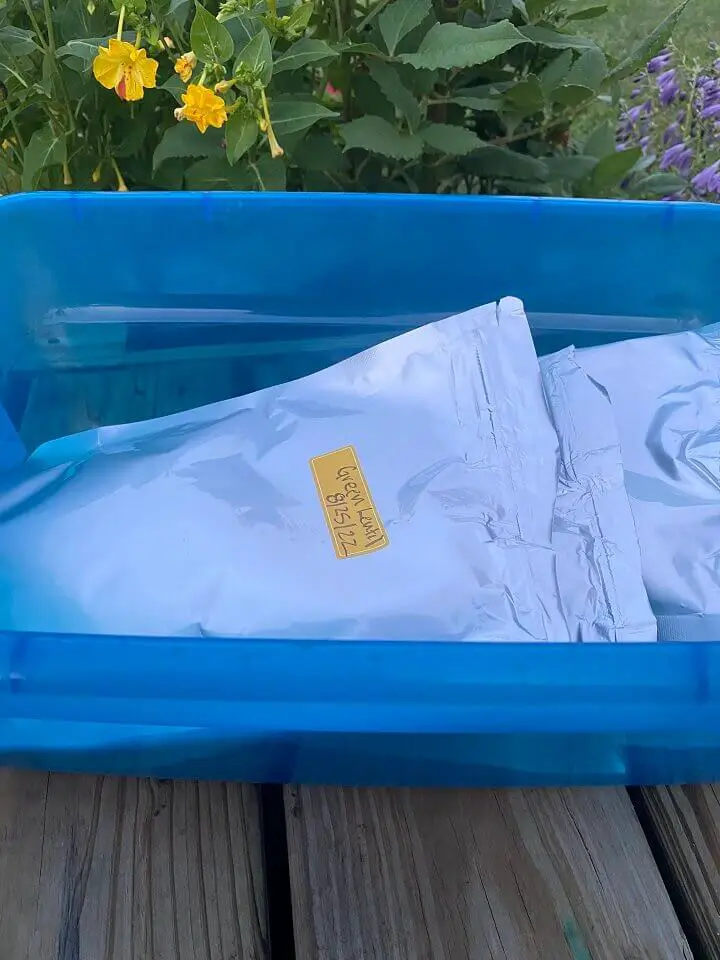
Each larger container I label with the product inside and add any dates that I packed some of the food.
Tips to Consider
There are plenty of dry, low-fat foods that you can store this way that have a long shelf life. Completely dry dehydrated vegetables and fruits (firm like dehydrated banana chips), many whole grains, white rice, dry spices, beans, and pastas are examples of foods that fit in this category for decades.
Other foods like dehydrated meats, brown sugar, brown rice, nuts and seeds, softer dehydrated fruits, and vegetables (softer like dehydrated apricots), ground grains, and granola are some that can be stored in Mylar bags with a shorter shelf life. These foods carry a bit more risk with time, so it’s best to swap them out after just a few years.
Botulism is a toxin caused by bacterium that grows with foods with at least 35% moisture and no oxygen. This is the primary reason it’s best to stick with low-moisture foods. If you have a Mylar bag that looks full of air, or bulging, this is likely a sign of botulism or other bacteria.
Though cooking can kill botulism, if you can, just toss any stored food that you feel uncertain of the safety. If you are in an emergency setting and need to eat food that you are concerned is contaminated with botulism, you can destroy the toxin by boiling for at least 10 minutes.
Concluding Thoughts
Many people have seen where plastic food containers can fail from leaks, breaks, or lack of longevity. Using Mylar bags offers a greater layer of safety and preservation for your food.
Mylar food bags are affordable and successful in extending the shelf life of many bulk foods. This simple food storage plan is great to add to build up any food supply.
Although it may seem excessive to someone who has never actually had to depend on food storage for a meal, you don’t want to be the person who must find out the hard way. Forethought is the first step in preparedness.
Like this post? Don't Forget to Pin It On Pinterest!
You May Also Like: