Estimated reading time: 7 minutes
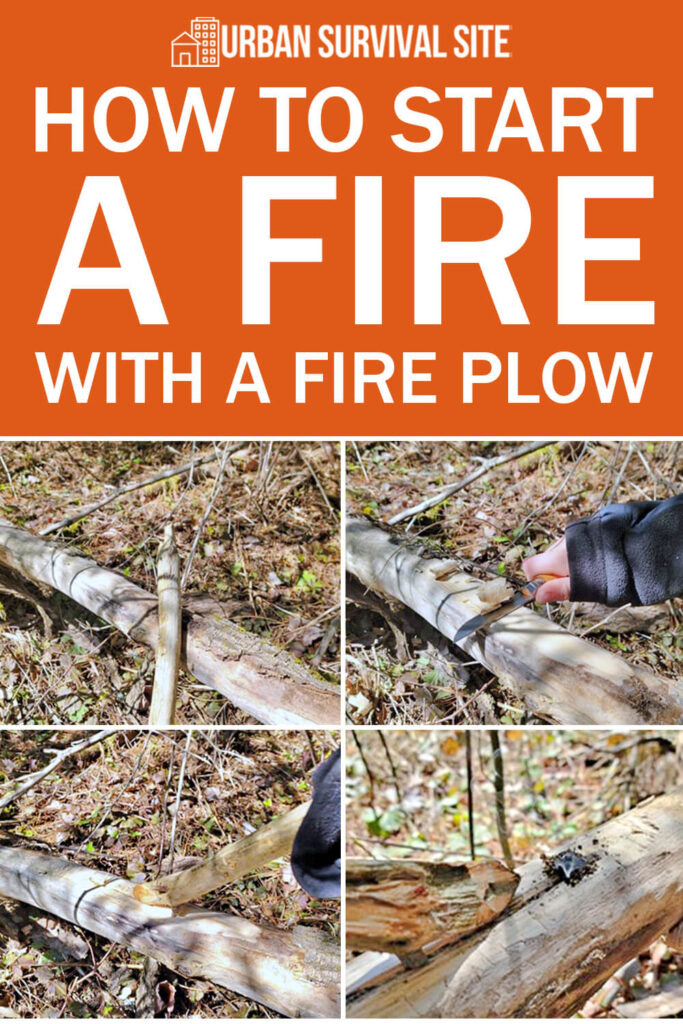
The fire plow method may seem like something out of a survivalist's playbook, but it's a technique that is easier to pull off than you think. From my experience, in terms of primitive fire starting, this one doesn't require a lot of materials, just a lot of elbow grease.
This article will show you step-by-step how to create your own fire plow.
What is a Fire Plow?
The fire plow is a friction fire-starting method similar to a bow drill. This method might feel a bit primitive, and rightly so. It's a method that can be used without anything but wood. Don’t let the simple functionality of the fire plow fool you though; it's a lot of work to get usable results.
The technique involves pushing down on a notched piece of wood (the ‘plow') into a groove in another (the ‘board'), creating friction that heats the material and hopefully leads to an ember.
Want to save this post for later? Click Here to Pin It On Pinterest!
To begin, you'll need two components:
Wood Selection
Choose a dry, softwood material for the fire plow. Softwoods like cedar or balsam fir tend to be pliable and work well with a variety of materials.
You'll need a straight and dry piece for the ‘plow' and a slightly larger piece with a channel carved for the ‘board.' They do not need to be made from the same kind of wood.
Preparation
Once you've gathered the materials, it's time to carve. In the end, the type of wood doesn't matter, but the quality of that wood does. It needs to be good quality wood to create hot dust.
Step-by-Step Fire Plow Construction
To successfully start a fire with a fire plow, you must construct a plow and board that not only fit together well but also create enough friction to generate the ember dust needed to ignite the tinder.
Here are the steps you can follow to create your own fire plow:
Finding the Right Wood
Select two pieces of softwood, with one being longer and narrower for the plow, and another slightly larger piece for the board. There are no specific measurements, but the longer the plow the more energy you can press down.
Ensure both are as dry as possible to reduce the chance of failure.
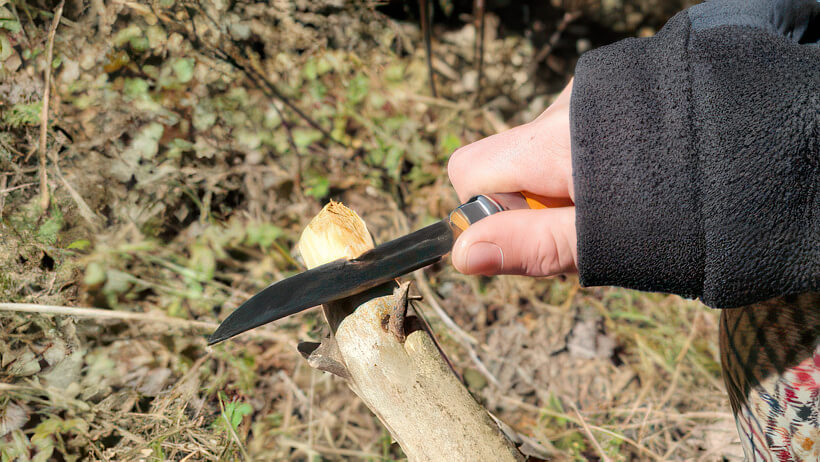
Carving the Fire Plow
Begin by carving the plow. The plow stick should be about a foot long and roughly 1 to 1.5 inches in circumference. A flat bottom and pointed top will help concentrate the friction. Carve one side of the plow to be straight, smooth, and even.
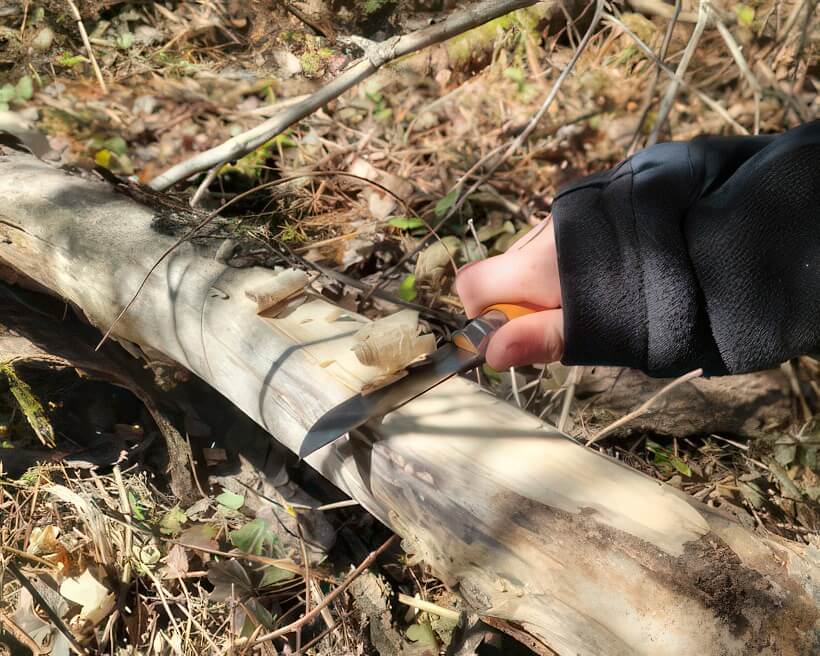
Preparing the Fire Board
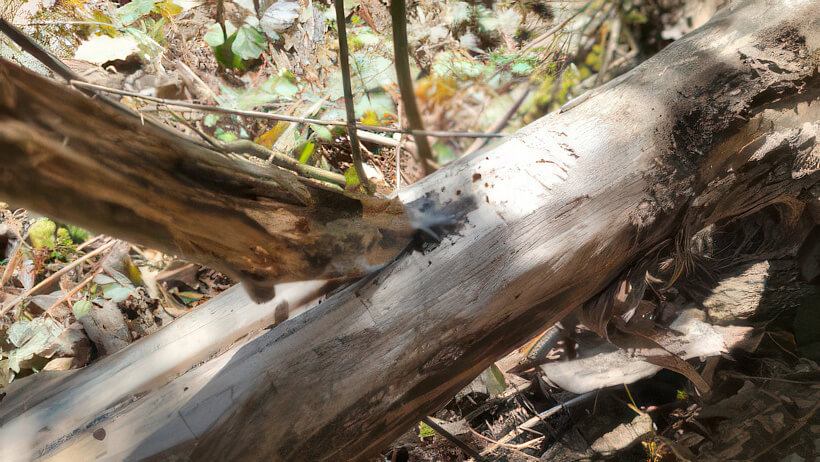
The board should be larger and thicker than the plow. I like to use a large piece of fallen timber. Start by scraping the log of any bark until it is flat and no longer round. Then you can start working on the groove.
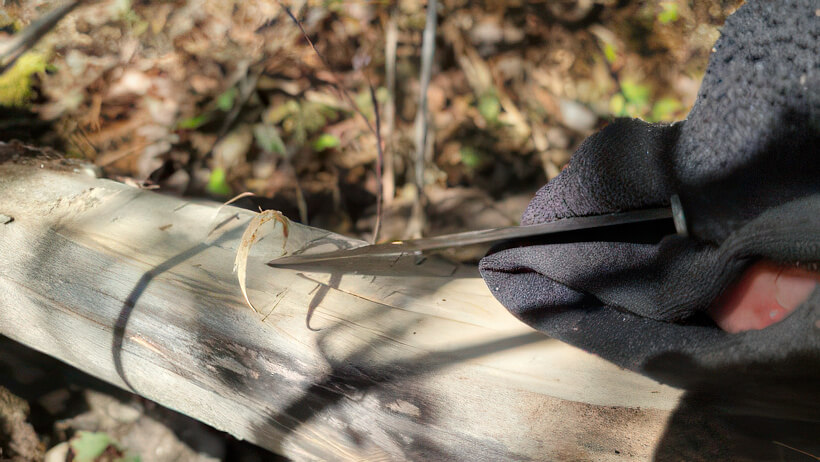
Carve it so that it has a V-shaped groove long enough to accommodate the length of the plow. The notch should be about 1/8th to 1/4th inch in width.
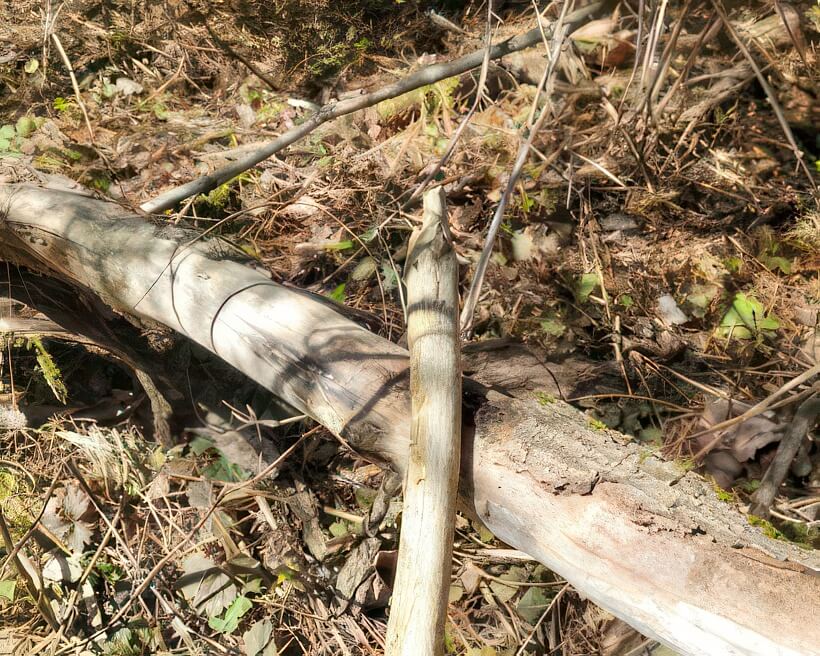
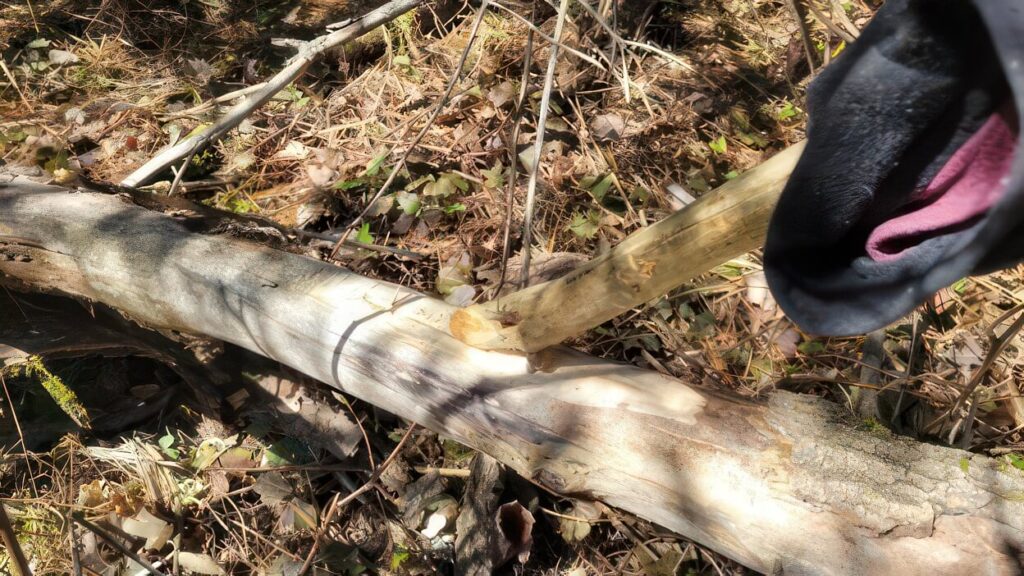
Plow Assembly
Place the plow inside the groove of the board to ensure a snug fit. The plow should almost fill the groove; you don't want gaps that can reduce friction.
Using the Fire Plough to Start a Fire
With the fire plow constructed, proceed cautiously as you can break the plow or worse, tire yourself out.
Load Up
Prepare the cavity in the board by running the plow back and forth along the groove until it gets worked in and creates a little dust.
Plow It
Press down firmly on the fire plow and begin to move it up and down the groove with more force. The main goal is speed and pressure.
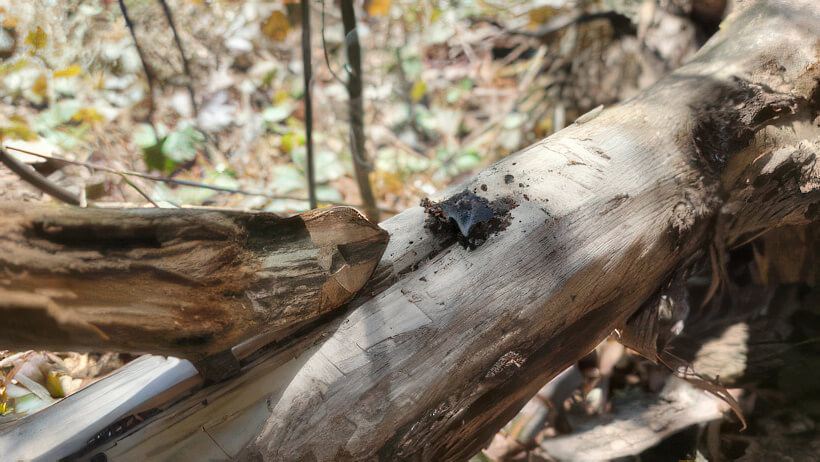
You will get tired of doing this. You want to create enough friction to heat the wood and produce charred dust that collects at the end of the groove.
Don't Stop
Consistency is essential. Keep plowing until you see a wisp of smoke and an ember form. Then keep going until you consistently see smoke.
It should start as a small, red dot. Once you've seen this, carefully transfer it to your prepared tinder, and gently blow on the bundle to help ignite it.
Common Missteps and How to Correct Them
Every beginner (or experienced outdoorsman) is bound to hit a few bumps along the way. Here's a rundown of common mistakes:
Insufficient Friction
If you're not seeing any smoke, it likely means your plow and grove are not producing enough friction. Inspect the grove's depth and the contact area of the plow to fix this.
Premature Breakage
If the plow or board is breaking under pressure, you might need a more substantial piece of wood or adjust your technique. Work on keeping the pressure even and cease if the board or plow appears damaged.
Extinguishing the Ember
Try not to blow onto the ember dust to keep it going. If you blow too hard, you risk extinguishing it. Instead, wave your hand above the ember to gently give it some air before you transfer it to your tinder bundle.
Conclusion
Starting a fire with a fire plow is a learning process that takes patience, practice, and a little bit of grit. It's a skill that reconnects us to the traditions of our ancestors, and, in my opinion, easier to pull off than the bow drill method.
Like this post? Don't Forget to Pin It On Pinterest!
You May Also Like: