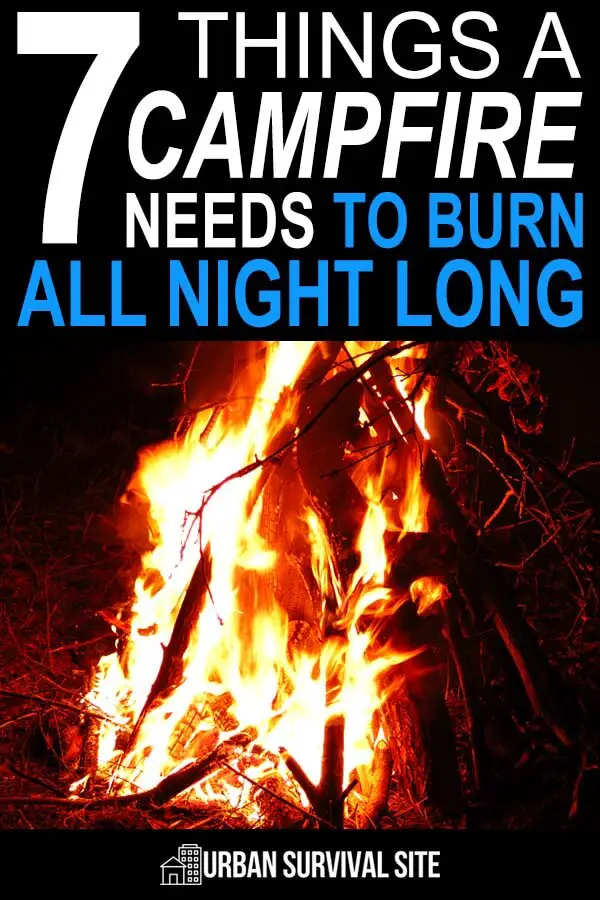
The crackle and pop of a good campfire is one of the best things about staying in the woods overnight. When a fire is in full bloom and the flames radiate up charred logs and lick off into the night sky, you can stare at it for hours. It’s about the best setting for comradery you can find.
Fire making is a basic skill, but like most skills, it can be broken down into many parts. In fact, there are seven unique parts that are crucial to the fire making process.
In this article, I'm going to explore all seven parts of the fire making process. I hope it will help you have more success in starting and sustaining a roaring campfire.
1. Fire Lay
Before you pull a single piece of grass for your tinder bundle, you should consider your fire lay. The fire lay is a part of the fire making process that is rarely talked about but can have serious implications for the success or failure of your fire.
You are looking for a dry, solid surface on which to build your fire. Personally, I am not a fan of building fire on dirt. I would rather build it on stone or even some dry wood. A couple of split logs can make a great fire lay.
If you try to build a fire without a fire lay, moisture from the wet ground is going to kill your fire before it gets going.
2. Tinder
Gathering tinder can become an all-day affair if you are smart about it. On a long hike, you will pass several items that work great for building a tinder bundle. You might pass a field of dry grass, some paper birch, dry bark, dry cattails, fatwood, dry pine needles, and other types of tinder. All of these can be collected and processed as you walk.
Processing is just a matter of tearing and breaking down the materials so they will have more fibers exposed to your spark when you go to start a fire.
Natural tinder is not your only option. While you should know how to find and process tinder, I always bring cotton balls into the woods with me. A small ziplock bag of cotton balls working in tandem with a ferro rod can get a fire going even in terrible conditions.
Be sure you have plenty of tinder and get to know all the natural materials for making tinder.
3. Spark
Of the many aspects of fire making, creating a spark is talked about the most. There are so many videos, tools, and how-tos on creating a spark or ember that it can get a little silly. It can also be very misleading. Beginners often think that having the ability to throw sparks from a ferro rod means they can build a fire. It's not true.
The spark is important, but so are all the other parts of the fire making process. When it comes to making a spark, there are two implements (outside of a lighter and matches) that work consistently. The ferrocerium rod and the flint and steel are two of the best options. The flint and steel has been used to make fire forever, and becoming familiar with flint or chert or quartz will allow you to spark shavings of steel with just the rocks around you.
4. Airflow
Until now, you have been dealing with tangible things that you have had to gather and process. Now we are going to talk about airflow which is more of a concept, but one you have to take into account. At this point, you will hopefully have a small fire on your tinder bundle.
One of the easiest mistakes to make is to start piling wood on that little flame. If you do that, you will smother it in a hurry. While you have to get plenty of kindling over that fire, you must be very careful and be sure that your small fire has air flowing through it at all times. This is where many people get hung up.
5. Kindling
The best philosophy for kindling is that of Dave Canterbury. He says you want sticks that are about the same thickness of pencils. These seem to work best. Gather lots of them, too. As with tinder, you can pick them up while you're hiking. Just carry a small bag for gathering them.
Be sure that these sticks are teepee style, allowing the flames to touch them. If they are dry and of the right size, they will catch fire in a hurry. I use about twenty sticks to get things going. Take your time with this step and get the fire stoked well before adding fuel.
6. Patience
This brings us to our next step. If your kindling is starting to burn and you are turning your attention to your fuel, that means it's time to slow down and focus on the fire, to be patient. If you're not careful, the addition of fuel could smother your fire.
I like to have a nice base of glowing embers beneath my kindling. I will often add another layer of kindling after the first in order to build that base. From there, I start adding fuel. Don’t rush it!
7. Fuel
Now we get to fuel sources for your fire. We all know that we can never have enough fuel, right? The rule of thumb is to have three times more than you need. After a long day of hiking, there are few people who follow that rule. If you get a fire that is really blazing, you can be a little less picky about what you feed your fire.
But to start, you need some dry, split wood for your kindling fire. Remember, when you start adding fuel to the fire, don't forget about airflow. Let the flames lick the fuel and just touch it at the tips. It will catch on fire.
Only when you have developed a bed of glowing coals can you sit back and relax. At that point, you have options. You will be able to blow that fire back to life if things get crazy or if you turn your attention away from the fire for too long.
Conclusion
It will always help to look at fire as a series of processes rather than a beginning and an end. This will allow you to make a fire with a minimal amount of items.
You May Also Like: