

Estimated reading time: 1 minute
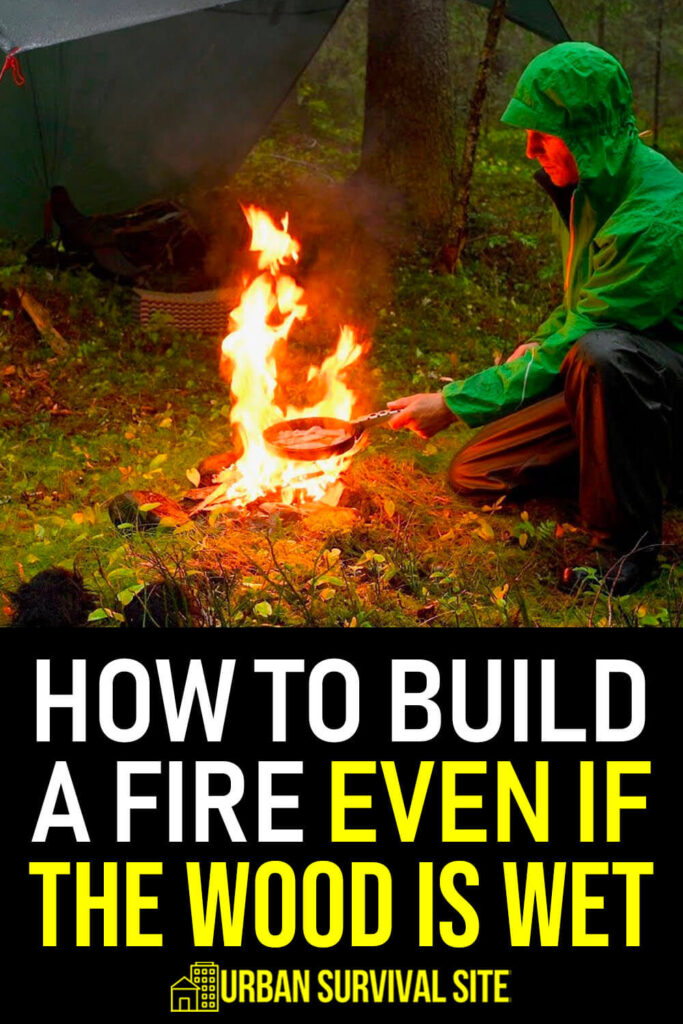
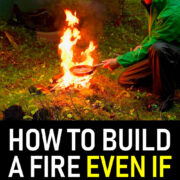
Picture this: You've gone camping for the weekend, but an unexpected storm has blown into the area. The sun is going down, the temperature is dropping, and now it's raining. Even worse: You haven't built a fire.
Meanwhile, your family is sitting in a nearby tent and starting to get very cold. You need to generate some heat fast, and you need to do it even though your firewood is wet and rain is drizzling. Can it be done? Absolutely!
And no, I'm not talking about dumping a bottle of lighter fluid on your wood. Knowing how to build a fire even if the wood is wet is a very valuable survival skill, so you should look at a rainstorm as an opportunity to practice your skills.
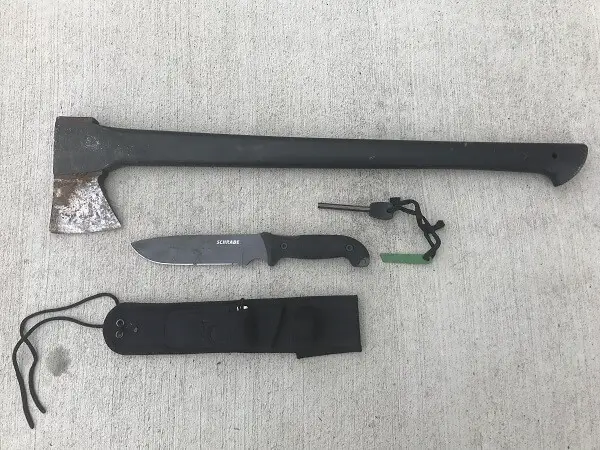
Now obviously, you'll need some tools to do this. You're not going to start a fire with a bow drill in the rain. Here are some of the tools I use for my fires.
Want to save this post for later? Click Here to Pin It on Pinterest!
The great thing about fire is the principles of lighting it never change. You still need the same basic three things you have always needed:
1. Oxygen
- Too much = strong winds
- Too little = smothering a fire
2. Heat Source
3. Fuel
- Tinder
- Kindling
- Fuel larger than tinder and kindling
Let's continue with our scenario of trying to start a fire in the forest while it's raining. Let us also assume we have the tools we will need to obtain wood and prepare it: axe, saw, machete, hatchet, fixed blade knife, etc.
Step 1
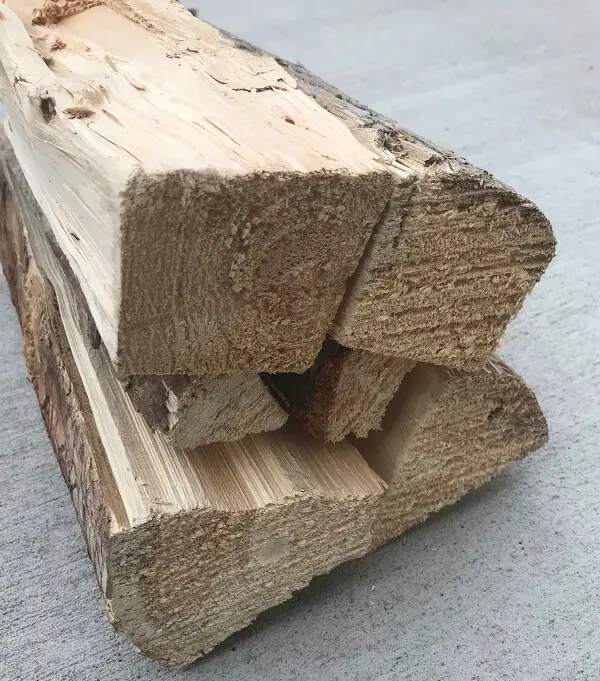
First, you need to look for a standing tree–ones on the ground will be soaked all the way through.
Find a tree the size of your forearms if possible, but no larger than the size of your thigh. If you can find a tree the size of a soda can, then you can push this tree over and usually be able to stomp on it to break it into pieces.
After you fell this tree, split it up into 12-inch to 18-inch lengths. Make sure you have at least six to ten of these logs. You may notice the outer part of the wood is wet, but the inner core of the wood should be dry. This core is what will help you light your fire.
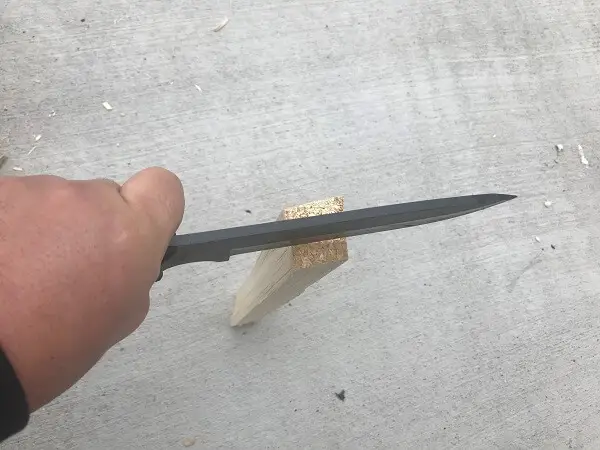

Step 2
Split that wood into kindling size pieces. That means split it into pieces approximately the size of your thumb and as small as your pinky. If you can get rid of the wet wood on the outside, do so.
As a rule, you want enough wood prepared to be able to hold the prepared bundle with two hands. Since you have wet wood, you will want two to three times as much as you would normally need.
NOTE: The extra five to fifteen minutes you take in preparing your wood will ensure your success; don’t rush the process. If you rush the process, you may end up not having enough tinder and kindling and you will have to start all over again.

Step 3
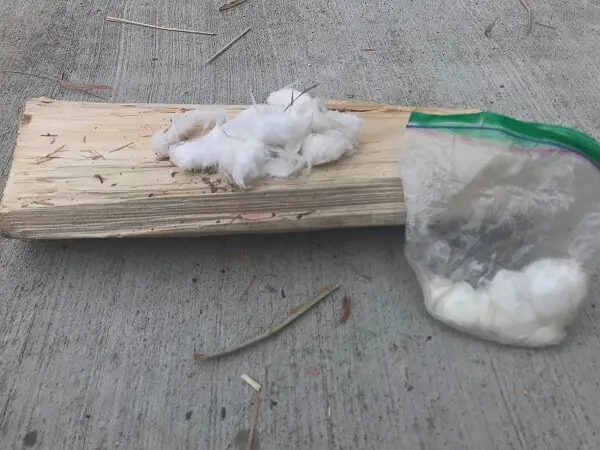
Preparing the tinder will also be extremely important. What I used to tell students was to prepare at a minimum, a golf ball sized bundle of tinder. When dealing with wet wood and under difficult circumstances, you will want a grapefruit size ball of tinder and two more to back it up.
My favorite tinder is cotton balls soaked with petroleum jelly. They are compact and work very well even under wet or windy conditions.
During the preparation phase, it is best to put your tinder in a plastic bag if you have it. At the least, ensure your tinder is covered or protected from the elements as best as humanly possible.
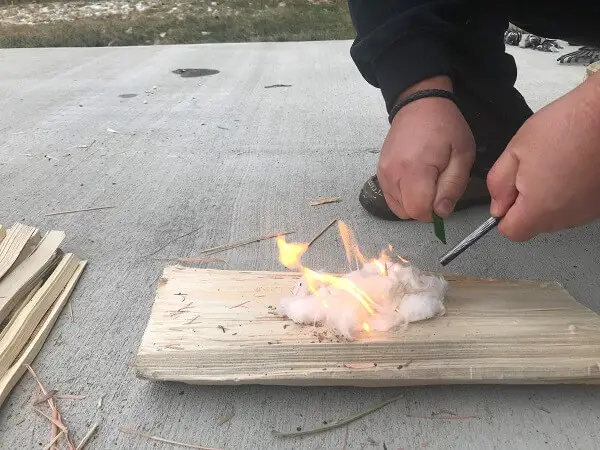
Your TINDER and KINDLING preparation is the vital part of getting this fire going. If you accomplish these two steps properly, your fire is almost guaranteed to become a blaze that will help you keep warm.
If you use three logs to prepare the tinder and kindling, still take the time to split the rest of your wood into at least quarter sized pieces of the original sized log.
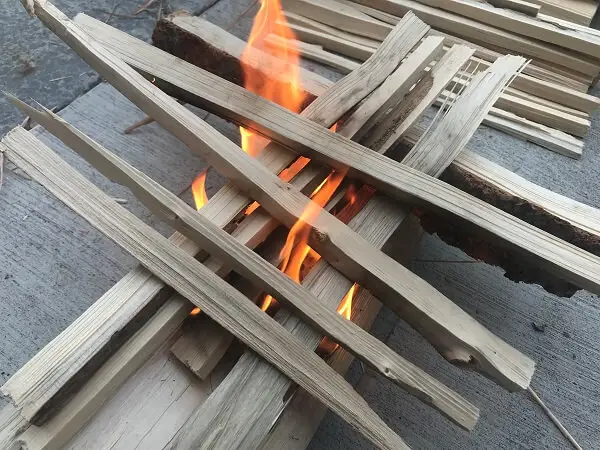
Once the kindling is burning and establishing a coal bed, the larger pieces can be added. With enough kindling, even the wet larger pieces of wood will begin to dry out and eventually burn.
The main reason behind preparing three times as much as you normally need is so you can add more of your prepared tinder and kindling in case your fire begins to die out. This will ensure your fire is a success.
All these skills sound very easy to do when you read it on a screen. Putting these skills into practice under difficult conditions is what will make you a “firegod”. Anyone can light a fire in the summer when it's dry. Doing the same when the rain or snow is blowing while temperatures are in the 30’s or below freezing is a real challenge.
A challenge that you must experience over and over to see how you need to change the equipment you have and how to adapt your normal fire making techniques. Do these 10 times and you will be very experienced, do it 100 times in every possible condition and you will be an expert!
Get out there and practice because winter is always coming.
Like this post? Don't forget to Pin It on Pinterest!
You May Also Like: