One of the most popular types of stoves for bug out bags is the Solo Stove. Only problem is, they cost anywhere from $60 to $100. But there's good news: you can make something very similar with two ordinary tin cans, and this tutorial by IntenseAngler shows you how.
I typed out the steps for easy reference, but you can also watch the video below to see it done.
1. Get two cans, one small and one slightly larger.
2. Use a can opener to remove the top of the large can, empty the contents, rinse it out, and remove the label.
3. Turn both cans upside down, and put the small one on top of the large one. Make sure the small can is centered on top of the large, then use it as a guide to draw a circle on the large can.
4. Use some tin snips to punch a hole in the middle, then cut out the bottom section right along the circle you drew. Use a file to smooth the rough edges.
5. Use a 3/16″ bit to drill a series of pilot holes (about an inch apart) on the side of the can around the top edge (opposite end from the hole you cut). Drill another row of pilot holes above and between the first row. Use a 3/8″ bit to enlarge the holes.
6. Use a can opener to remove the top of the small can, empty the contents, rinse it out, and remove the label.
7. Use a 3/16″ bit to drill a couple dozen holes in the bottom of the small can, evenly spaced from one another.
8. On the same end that you drilled all those holes, drill a couple sets of alternating pilot holes on the side along the bottom, like you did with the large can. As before, enlarge them with a 3/8″ bit.
9. Now use a 3/16″ bit to drill a single row of holes on the side around the other end of the can. Make sure they're evenly spaced and about an inch apart from one another.
10. Put the small can inside the large can, going through the hole you cut with the tin snips. The couple dozen holes you poked in the small can should be at the opposite end from the hole you cut with the tin snips.
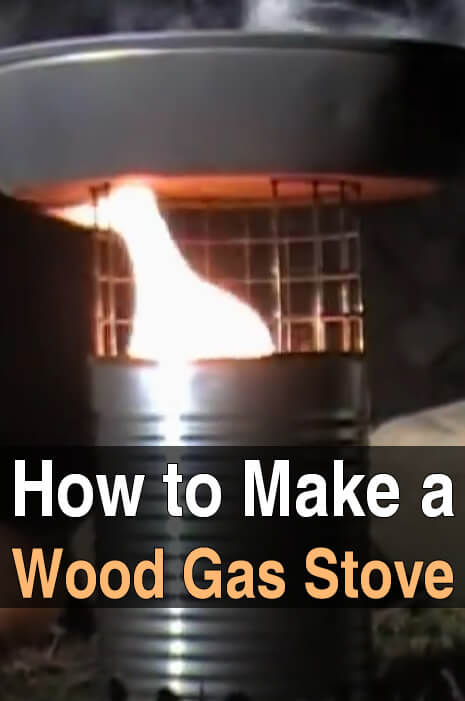
11. Put some wood inside and fire it up!
Be sure to watch the video below to see the stove in action.
You May Also Like: