Anyone who's ever built a fire knows you're supposed to start with smaller pieces of wood and work your way up to larger pieces. It seems perfectly logical. After all, you can't light a log before you light the kindling.
But there's another way to do it that is actually more convenient. In this video, Cr0cket20 demonstrates.
Want to save this post for later? Click Here to pin it on Pinterest!
Here's how it works…
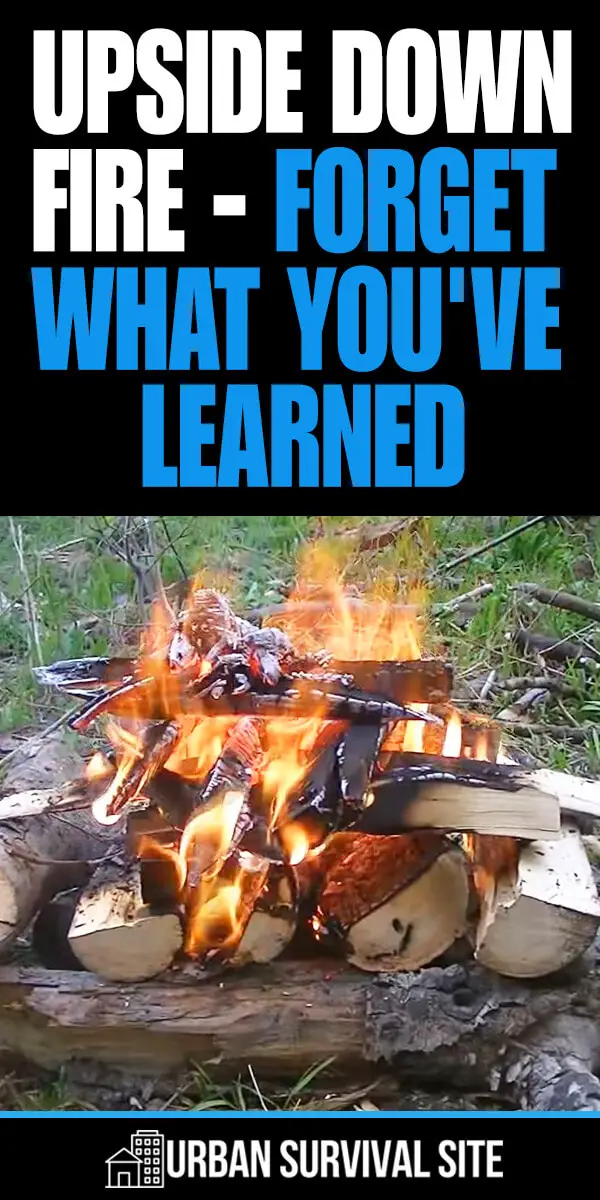
- Gather some large pieces of wood and split them up.
- Lay the largest pieces on the ground right next to each other.
- Create a layer of slightly smaller pieces and lay them crossways against the first layer.
- Create a layer of even smaller pieces crossways against the second layer.
- Keep working your way up in this fashion.
- Now add some tinder such as dry grass and top it with your kindling.
Light the tinder. Soon the kindling will start burning, and as it does, it will get hotter and burn the layer below it. The fire will gradually work its way down to the bottom.
The great thing about this fire is once you light it, you don't have to do anything else such as stirring or adding extra logs. Watch the video below to see it done.
You May Also Like: