Estimated reading time: 6 minutes
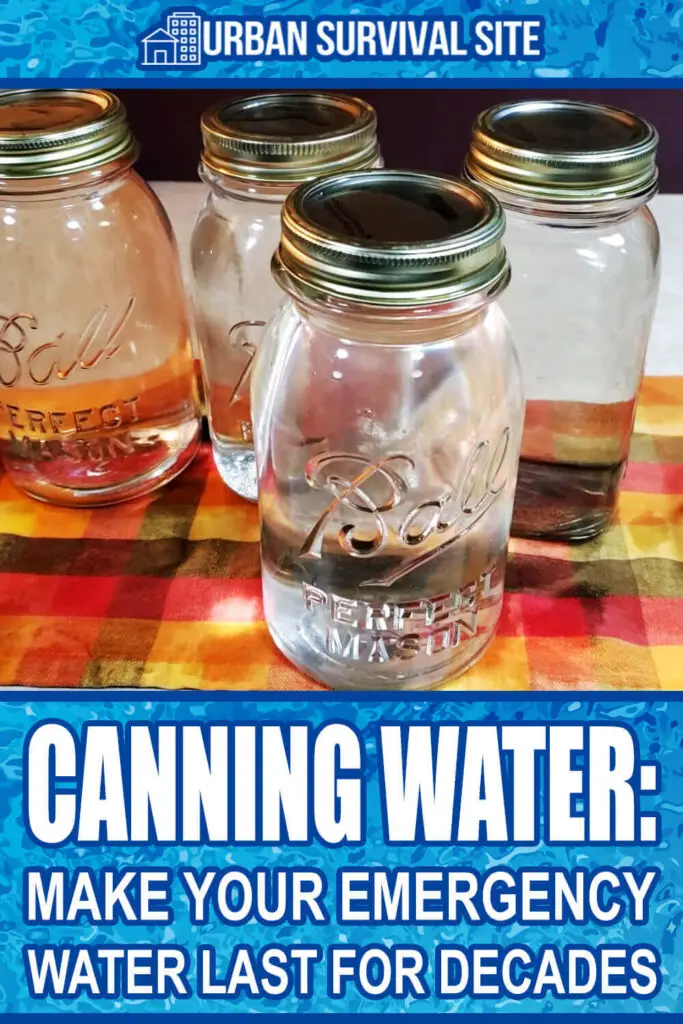
Canning water for your emergency supplies is not a new thing. It is, however, gaining new attention as an inexpensive and intelligent way of preserving water for long-term storage. There are at least a handful of reasons you may choose to consider canning as a way to make your emergency water last for decades.
Along with the regular everyday need for having a stockpile of supplies, canned water could become a lifesaver in unusual events. Seasonal power outages, widespread natural disasters, economic shutdowns, and medical emergencies all come to mind.
Want to save this post for later? Click Here to Pin It On Pinterest!
The Benefits of Canning Water
Many benefits are immediately apparent when discussing canning water:
- Low to no cost when adding to your stockpile
- Clean, sanitized water is always available – critical during a medical crisis
- Indefinite storage window – when properly processed
- Allows you to avoid the use of chlorine and other water-purifying chemicals if desired
Canning water is the perfect way to introduce the preservation process to someone new to the art of canning. Let them practice on the water before turning them loose on your prized garden harvest. Keep reading for some less obvious reasons to start canning your own water.
No Wasted Space
Using all available space and being thrifty is something preppers constantly strive to do. Canning is one area where this can be a challenge. Fortunately, there are two ways water canning will help.
Always Process a Full Canner
There is no longer a need to fire up a full canner for just one or two jars of jelly, pickles, or sauce. Instead, fill that space with jars of clean, sanitized water. It will save you time and money. There is also a good chance it will save you from broken jars due to them banging around a half-empty canner.
Never Store an Empty Canning Jar
Empty canning jars take up a considerable amount of space. Why not make those jars earn their keep in the off-season and store water in them instead of dead air?
Yes, this is more of a short-term storage solution as you will be needing the jars when harvest hits. But, it is an excellent way to plan for seasonal water shortages or weather-related disasters. It won’t be wasted effort or water when you need the jar. There is no waste as you can use the precious liquid for drinking, cooking, pet watering, plants, etc.
How to Can Water
Canning emergency water so it will last for decades or more takes just one ingredient, some simple tools, and a few easy steps:
What You Need
- Approximately 8 quarts of water – Your canner will hold seven quart-sized jars. The extra amount is to accommodate any loss due to evaporation during boiling.
- Waterbath canner
- Canner rack to keep the jars off the bottom of the canner
- Funnel
- Ladle or cup for pouring
- Canning jars
- Canning lids and rings
- Canning tongs or jar lifter
- Clean kitchen towel or rag
- Thick bath-type towel for cushioning
How to Can Water
- Using a large clean pot, bring approximately 8 quarts of water to a rolling boil. Let it boil for a minimum of 10 minutes.
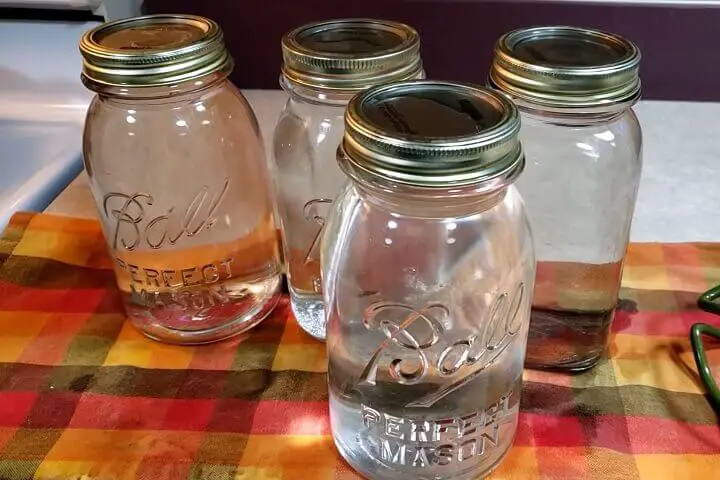
- Wash your jars and lids thoroughly with soap and water and set them aside.
- Fill your canner with enough water to cover the tops of the jars by at least 1 inch. Put the lid on it and bring the water to a boil.
- Using a sanitized funnel and ladle or measuring cup, carefully spoon the boiled water from the stockpot into your clean jars, leaving a ½ inch headspace (room from the top of the jar to the top of the liquid).
- With a clean kitchen towel, wipe the rim of the jar before placing a new lid on it. Add the metal ring and tighten “finger tight.”
- Place the jars into the canner using canning tongs or jar lifter.
- Replace the lid and bring the water back up to a rolling boil. Set your timer and process the jars for 20-25 minutes. This time is the same for jars from pints up to half-gallons.
- When the timer goes off, turn off the heat and move the canner off the hot burner. Carefully remove the lid and allow the water to cool for 10-15 minutes.
- Place a thick towel on a counter or table where the jars can stay undisturbed and untouched for a minimum of 12 hours. Using the canning tongs, take the jars out of the canner one at a time and place them on the towel.
- You can expect to start hearing the lids pop or ping within about 30 minutes of removing them from the canner. Don’t be alarmed by this, as it is the sign that the jar has been sealed.
- Let your jars seal and cool for 12 hours, then store them in a dark place away from any direct light.
Things to Keep in Mind
Don’t reuse old canning lids or lids from other recycled jars. They are designed for one-time use. You run the risk of contamination if they don’t achieve a proper, tight seal. The same goes for the canning jars themselves. Jars from some popular products may look like canning jars or even have “Mason” embossed on them. These jars are made of different types of glass and can crack or even shatter when used in home canning processes.
That being said, some canning enthusiasts do reuse canning lids when processing jars of water. If their lids don’t achieve a tight seal, they either use the water right away or store it in the refrigerator. They may also choose to add water-purifying tablets or drops when they open those particular jars after a prolonged period.
You should be able to store appropriately canned/preserved water indefinitely, but there isn’t much guidance or data. How or where you keep your water, the quality of your lids/jars/sealing, and your overall situation can all affect your water’s potability.
A good practice to incorporate is to rotate your water supplies just as you do your essential food stores. Lids are cheap, and if you only have to replace them every 5-10 years, the process can bring peace of mind at a very low cost. Just like knowing that you now have plenty of water if or when disaster strikes.
Like this post? Don't Forget to Pin It On Pinterest!
You May Also Like: