Estimated reading time: 12 minutes
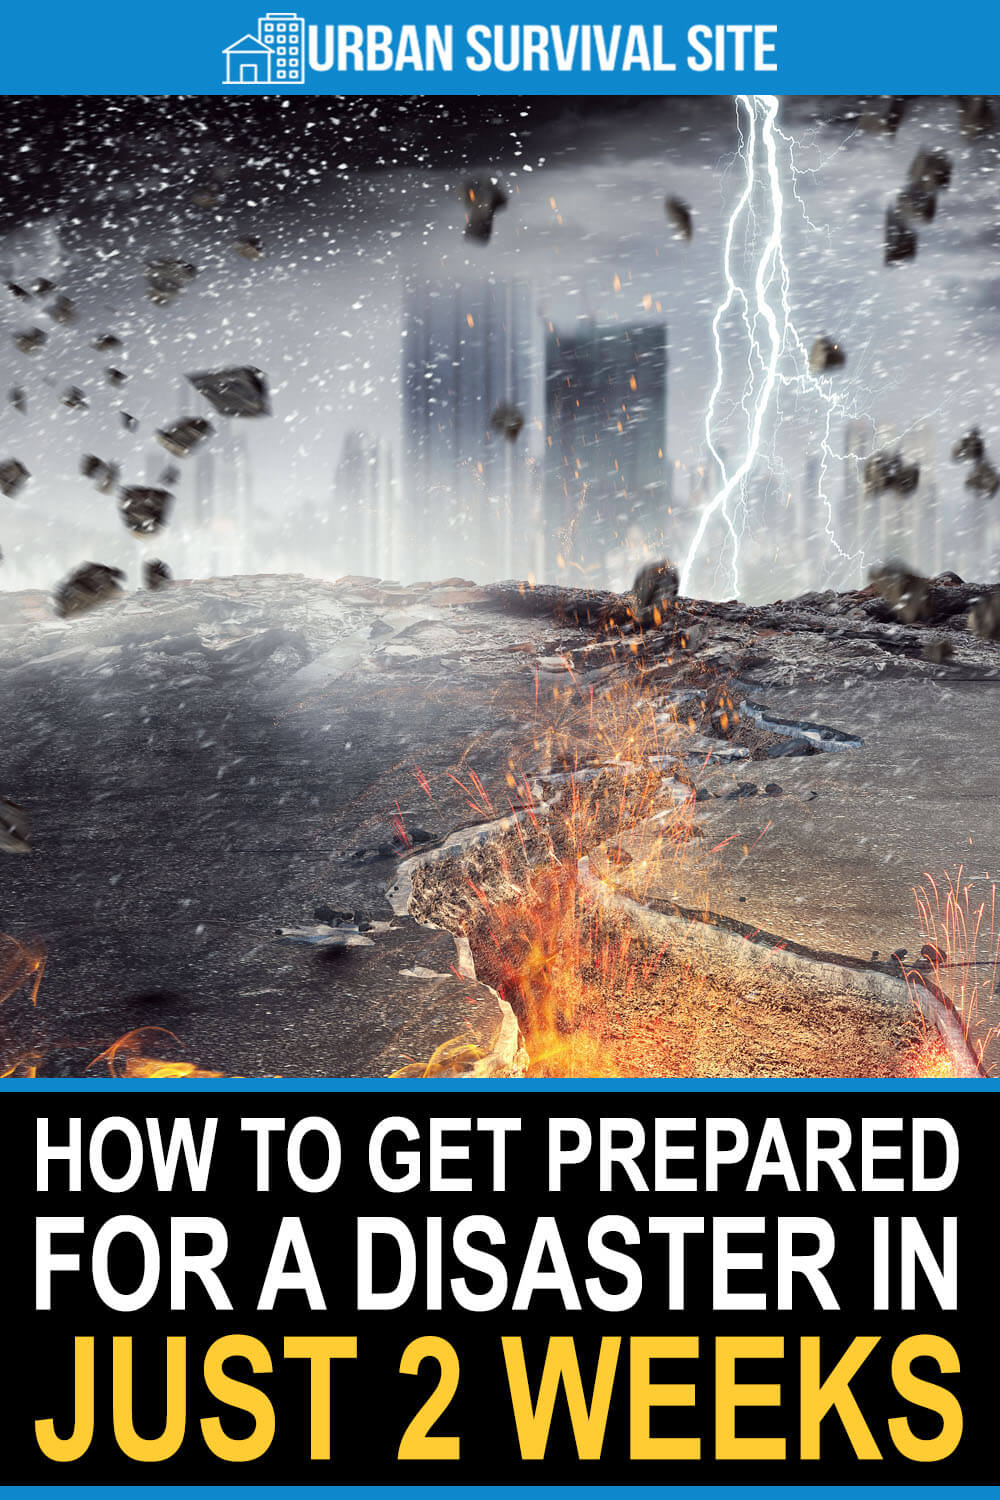
Do you want to be prepared for a disaster but feel like it'll take too long? I've been in your same shoes, and I know it can seem like a daunting task to create a stockpile for any disaster. Don't wait to start your inventory like I did! Instead, learn how to get prepared for an emergency in just two weeks.
It doesn't have to take forever to get prepared. Instead, I created a plan that would ensure I was prepared for almost anything in just two weeks. If you want, you can stretch out this plan, depending on your budget. If you need to make this a month-long project, that's okay too! Do whatever works for you.
Want to save this post for later? Click Here to Pin It On Pinterest!
Are you ready to get started? I am, so let’s go!
How to Get Prepared for a Disaster in 2 Weeks
Day 1 – Stockpile Water
The first thing that everyone needs to add to their stockpile is water. Your goal is to have at least one gallon of water per person (and pet) per day. You should aim to have at least a week’s worth of water stored, so you need seven gallons of water per person for a week.
If one of the people in your family is breastfeeding, you need to add extra water, and if you have a baby on formula, be sure to calculate water for making bottles.
If you have a lot of people in your family, that can add up to many gallons of water. You can purchase large containers of water rather than the gallons to help save room.
Water is the most crucial thing for your stockpile and disaster plan, which is why it's first in our life. In general, a human can live three to four days without water, but you can live longer without food. Water is essential for life, so take this step seriously.
For more information, be sure to read Water Storage 101.
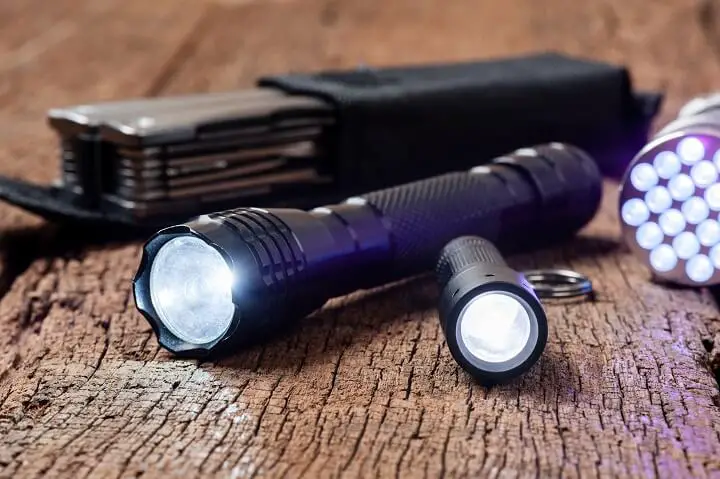
Day 2 – Flashlights and Batteries
Here is a simple step for your day two. Gather flashlights and batteries. If you have extra money to spare, you could invest in nice camping lanterns and fancy LED flashlights. If you don’t have extra money, then look for cheap flashlights.
Your local Dollar Tree should have plenty of flashlight options. Pick up at least one flashlight for each person in your family. Then, take a look at what type of batteries each flashlight needs. You should have one or two sets of backup batteries for each flashlight.
When you go home, make sure you put these batteries and flashlights in a separate area from your regular batteries. Ideally, you will have a storage container where you can access the flashlights whenever they’re needed. They shouldn’t be for fun; these are your disaster flashlights.
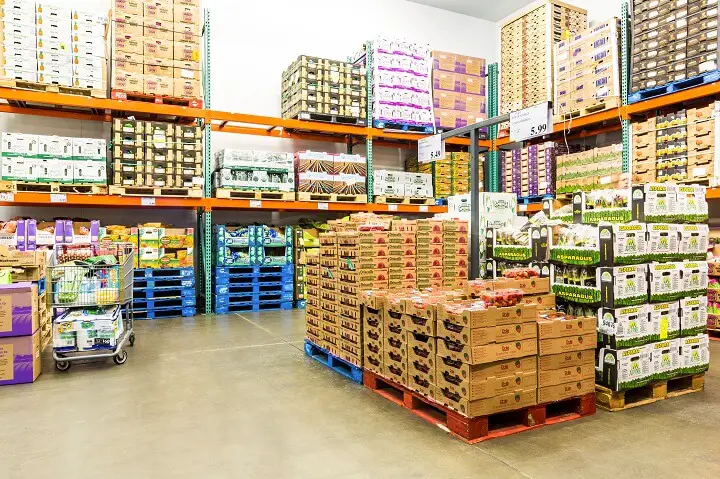
Day 3 – Non-Perishable Food
On day three, focus on purchasing non-perishable food for your stockpile. Stockpiling food is where people often get worried about the costs because it can cost money to add to your inventory. My best suggestion is to create a budget and stick with what you are comfortable spending. You can stretch out these next two days of stockpiling non-perishable foods.
Non-perishable food is your friend when you get prepared for a disaster. While apples and oranges are great, they have a short lifespan. A stockpile generally has items that can last at least a year. We don’t know when the disaster will come! Do make sure you keep track of their expiration dates and rotate your food; you don’t want to waste the food that you buy.
Here are some suggestions:
- Applesauce
- Canned Fruits
- Granola
- Oats
- Oatmeal Packets
- Maple Syrup (real)
- Honey
- Pudding Mix
- Flour
- Cornmeal
- Salt
- Sugar
- Protein Powder and Bars
- Dried Fruits
- Instant Mashed Potatoes
- Gravy Packets
- Spices
- Canned Vegetables
- Canned Soups
Day 4 – More Non-Perishable Food
I added a second day for stockpiling food because it’s often the biggest budget stretcher. So, it made sense to me to put it as two days (and feel free to switch the days around if you need to put these days on two different pay periods).
Here are some more food ideas that you might want to add to your list.
- Rice
- Chicken and Beef Broth
- Ramen Noodles
- Pasta
- Pasta Sauce
- Tea and Coffee
- Peanut Butter
- Jelly and Jam
- Salsa
- Crackers
- Canned Meat
For more information, read our Beginner's Guide to Emergency Food Storage.
Day 5 – Additional Ways to Cook
Now, how are you going to cook all of that food? Hopefully, your electricity stays on, but I've gone through many storms when our power has gone out. In those situations, you have to find other ways to cook food.
One of the easiest things to grab is a camping stove. They take small bottles of propane, so make sure you pick up a few propane canisters. You might also need to grab some small cooking pots and pans designed for camping stoves.
Another option is a grill. You probably have a barbecue in your backyard, so pull it closer to your backdoor and use it as a cooking option. You shouldn't use a grill inside your home. It's not safe. Make sure you stockpile either propane or charcoal, depending on the type of grill you have. You'll also need a lighter or matches.
For more info, check out our Ultimate Guide To Cooking Without Power.
Day 6 – How to Stay Warm
How are you going to stay warm if you lose electricity? Your disaster might happen in the spring or fall when staying warm inside your home doesn't matter. If it occurs in the winter, warmth is crucial.
If you have a wood stove in your house, then you’re set, so long as you have plenty of wood stockpiled. For those of us without that luck, staying warm can be a bit difficult.
One of the most accessible choices is a propane heater. Buddy Heaters are the most common, and you can get them in different sizes to heat larger spaces. These will need plenty of propane bottles to keep them running consistently. You also want to have a carbon monoxide detector near the heater to stay safe.
Day 7 – Stock the First Aid Kit
Next, it's time to stock up your first aid kit. Having a fully-stocked first aid kit is crucial for all who want to be prepared for a disaster. You never know what might happen. Your child might step on a bee and need some attention, or your husband might need stitches. A first aid kit needs to be able to take care of almost anything.
You can start small with a basic first aid kit. Any local store should sell a first-aid kit that has all of the essential items, like bandages and medical tape. Those can get you off on the first foot.
Another option is to make your own. A full medical kit can get you through anything. Here are some of my must-have items for my family.
- Medical tweezers
- Bandages
- Medical Tape
- Thermometer
- Q-Tips
- Trauma Shears
- Scalpel
- Ibuprofen
- Acetaminophen
- Anti-Histamine
- Sudafed (or similar)
- Throat lozenges
- Oral Rehydrations
- Antibiotic Ointment
- Moleskin
- Nitrile Gloves
- Irrigation Syringe
- Sterile Gauze Pads
- Ace Bandages
- Steri-Strips or Butterfly Closures
- Suture Kit
- Iodine
- Tourniquet
- CPR Mask
- Medical Face Masks
- Alcohol Towelettes
- Clotting Agent
- Blood Pressure Monitor
- Blood Sugar Monitor
- Instant Cold Packs
- Dental Repair Pasta
- Lidocaine
Day 8 – Prepare Your Kids (If Applicable)
Prepping when you have children is different. You have little kids to consider, and the items in your stockpile need to work for your kids.
Infants are more vulnerable during disasters than adults, as well as little kids. They tend to have weaker immune systems that mean even mild water contamination or an infected wound can lead to death. Parents need to worry about their kids, so when you get prepared for a disaster, your kids need to be a top priority.

The number one item to stockpile for babies is canisters of infant formula. FEMA even recommends that breastfeeding mothers keep canisters of infant formula in their house. Sometimes, stressful situations can cause a woman's breastmilk supply to decrease, so be prepared with formula.
Breastfeeding moms and formula-fed infants need plenty of water. You should also keep a few bottles back to use in case of an emergency. If your baby eats solid foods, then you need to keep plenty of his or her favorite foods on hand.
Diapers and wipes are a must-have stockpile item. Babies go through plenty of diapers ready in case of an emergency. You might also want to have some cloth diapers put back in case of a long-term disaster scenario.
Here is a list of 20 Emergency Supplies for Your Children.
Day 9 – Gather Hygiene Items
Next, you want to keep hygiene items on hand. During a disaster scenario, bacteria can thrive, and that means you and your family might be at a higher risk. Staying clean is essential.
First, think about your bodily hygiene. Have plenty of toothpaste and extra sets of toothbrushes in your closet. Soap for everyone in the family can also be a benefit and don’t skip the deodorant. Having to hang out with stinky family members will make those tempers rise faster.
Also, consider adding cleaning supplies to your prepping list. Paper towels, bleach, disinfectant sprays, kitty litter (for a makeshift toilet), and garbage bags are some items to grab.
You might also want paper plates and such to stop dishes from piling up. Keeping bacteria growth to a minimum is crucial.
Here is a list of 27 Hygiene Products You’ll Need After The SHTF.
Day 10 – Prepare Your Pets
Don’t forget to prepare your pets when you’re getting ready for a disaster. You should have water stored for your pets as well – one gallon per pet per day. They also need to have pet food available, so stockpile bags.
You also should have any medication that your pets need along with flea and tick medications. Whatever is required in order to keep your animals healthy should be in your stockpile.
Here are 17 Things To Put In Your Pet Survival Kit.
Day 11 – Communication Plans
Next, think about how you’ll stay in touch with other people. Ideally, you won’t lose cell phone service, so staying updated is just a matter of keeping your phone charged. There are crank radios that can charge cell phones.
Radios are a must-have item for any prepper. You need to listen to weather forecasts and emergency transmissions to get details about your particular disaster.
There are two serious considerations if you want to be able to communicate during a disaster: a CB radio or a HAM radio. A CB radio is what big rig trucks use to communicate. You can keep them in your vehicle, keep a handheld one in your bug out bag, or create a home base station at home.
A HAM radio is the tried and true method of communication, and it's played a role in almost every disaster for the last 100 years. HAM is functional even if modern communication devices don't work. While they might look like merely old-fashioned devices, HAM radios are reliable and let you connect with others when the internet is gone and landlines are disconnected.
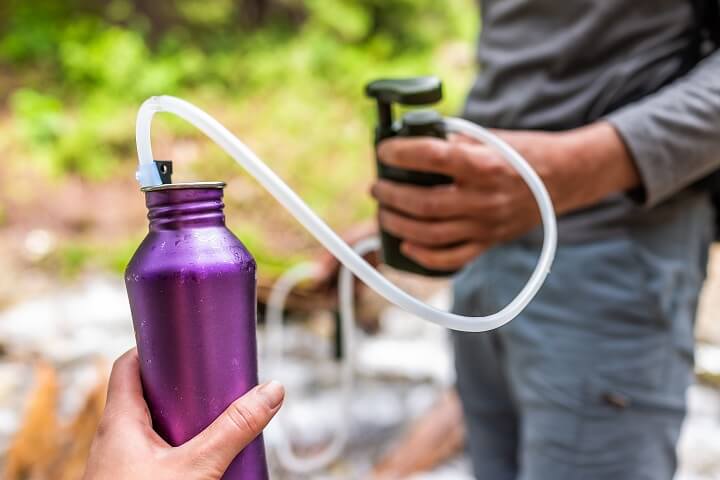
Day 12 – Have Water Purification Methods
Learning how to purify your water is a crucial prepping skill for anyone who wants to survive a disaster. If you don’t have enough water at home, you have to be able to purify water that you find.
Now, there are many methods, such as boiling and solar pasteurizing, but you can take those with you if you need to bug out. Filtration straws work for a single person, and they’re cost-effective. You can purchase one for each person in your family, and expect to be able to last at least 500 gallons.
Another choice is to get water purification tablets to put into your water gallons. There are ways to use chlorine bleach as well to purify water. So, get to learning and figure out what water purification methods you want to use.
Here are 15 Ways To Purify Water In A Survival Scenario.
Day 13 – Prepare Your Home for a Disaster
Preparing your home for a disaster is one of the last steps you need to take, but that doesn't mean it's not important. There are many ways to do this.
First, think about getting a generator. If you want a generator, you need gasoline to run it. A 5,500-watt generator uses around five gallons of gas to run for eight hours.
Next, make a plan for what to do during a disaster. Depending on what the emergency might be, you may need to evacuate from your home. Know your evacuation routes and have a plan with your family.
In the meantime, you'll also want to think about home security. Crime is liable to go up during a disaster as people get desperate for food and supplies.
Be sure to check out these 11 Home Security Tips for Life After SHTF.
Day 14 – Clothes and More Clothes
On the last day, it's a good idea to keep some clothes in a separate area that can be used for a disaster. This step is most valuable when you prepare for upcoming winter disasters or if you're preparing your bug out bag. Each person needs to have plenty of warm clothes available.
Make sure you have socks, hats, and mittens available for each person. Gloves are essential; frostbite happens quickly. So, pack several pairs for each person. You should also stick some blankets in your disaster preparedness kit. Keep a fleece blanket for each person to stay as warm as possible.
Final Thoughts
Figuring out how to get prepared for a disaster in just two weeks may seem complicated, but with the right plans, you can do anything. You can have a well-created stockpile that will carry you through almost any disaster that you could encounter. With the proper preparedness, you can face any emergency that comes your way.
Like this post? Don't Forget to Pin It On Pinterest!
You May Also Like: