

Estimated reading time: 6 minutes

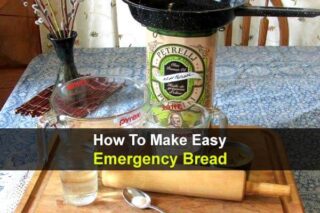
For most of my life, I took a loaf of store-bought bread with me whenever I went camping. I like having toast in the morning, and I love the taste of bread toasted over a fire. Only recently did it occur to me that I could make a fresh loaf of bread while camping. But why not?
I went online to look for ideas on how to do this. I knew I wanted something that would be simple to make. Something with only a few ingredients that doesn't no special tools or kneading the dough. Eventually, I found a recipe that worked. All you do is mix it up, let it sit overnight, then bake it in the Dutch oven first thing in the morning.
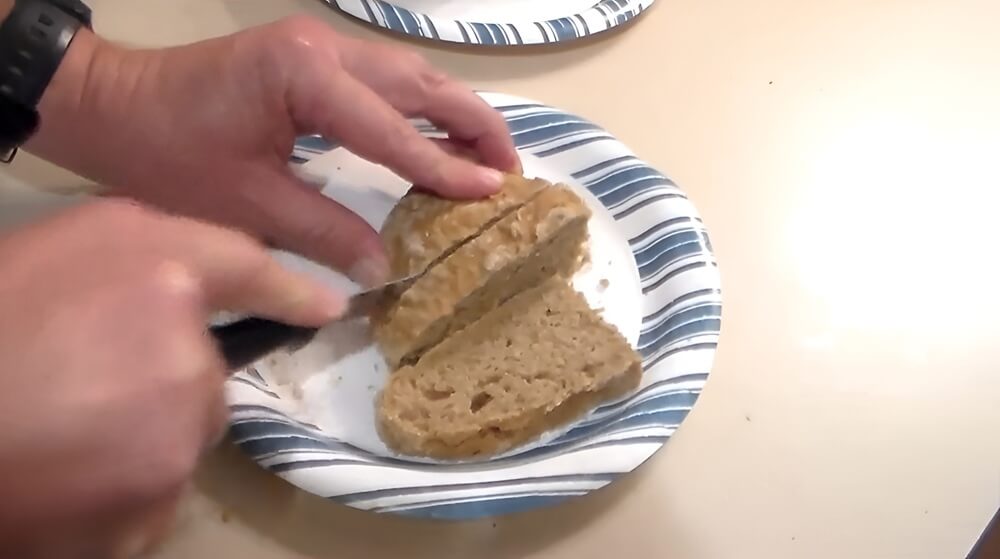
It comes out like a hearty wheat-style loaf with a crust that’s firm but not “break your teeth” tough, and the inside is solid enough for sandwiches if you want. The best part is how easy it is once you’ve got the basics. I found this recipe on the YouTube channel Ethical Preparedness, and I think you'll agree that it's perfect for camping.
You can watch the video and read the recipe below.
Want to save this post for later? Click Here to Pin It On Pinterest!
Ingredients
- 4 cups of flour
- 1/4 teaspoon of active dry yeast
- 1 teaspoon of salt
- 1 3/4 cups of warm water
- Extra flour (about 1/2 cup for dusting and shaping)
Gear
- Dutch oven with lid (cast iron)
- Mixing bowl + spatula
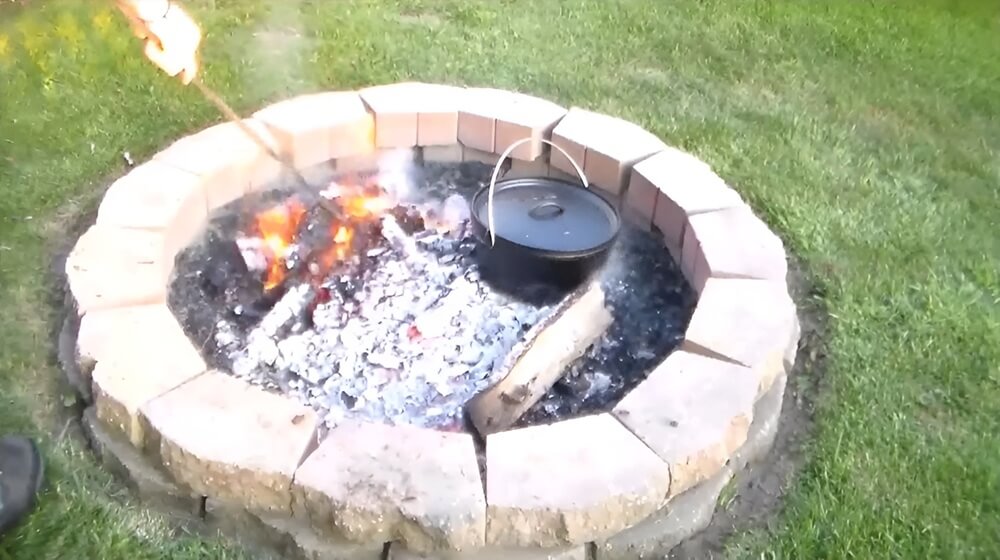
- Fire pit + hot coals
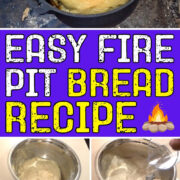
How to Make Fire-Pit Bread
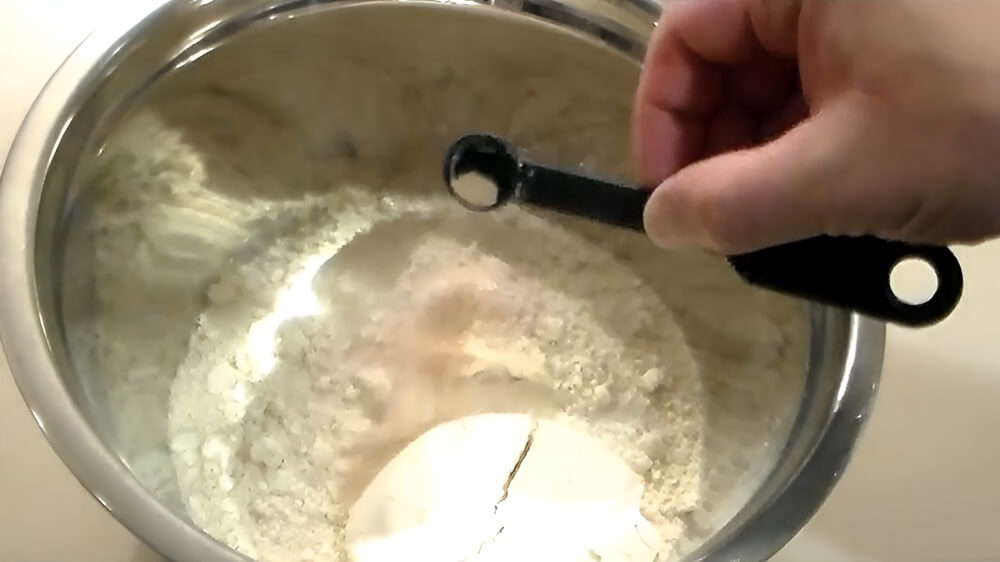
Step 1: Mix the dry ingredients
In a mixing bowl, combine:
- 4 cups flour
- 1 teaspoon salt
- 1/4 teaspoon active dry yeast
Stir it together well so the salt and yeast are evenly mixed through the flour.
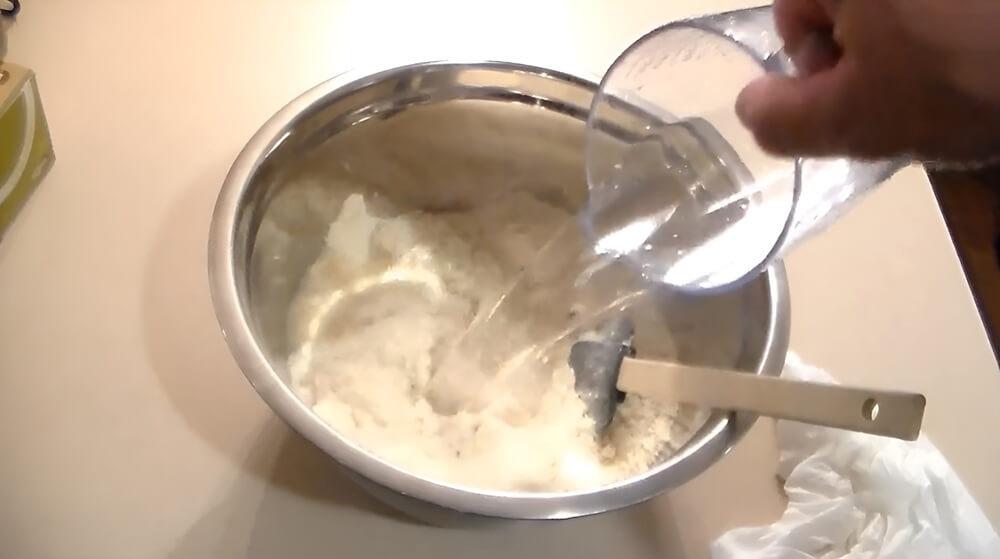
Step 2: Add warm water and mix into dough
Pour in:
- 1 3/4 cups warm water
Mix with a spatula until you have a shaggy dough and it starts pulling away from the sides of the bowl (it won’t look smooth like kneaded bread; this is a no-knead style).
Step 3: Flatten it slightly and let it rise overnight
Lightly level/flatten the dough right in the bowl.
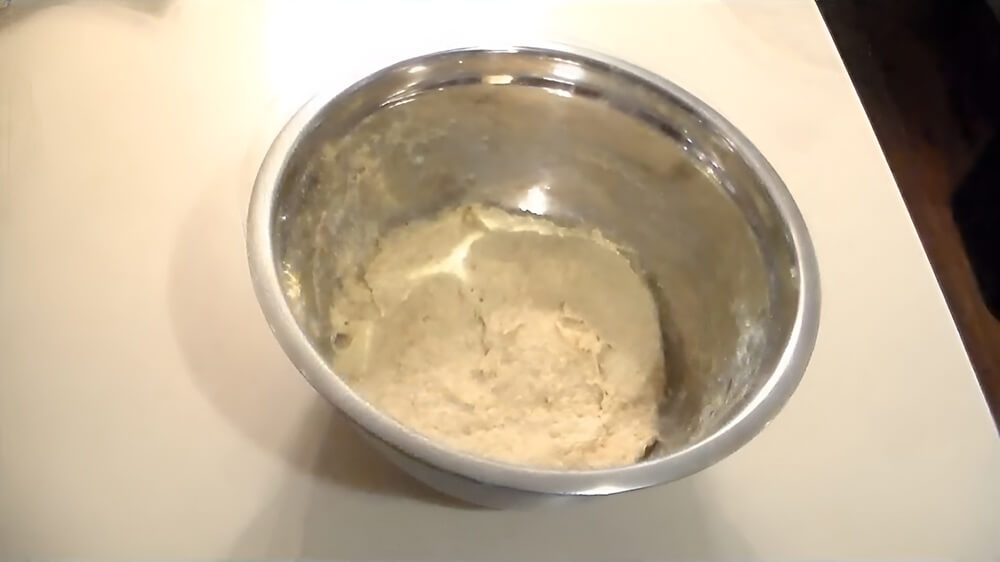
Cover the bowl and set it in a dark place for 12–14 hours.
Note: If you're doing this while camping and it's chilly out, you'll probably need to give the dough more time to rise, possibly as long as 24 hours, so plan ahead based on the weather.
Once it's, the dough should be about double its original size.
Step 4: Preheat the Dutch oven in the fire pit
About 30 minutes before baking, place your empty Dutch oven over hot coals in the fire pit to preheat.
This preheat matters because it helps the loaf get that good crust and proper bake.
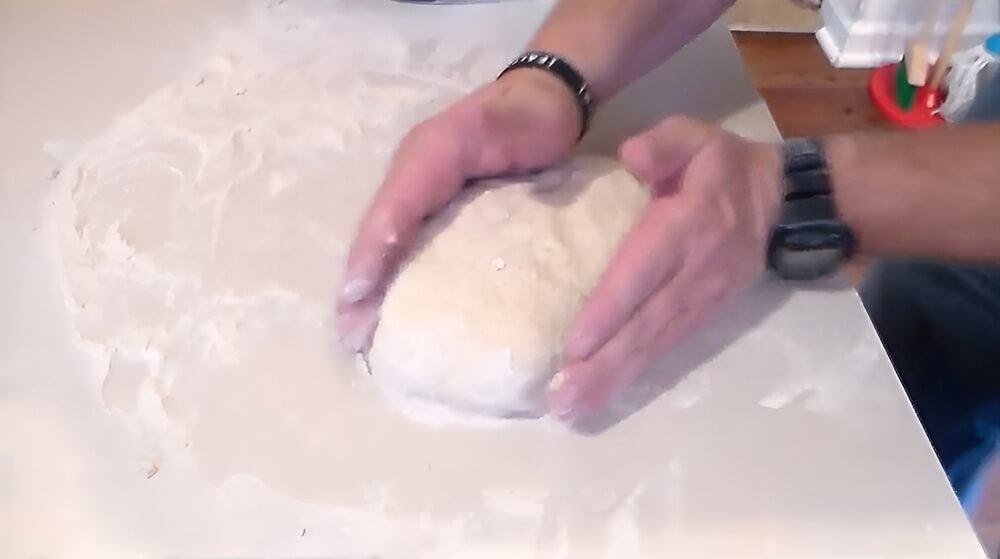
Step 5: Shape the dough (minimal handling)
While the Dutch oven is preheating:
- Dust your work surface with a bit of the extra flour
- Flour your hands
- Turn out the dough and fold the sides over a few times, just enough to shape it into a loaf
You’re not kneading. You’re basically just tidying it up into a loaf shape.
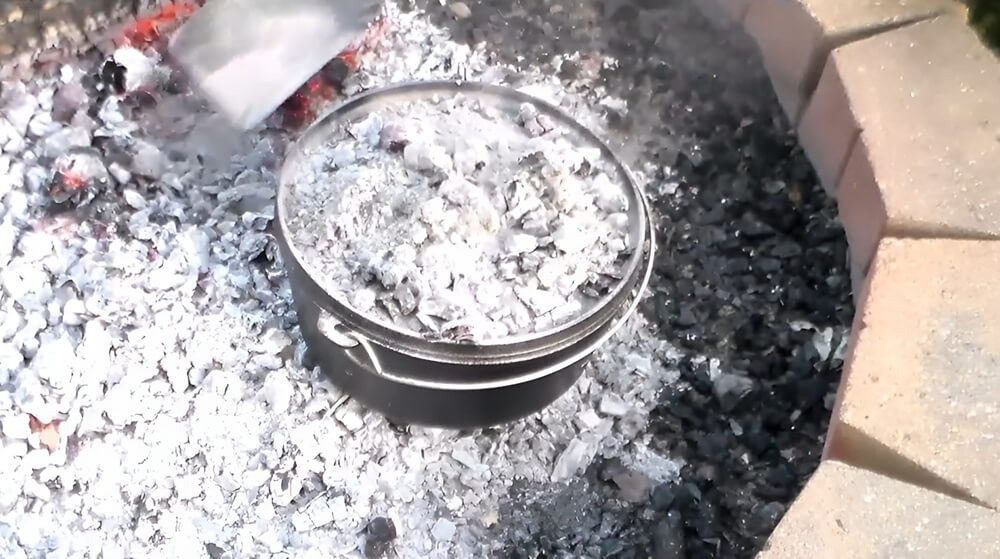
Step 6: Bake in the Dutch oven with coals on top
Carefully place the shaped dough into the hot Dutch oven.
- Put the lid on.
- Add hot coals on top of the lid (this is what turns it into a true “oven” and bakes from above too).
- Bake in the coals for 40–45 minutes.
Step 7: Check doneness
At around 40 minutes, carefully open and check it.
A classic check: Tap the loaf. If it sounds hollow, it’s usually done.
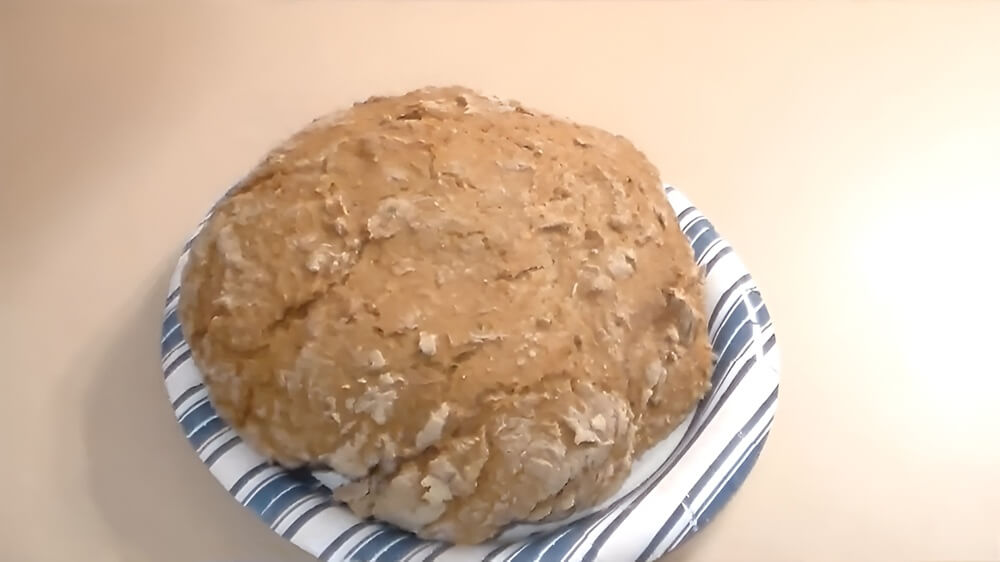
Step 8: Cool before slicing
Remove the loaf and let it cool for about 1 hour before slicing.
This helps the inside set up so it slices cleanly (and doesn’t turn gummy).
Like this post? Don't Forget to Pin It On Pinterest!
You May Also Like: