

Estimated reading time: 3 minutes
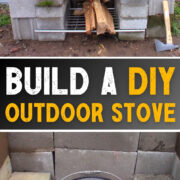
If I told you I could build an outdoor stove/fireplace in less than 20 minutes, you probably wouldn't believe me. It sounds like a complicated project, but it really isn't. In fact, you can build one without using any concrete, mortar, or tools. All you need are some cinder blocks, cap blocks, and a couple of oven grates.
This DIY outdoor stove looks great in any backyard, and it's perfect if you want a reliable way to cook food during a blackout or if you're just living off grid. I found this particular setup on the Youtube channel, M.D. Creekmore, and had to share it.
You can watch the video and read the instructions below.
Want to save this post for later? Click Here to Pin It On Pinterest!
What You’ll Need
- 20 standard cinder blocks (8″ x 6″ size)
- 20 flat cap blocks
- 2 oven grates or grill grates
- Optional: Old stove grates, metal fencing stakes, concrete mix (for permanent setup)
How to Build It
Step 1: Prep the Site
Pick a level spot on bare ground or scrape back the grass.
Make sure there’s no overhanging brush or anything flammable nearby.
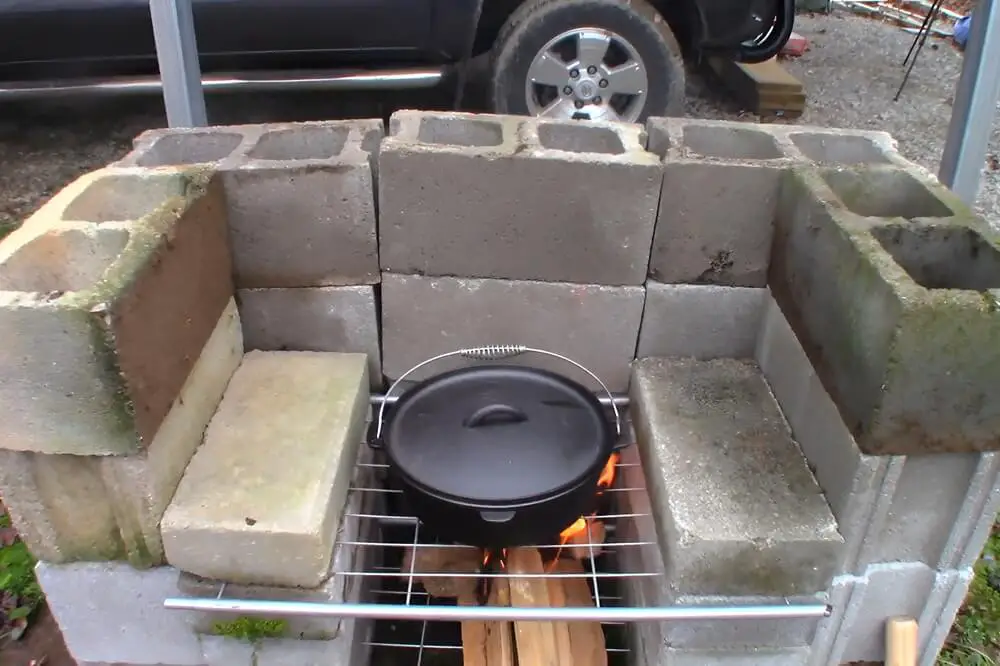
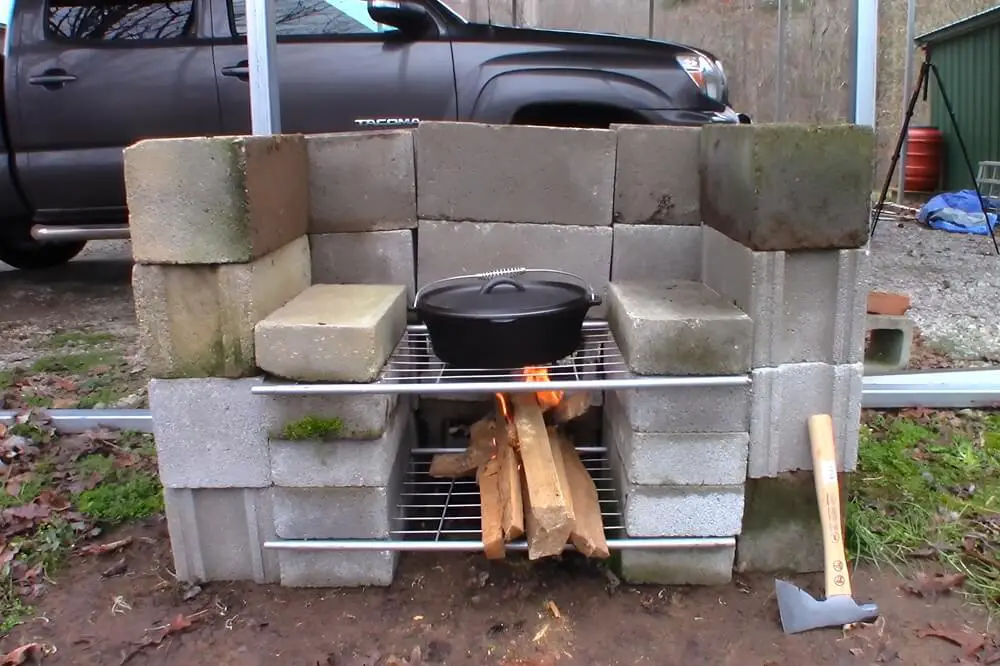
Step 2: Build the Sides
Stack 4 cinder blocks high for each side wall (left and right).
That's a total of 8 cinder blocks.
Step 3: Build the Back
Make the back wall 3 blocks wide, also stacked 4 high.
That's 12 more cinder blocks.
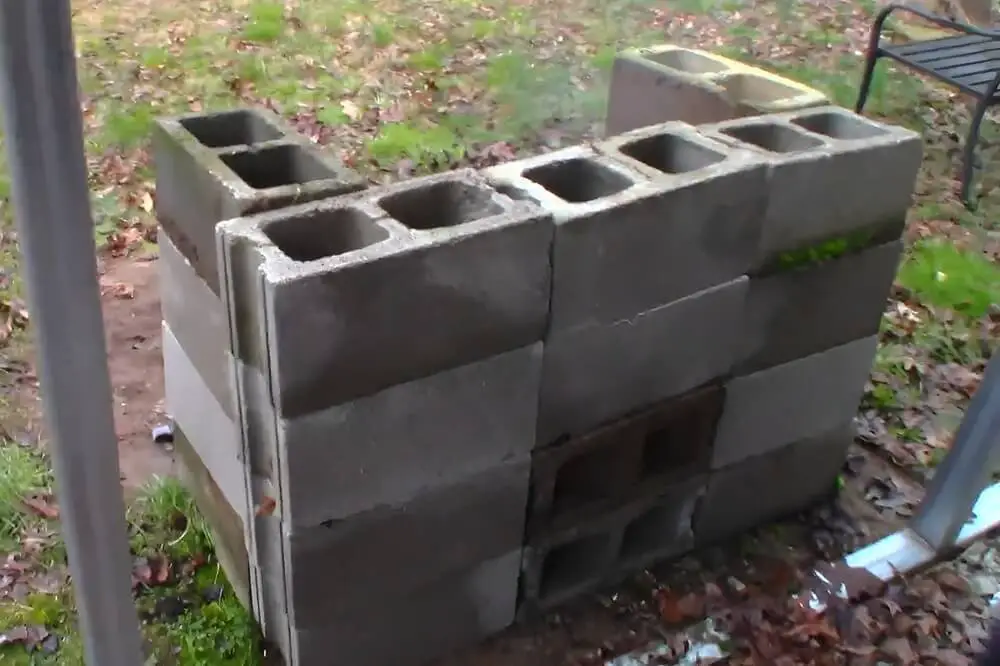
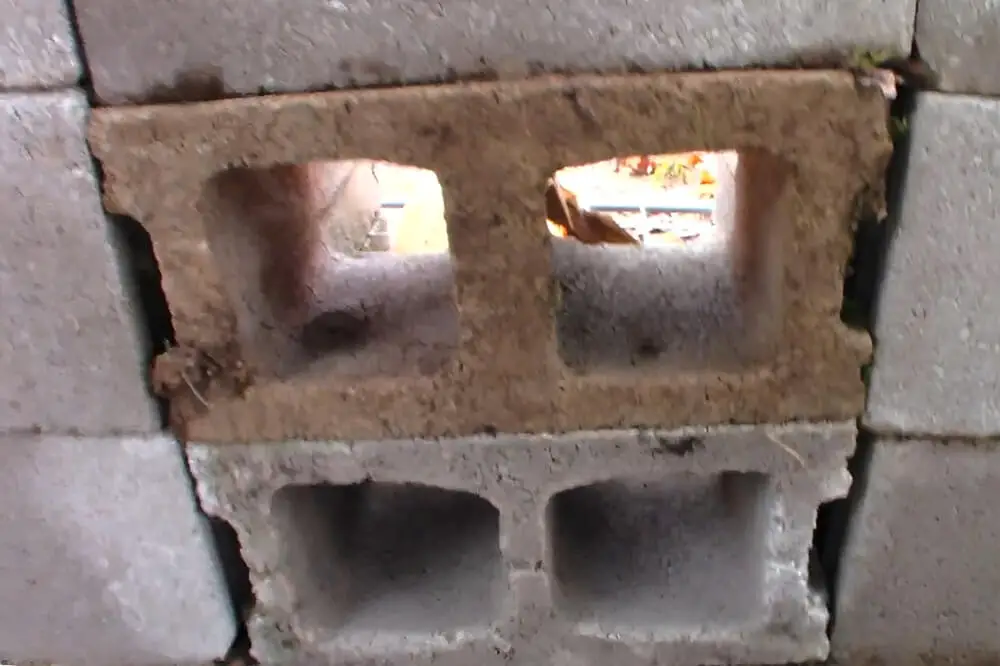
Turn the bottom 2 blocks in the center of the back wall sideways. This improves airflow to keep your fire going strong.
Step 4: Stack the Front
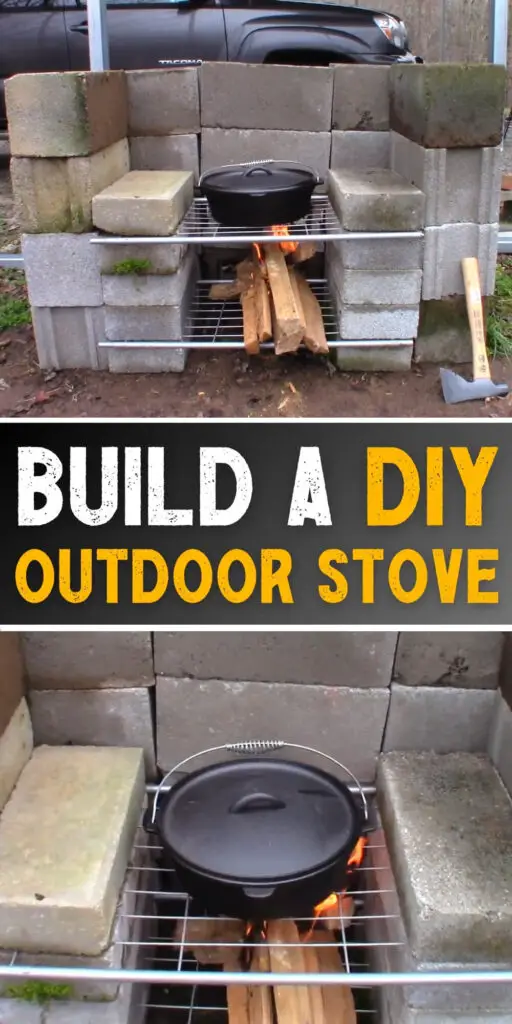
Use 5 cap blocks (flat top) stacked in two columns at the front.
Stack them 5 high, placing oven grates between the bottom two and the top two.
The one on the bottom will hold wood and the one on top will hold pots and pans.
And You're Done
That's all there is to it!
Optional: Make It Permanent
If you want this setup to last years:
- Drive metal fence posts down through the corners and sides to anchor the structure.
- Fill the blocks with dry concrete mix.
- Add a cap layer with construction adhesive or mortar.
Like this post? Don't Forget to Pin It On Pinterest!
You May Also Like: