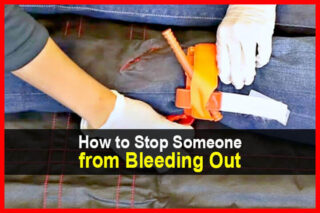
A tourniquet is a crucial medical item that should be in every prepper's first aid kit. If someone has a major wound, applying pressure might not be enough. You may need to use a tourniquet if you want to save their life.
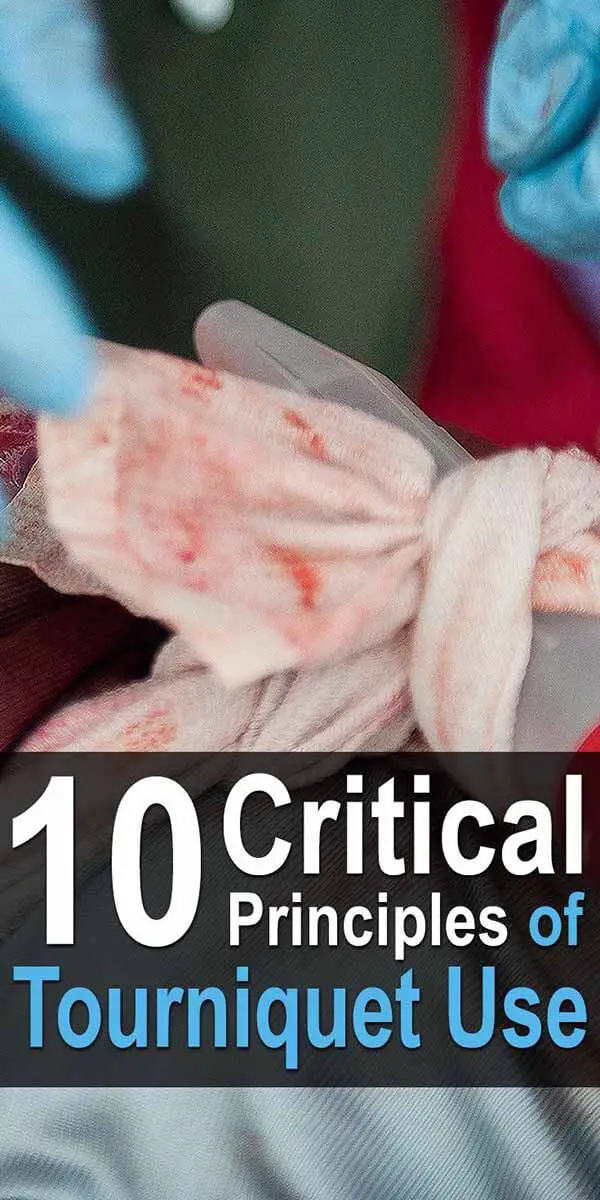
But how exactly do you use a tourniquet? Like most first aid items, there's more to it than you might think. In this video, Dr. Bones & Nurse Amy explain 10 critical principles of tourniquet use.
I listed the principles below, but you should also watch the video to hear them explain these principles.
1. Direct pressure works 80-90% of the time. Don't apply a tourniquet every time someone is bleeding. Usually, direct pressure is enough.
2. Put a tourniquet on early if needed. If you suspect that direct pressure won't be enough to stop the bleeding, don't be afraid to go ahead and use a tourniquet.
3. Don't wait to apply when severe arterial bleeding is present. If the bright red blood is spurting from the wound, apply the tourniquet immediately.
4. Watch for pressure loss and re-bleeding. A minute or two after you apply the tourniquet, the tissue will shrink due to the lack of blood flow. This means the tourniquet won't be tight enough, so the wound could start bleeding again.
5. Your two main goals are to stop the bleeding and stop the pulse. In other words, you shouldn't be able to detect a pulse below the tourniquet.
6. Do not remove until after transport to the highest medical facility. Only a doctor should remove it.
7. Military studies have shown it is safe to use a tourniquet for up to two hours. Try to get to a medical facility within that time frame.
8. If you can't get to a medical facility quickly enough, transition to a product like Celox or Quikclot and a pressure dressing. This might be your only option.
9. Splint the injured limb to stabilize the wound and help prevent re-bleeding. Without a splint, even a small movement could tug at the wound and cause it to start bleeding again.
10. Mark the time of placement and put a large T on the patient's forehead. This will let medical workers know they have a tourniquet on.
When applying a tourniquet, the most important thing is to put it close to the wound. It should be two or three inches above the wound (between the wound and the heart), but never on a joint such as an elbow or knee.
Nurse Amy also made a video on how to apply a tourniquet, specifically a CAT (combat application tourniquet). You don't want to wait until someone is bleeding to death before you learn how to do this, so check out the video below. You should also grab your CAT (if you have one) and follow along.
The last video is about how to apply a SOF-TQ. This is a little different from a CAT, so be sure to check out this demo if you have this kind of tourniquet.
You May Also Like: