

Estimated reading time: 8 minutes
Hardtack is an easy-to-make long-term storage and survival food that you can easily add to your stockpile. Historically, hardtack goes back as far as ancient Rome. It was carried by early pioneers and used during the American Civil War as food rations. You can purchase hardtack online, but it is so easy to make you may want to consider making and storing it yourself.
In this article, we’ll talk about how to make hardtack that will last for decades. First, we will talk about what it is and go over the basic recipe. Then, we’ll give you some variations, tell you how to use it, and talk about how to store it. Let’s get started.
Want to save this post for later? Click Here to Pin It On Pinterest!
What Is Hardtack?
Hardtack is a long-term storage food made of just a few simple ingredients. The name comes from the British slang word for food: tack. So hard tack actually means ‘hard food’ – and you’ll discover that hardtack is a very, very hard food! You can’t just bite into a piece of hardtack. You need to soak it first. If not, you could break a tooth.
It is also known as sea bread, dog biscuits, or even sea biscuits. Once baked, hardtack is very dense and hard. It has a very light, bland flavor, like a saltine cracker.
Basic Hardtack
The basic recipe for hardtack includes three ingredients:
- 2 cups of flour
- 1 ½ teaspoons of salt
- ¾ cup of water
It is mixed into a dough and baked. From there, you can store it or use it as food right away. When stored correctly, hardtack can last for 25 years or more.
If you don’t need to store your hardtack long-term, you can make some variations that have a shorter shelf life.
Hardtack Variation
This variation will only store for 2 to 3 months but is great for camping or hiking. You can make it with any amount of sweetener, dried nuts, dried or dehydrated fruits, or spices such as cinnamon or all-spice. If you know how you will be using your hardtack, you can include specific spices or ingredients to suit.
For example, if you’ll be putting it into soup, you may want to add savory spices such as dill, oregano, or thyme. However, if you’ll be making a pancake or a pudding you may want to add sweeter ingredients, such as sugar, cinnamon, or dried fruit or nuts.
- 2 cups of flour
- 1 ½ teaspoons of salt
- ¾ cup of water
- ½ tablespoon sugar or other sweetener
- Dried nuts or dehydrated fruits to taste
- Any additional seasons such as cinnamon or all-spice
How to Make Hardtack
Prep time: 10 minutes
Cook time: 1 hour
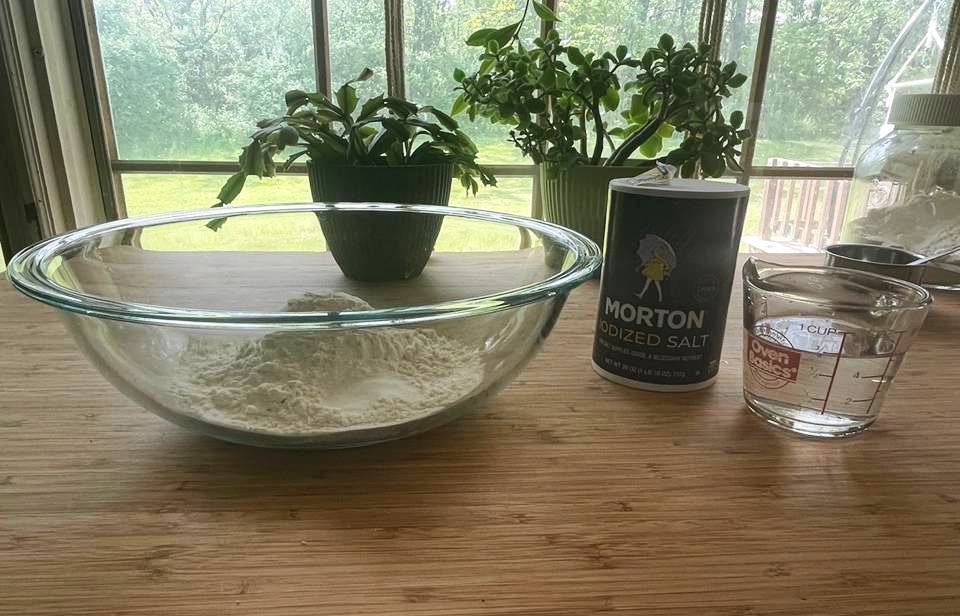
Gather your ingredients:
- 2 cups flour
- ¾ cup water
- 1 ½ teaspoons salt
- Any mixins you desire, if you’re making short-term hardtack
1. Preheat your oven to 375 degrees Fahrenheit.
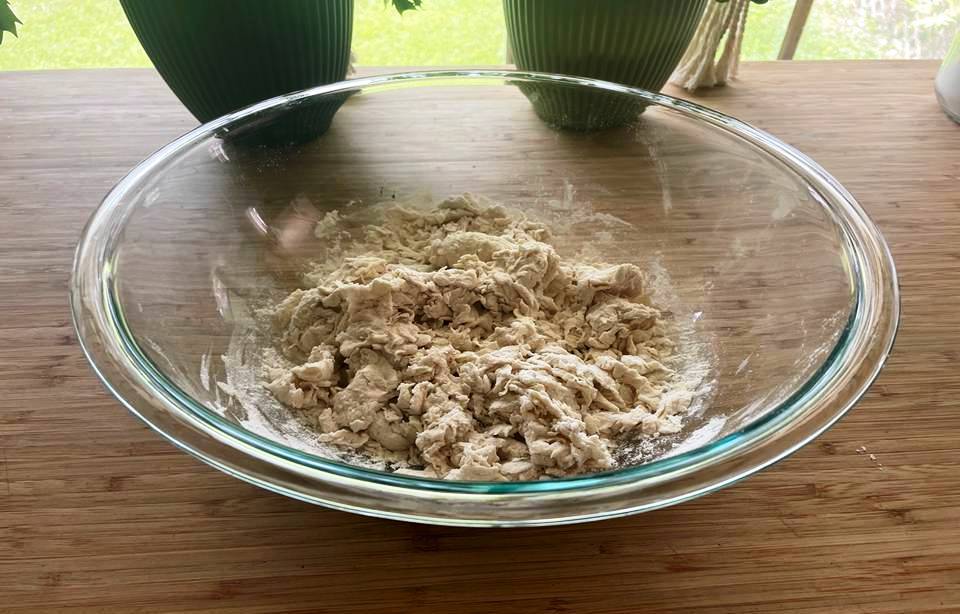
2. In a large bowl, mix flour, salt, and water. The dough will be thick, but it should have a dry consistency. If it’s sticky, you can add a little extra flour at a time until it feels just right.
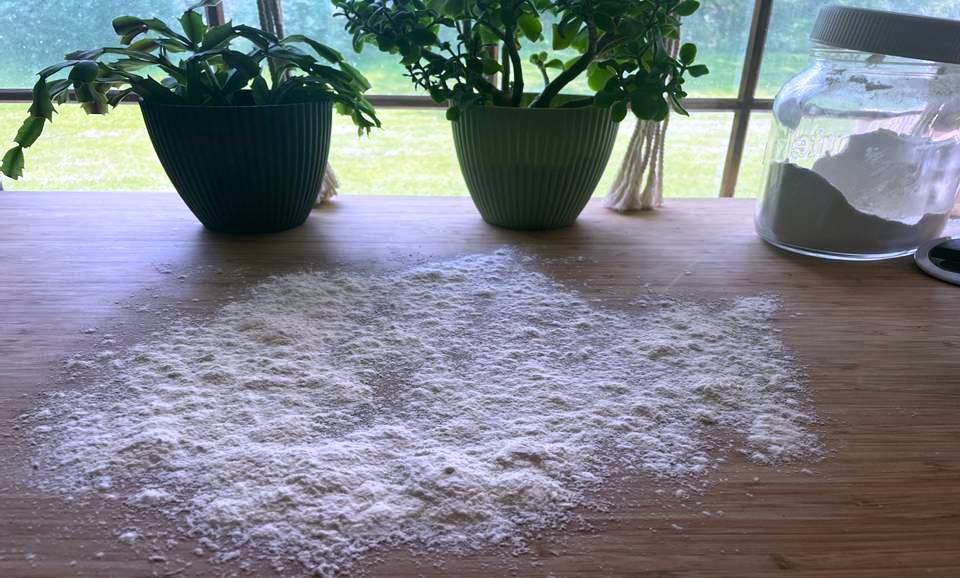
3. Sprinkle some extra flour on your countertop or workspace.

4. Roll the dough until it is about ½ inch thick.
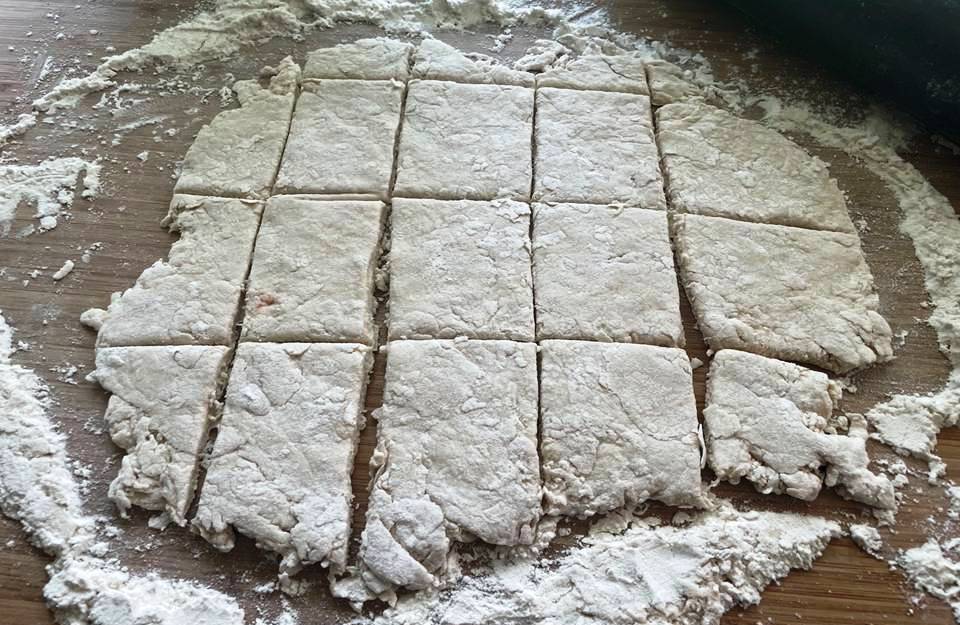
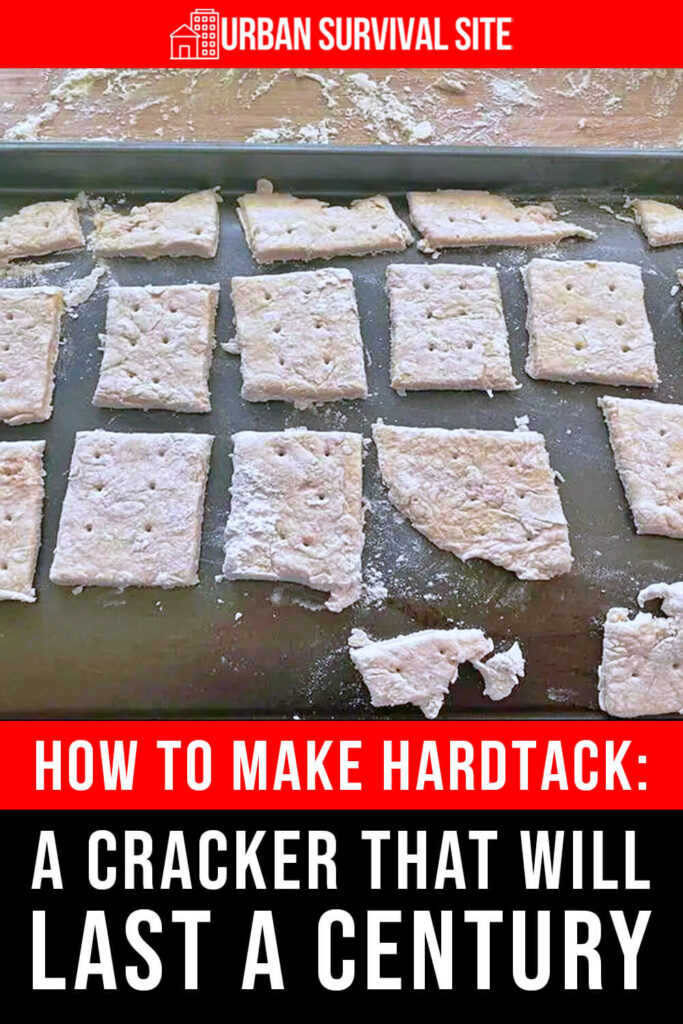
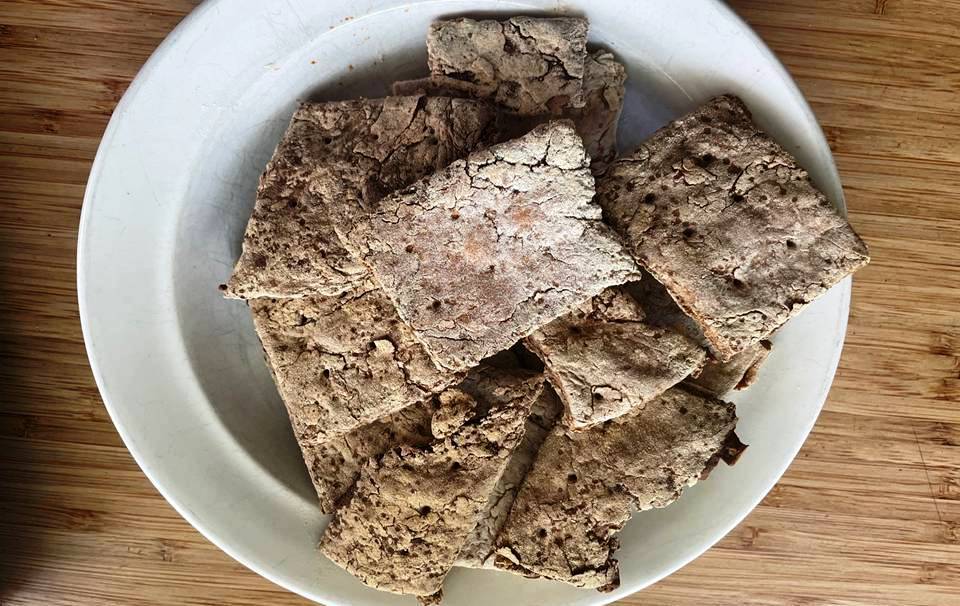
5. Cut your dough into squares or whatever shape you like. You can make them very uniform, like saltines, or cut them with cookie cutters. I left mine slightly rugged-looking but tried to keep them close to the same size.
6. Use a toothpick to poke holes in each square.
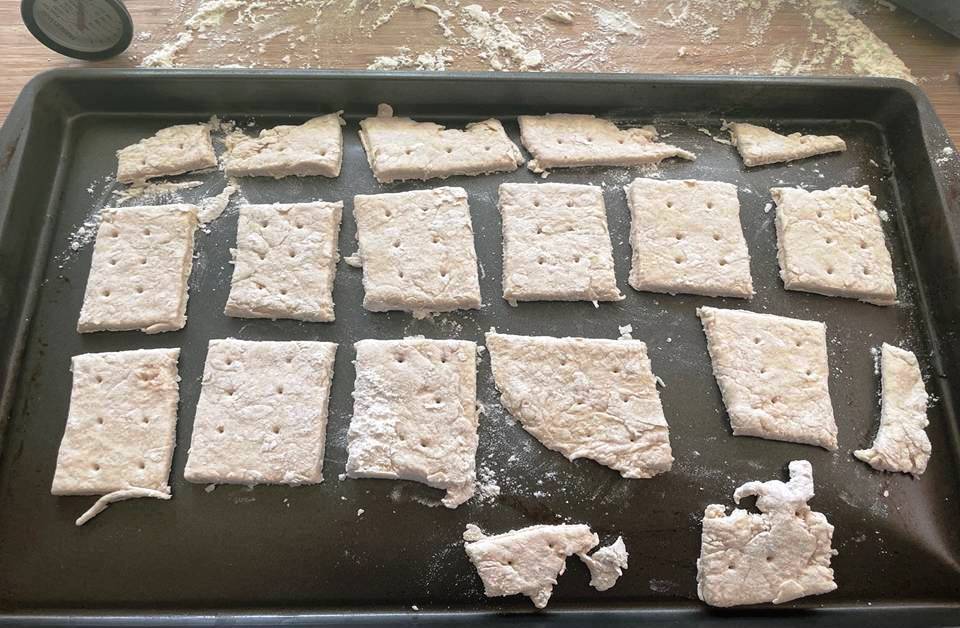
7. Place your cut wafers on an ungreased cooking sheet.
8. Bake for 30 minutes.
9. Flip your wafers and bake for another 30 minutes.
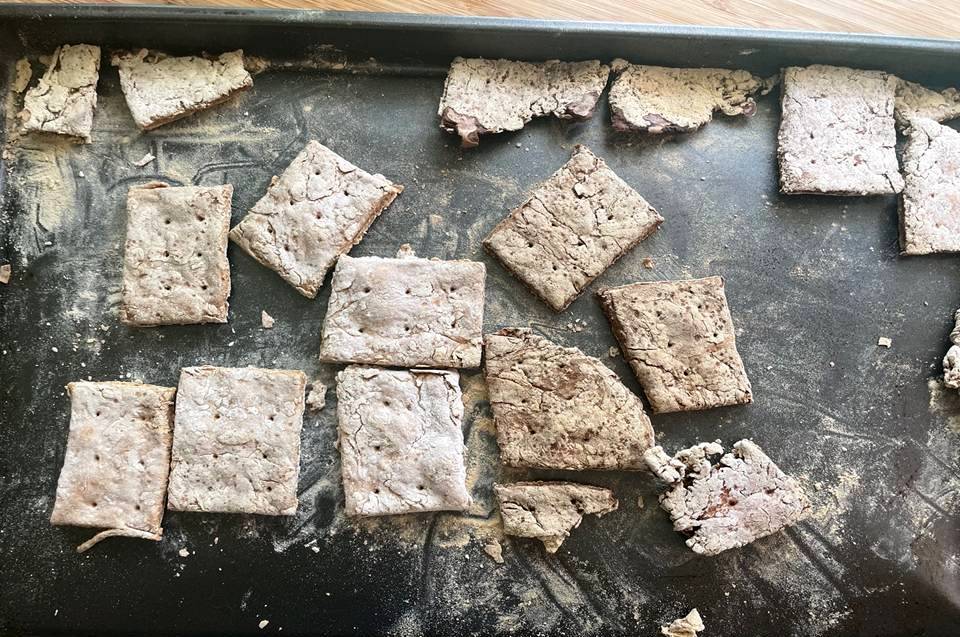
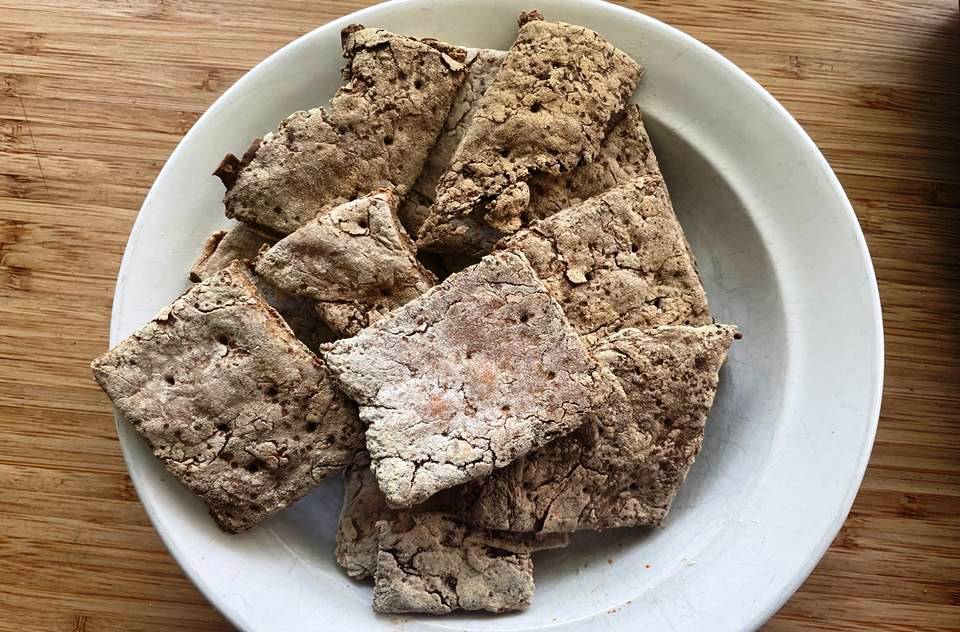
10. Once the wafers are evenly browned, you can turn off the oven and allow them to cool inside the oven. You can also remove them and allow them to cool on a cooling rack. The goal is to remove as much moisture content as possible without burning the cracker.
How to Use Hardtack
Soaking
You can’t just bite into a hardtack biscuit – you’ll risk breaking a tooth! You need to prepare them. If you are using hardtack as a survival food, the easiest way is to dunk it into your coffee, water, or milk, just like a cookie.
It will probably take about ten minutes or more for your hardtack to soften up enough to be eaten, no matter what type of liquid you use. But eat it carefully in case it is still hard in the middle!
Crumbling
You can crush up your hard tack and use it like a coarse grain. Then, mix it with liquid, such as milk, and fry it to make a pancake-like food.
Fried
Once your hardtack has been softened, you can fry it in a skillet with butter, oil, or leftover grease in your skillet. It will cook up like a patty.
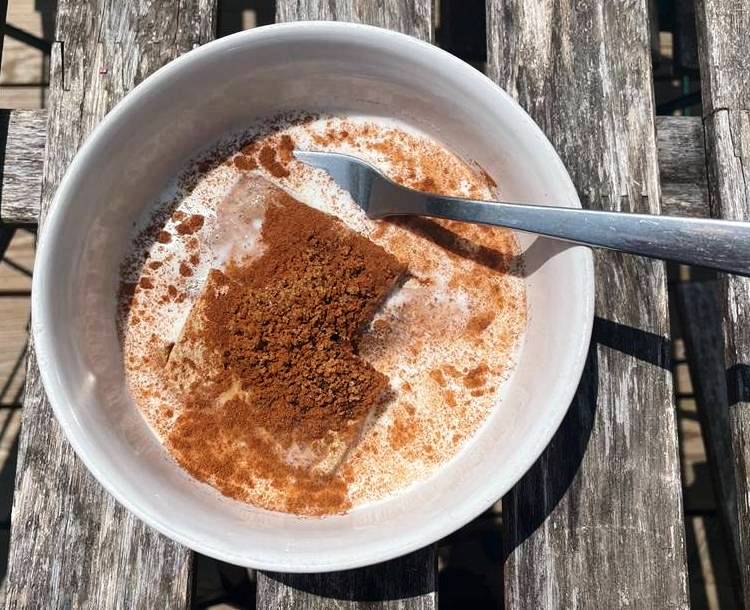
Hardtack Pudding
Crumble your hardtack into tiny bits, and mix it with a little butter, sugar, and milk (or other liquid). Once it is soft, you can stir it up into a pudding-like dessert.
Stew
Turn your soup into a stew but soaking your hardtack in your soup. Then, once it has softened and broken up, you can eat it like a stew.
Bits and Pieces
If you’re on the go, you can break off small bits of hardtack and just suck on it until it is soft enough to chew. But, of course, be careful you don’t bite into it too soon or choke on it!
Hardtack Storage
If you just want to store your hardtack short-term or take it hiking or camping, you can put it into an airtight container or sandwich baggie. It’s easy to carry in a pocket or backpack this way.
If you want to store it long-term, you’ll want to place your hardtack in a mylar bag with oxygen absorbers. Then, put the bags into food-safe 5-gallon buckets. It will store up to 25 years or more if you keep your buckets in a cool, dry place.
Like this post? Don't Forget to Pin It On Pinterest!
Hardtack
Ingredients
Equipment
Method
- Preheat oven to 375 degrees F.
- In a large bowl, mix flour, salt, and water. The dough will be thick, but it should have a dry consistency. If it’s sticky, you can add a little extra flour at a time until it feels just right.
- If you’re doing a variation with added nuts, dehydrated fruits or seasonings –blend them into the dough.
- Sprinkle some extra flour on your countertop or workspace.
- Roll the dough until it is about ½ inch thick.
- Cut your dough into squares or whatever shape you like. You can make them very uniform, like saltines, or cut them with cookie cutters. I left mine slightly rugged-looking but tried to keep them close to the same size.
- Use a toothpick to poke holes in each square.
- Place your cut wafers on an ungreased cooking sheet.
- Bake for 30 minutes.
- Flip your wafers and bake for another 30 minutes.
- Once the wafers are evenly browned, you can turn off the oven and allow them to cool inside the oven. You can also remove them and allow them to cool on a cooling rack. The goal is to remove as much moisture content as possible without burning the cracker.
- SoakingYou can’t just bite into a hardtack biscuit – you’ll risk breaking a tooth! You need to prepare them. The easiest way is to dunk it into your coffee, water, or milk, just like a cookie. It will probably take about ten minutes or more for your hardtack to soften up enough to be eaten, no matter what type of liquid you use. But eat it carefully in case it is still hard in the middle!
- CrumblingYou can crush up your hard tack and use it like a coarse grain. Then, mix it with liquid, such as milk, and fry it to make a pancake-like food.
- Fried Once your hardtack has been softened, you can fry it in a skillet with butter, oil, or leftover grease in your skillet. It will cook up like a patty.
- Hardtack Pudding Crumble your hardtack into tiny bits, and mix it with a little butter, sugar, and milk (or other liquid). Once it is soft, you can stir it up into a pudding-like dessert.
- Stew Turn your soup into a stew by soaking your hardtack in your soup. Then, once it has softened and broken up, you can eat it like a stew.
You May Also Like: