

Estimated reading time: 4 minutes
If you spend a lot of time in the city, it’s easy to think that survival gear is only for the backcountry. But in a real emergency, having the right tools on hand can make all the difference. A small, well-thought-out kit can help you handle minor injuries, start a fire, navigate, or even catch food if you have to.
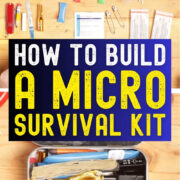
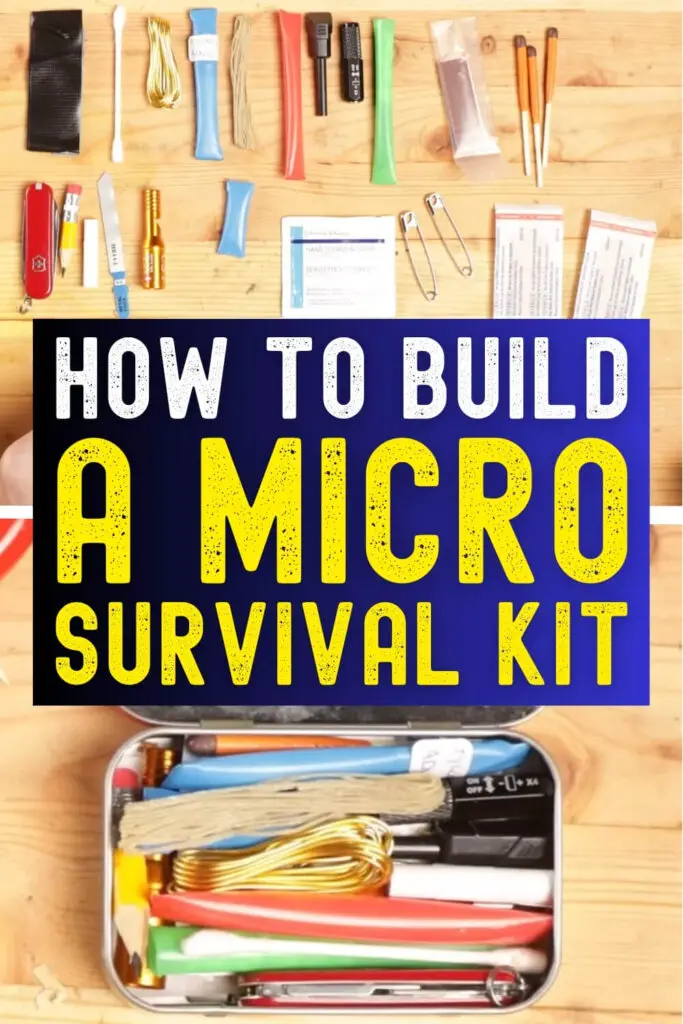
That’s why I love this idea from the YouTube channel Wranglerstar. It's a complete multi-purpose survival kit that fits inside an Altoids tin. It’s small enough to keep in your pocket or glove compartment, yet packed with tools for first aid, fire starting, repairs, and even fishing.
Want to save this post for later? Click Here to Pin It On Pinterest!
Here's the video (keep scrolling down for written instructions):
What You’ll Need
Container:
- 1 Altoids tin (or similar metal pocket tin)
First Aid:
- 2 Advil tablets
- 2 Tylenol tablets
- 1 alcohol cleansing pad
- 2 adhesive bandages
- Small packet of antibiotic ointment (see straw trick below)
Tools & Miscellaneous:
- Victorinox Cadet (or similar small multi-tool) with blade, file, scissors, tweezers, and toothpick
- Mini hacksaw blade (bi-metal preferred)
- Heavy-duty upholstery needle (straight)
- Curved upholstery needle
- Small roll of waxed linen thread
- Small roll of duct tape
- Small length of thin wire
- Flat survival tool (with can opener, scraper, or small blade)
- Safety pins (2–3)
- Whistle
- Pencil stub and small scroll of paper
Fire Starting:
- Small ferro rod
- Stormproof matches (3) with striker
- Petroleum jelly–soaked cotton balls (see instructions below)
Fishing Kit:
- 2 small Eagle Claw egg hooks (pre-tied with leaders)
- Small split shot sinkers (6–7)
- Miniature bait (e.g., a piece of marshmallow)
- All stored inside a sealed straw section
Of course, you can't just get all these items and cram them into the tin. In order for everything to fit, you need to take the following steps.
Step-by-Step Assembly
Step 1: Use the Straw Trick for Tiny Waterproof Containers
- Cut a plastic drinking straw to the desired length.
- Use pliers to crimp one end and melt it briefly with a lighter to seal it.
- Fill the straw with small items like:
- Antibiotic ointment
- Fishing kit (hooks, sinkers, leader line, bait)
- Fire starter (petroleum jelly–soaked cotton)
- Crimp and melt the other end to seal. This keeps contents waterproof and organized.
Step 2: Make the Fire Starters
- Melt a small amount of petroleum jelly in a tin can over low heat.
- Drop cotton balls into the melted jelly until fully saturated.
- Remove and let cool before sealing them in straw containers.
- These burn hot and long, making fire starting easier in bad conditions.
Step 3: Organize First Aid Supplies
- Use the straw trick for ointment.
- Wrap pills in small plastic or foil for protection.
- Keep bandages flat against the tin’s lid to save space.
Step 4: Add Tools
- Place the multi-tool inside, making sure it fits flat.
- Tuck the hacksaw blade along the inside wall.
- Add upholstery needles and waxed thread for repairs or sutures.
- Wrap duct tape around a flat object or itself to save space.
Step 5: Pack the Fishing Kit
- In a straw container, store:
- 2 small hooks (with leaders)
- 6–7 split shot sinkers
- Small bait (marshmallow chunk or similar)
Step 6: Include Signaling & Navigation Items
- Add a whistle for emergencies.
- Include a small pencil stub and rolled paper for leaving notes.
Step 7: Final Assembly
- Fit all items into the Altoids tin in layers, keeping bulkier pieces on the bottom.
- Close securely — a rubber band or ranger band around the tin can keep it from opening accidentally.
Why This Works
This kit covers the three most important survival needs in a compact space:
- First Aid – Handle minor injuries and prevent infection.
- Fire – Stay warm, cook food, or signal for help.
- Tools & Fishing Gear – Repair equipment, catch food, and improvise solutions.
You can keep one in your pocket, glove box, or backpack, and it’s especially valuable for urban dwellers who might not normally carry survival gear but still want to be prepared for the unexpected.
Like this post? Don't Forget to Pin It On Pinterest!
You May Also Like: