

Estimated reading time: 5 minutes
The tarp is easily the most versatile survival shelter item of all time. Tarps are durable, lightweight, wear- and tear-resistant, and easy to pack down and carry around. What’s more, there's a myriad of different ways you can set up a shelter with a tarp.
Want to save this post for later? Click Here to Pin It On Pinterest!
In this video, Survival Dispatch describes 8 easy tarp shelters. Here's a summary:
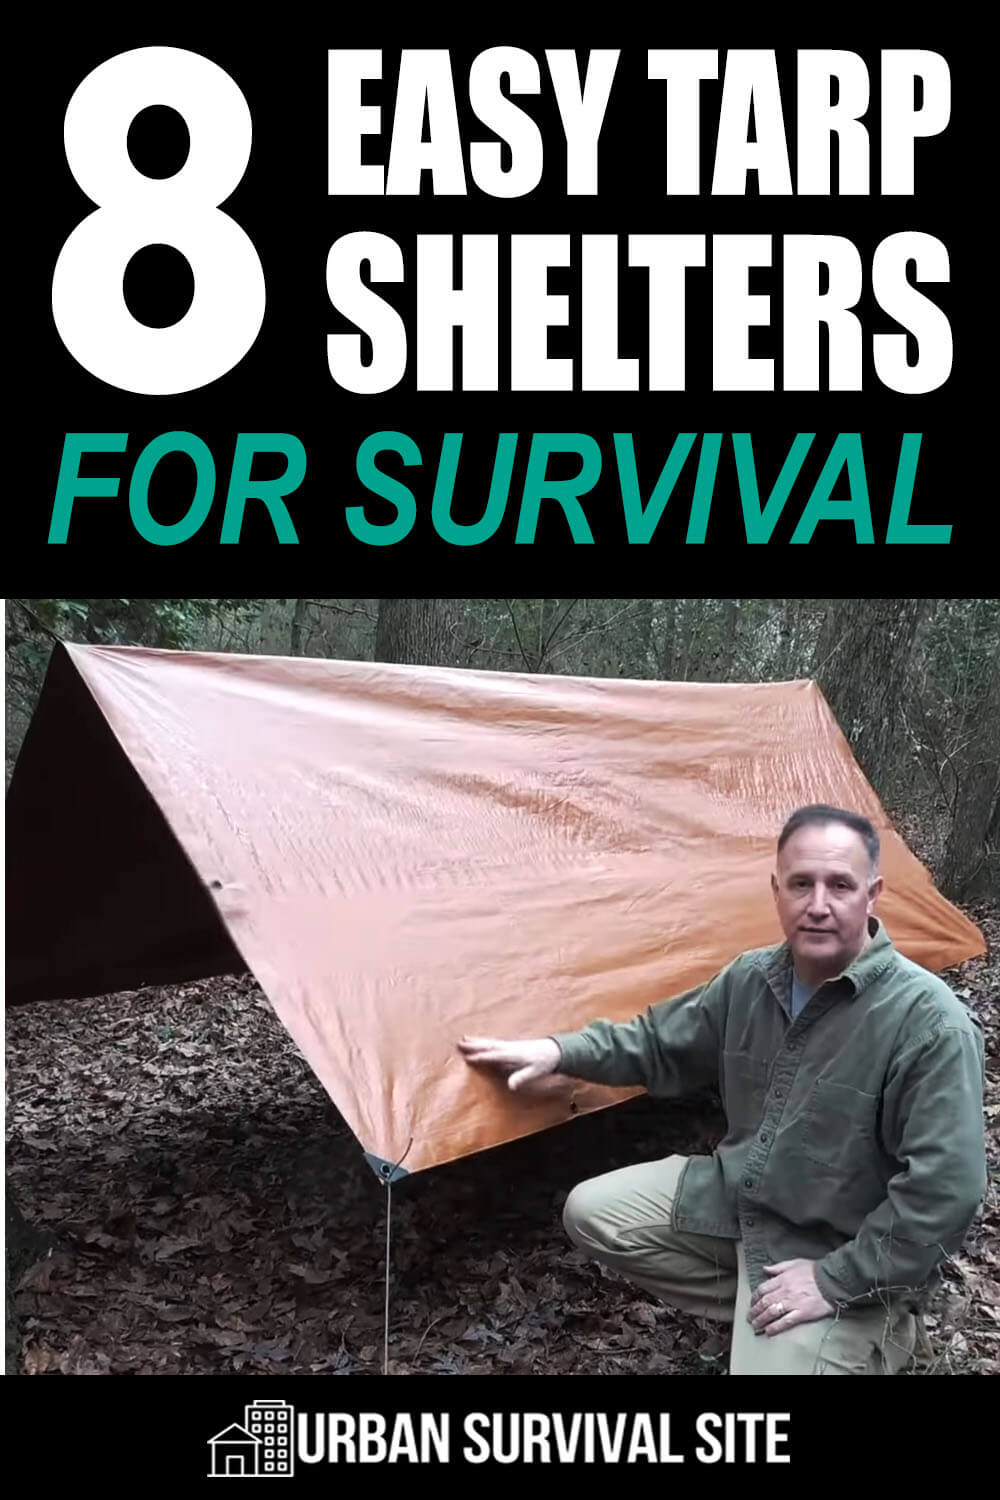
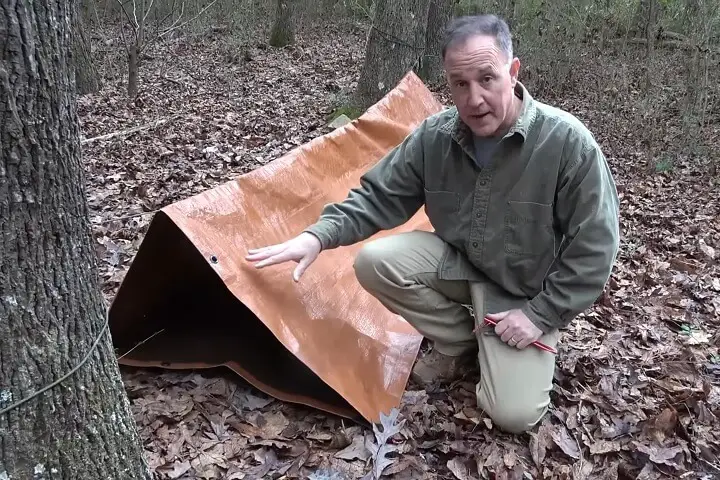
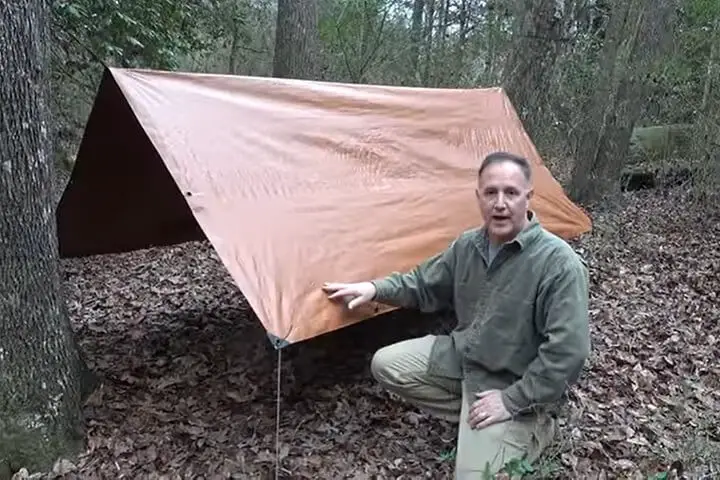
1. A-Frame
The A-Frame is perhaps the most common variant of tarp shelter. It’s basically like setting up a lean-to shelter, only on both sides rather than one.
Run a rope or paracord between two trees, then drape the tarp in the center over the rope in order to create the A-frame. If you have the resources, secure the bottoms of the tarp to the ground by running string through the grommets and then weighing down with rocks.
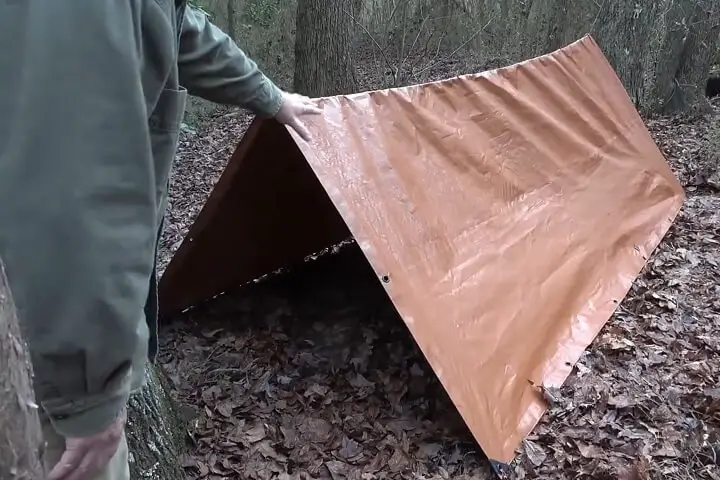
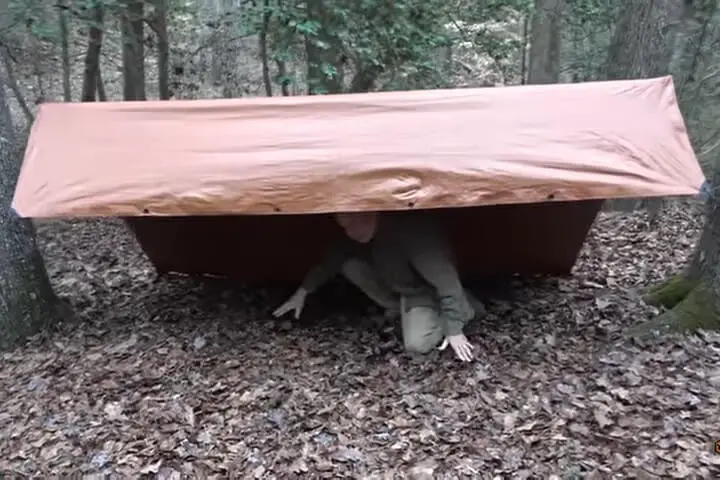
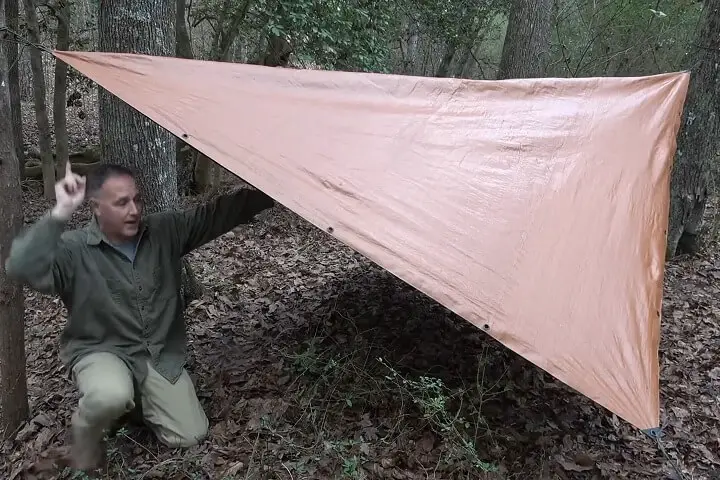
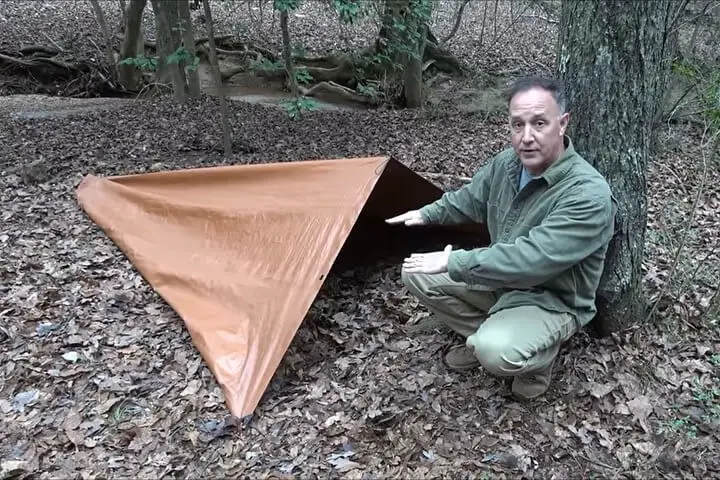
2. Body Bag
To create a body bag tarp shelter, run a rope or paracord between two trees, close to the ground. Arrange the tarp into a triangle shape so that there is flooring for you to lay on. The entire tarp should now enclose you when you lay down in it.
3. Envelope

To create the envelope tarp shelter, run some rope or paracord through the two corners and lash them to two trees roughly five to seven feet away from one another for the first half of the tent.
For the second half, lay it down on the ground to create flooring. You can now lay down on part of the tent with the other part above you to shield you from the wind and rain.
4. Lean-To

The traditional lean-to is perhaps the easiest and simplest shelter to set up with a tarp. Attach the corners of the lean-to to two trees roughly five to seven feet apart from one another.
Then take the two corners from the opposite end and pull them back to create the lean-to, securing them to the ground either with rocks or running string through the grommets and securing them to wood sticks out of the ground.
5. Windshield Wedge
The windshield wedge tarp is essentially the same as the lean-to, only a larger part of the tent drapes over the rope or paracord you run between two trees to shield you from the wind. Run paracord or rope through the grommets, then lead them down to the ground to be secured to rocks.
6. Rain Fly
The rain fly tent is basically the same thing as the A-Frame tent, only the entire tent is elevated from the ground. With the entire tent draped over a rope or paracord between two trees, run string or paracord through the grommets and lash them to the ground.
7. Shade Sail
The shade sail is essentially the same concept as the rainfly, only this time the entire tarp is elevated even further above the ground in order to give you enough room to even stand underneath the tarp. Run tall sticks or poles through the grommets to ensure that the tarp stands high.
8. Diamond Fly
A diamond fly tarp tent is like having half a teepee. Run a pole through a corner to elevate the tent high up into the air. Lash the remaining three corners down to the ground or otherwise anchor them down with rocks. This will create enough space to lay under the tarp for shelter.
If you were confused by any of these, be sure to watch the video by Survival Dispatch below so you can see exactly how to build them.
Like this post? Don't Forget to Pin It On Pinterest!
You May Also Like:

Related Posts:
 How To Defend Yourself Using Only A Knife
 10 Things To Do Before The ‘Everything Bubble’ Pops
 15 Blackout Supplies to Get Before The Next Power Outage
 How To Track Someone In The City (And Avoid Leaving Tracks)
 Simple Tarp Shelter That Anyone Can Make
 10 Natural Survival Shelters To Look For In The Wild
Related Posts:
How To Defend Yourself Using Only A Knife
10 Things To Do Before The ‘Everything Bubble’ Pops
15 Blackout Supplies to Get Before The Next Power Outage
How To Track Someone In The City (And Avoid Leaving Tracks)
Simple Tarp Shelter That Anyone Can Make
10 Natural Survival Shelters To Look For In The Wild

